Product:
Cognos Analytics 11.1.6
Microsoft Windows 2016 server
Problem:
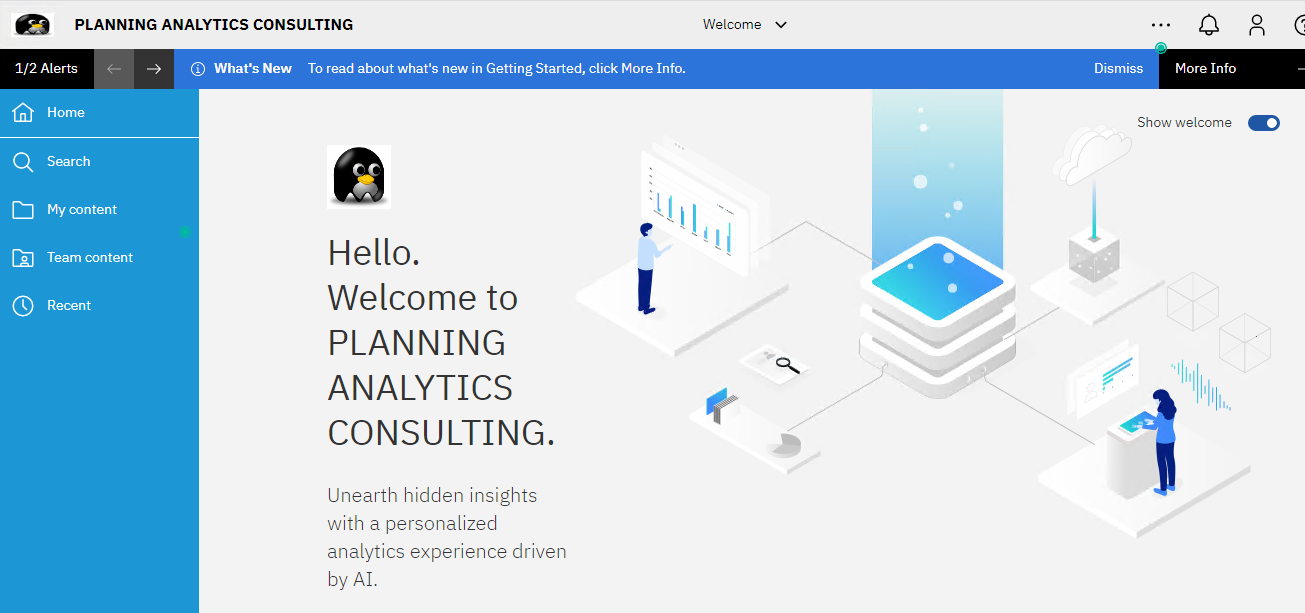
How do I put the company name on the CA start page?
Solution:
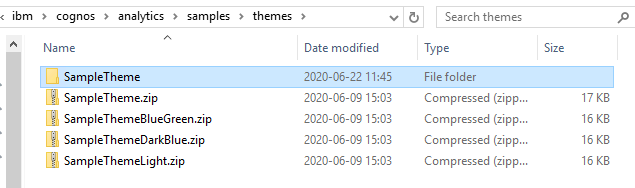
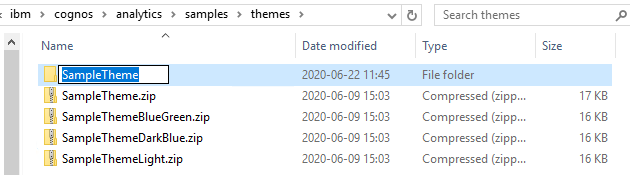
Logon to your Cognos Analytics server and go to folder C:\Program Files\ibm\cognos\analytics\samples\themes. Unzip SampleTheme.zip in a new folder.
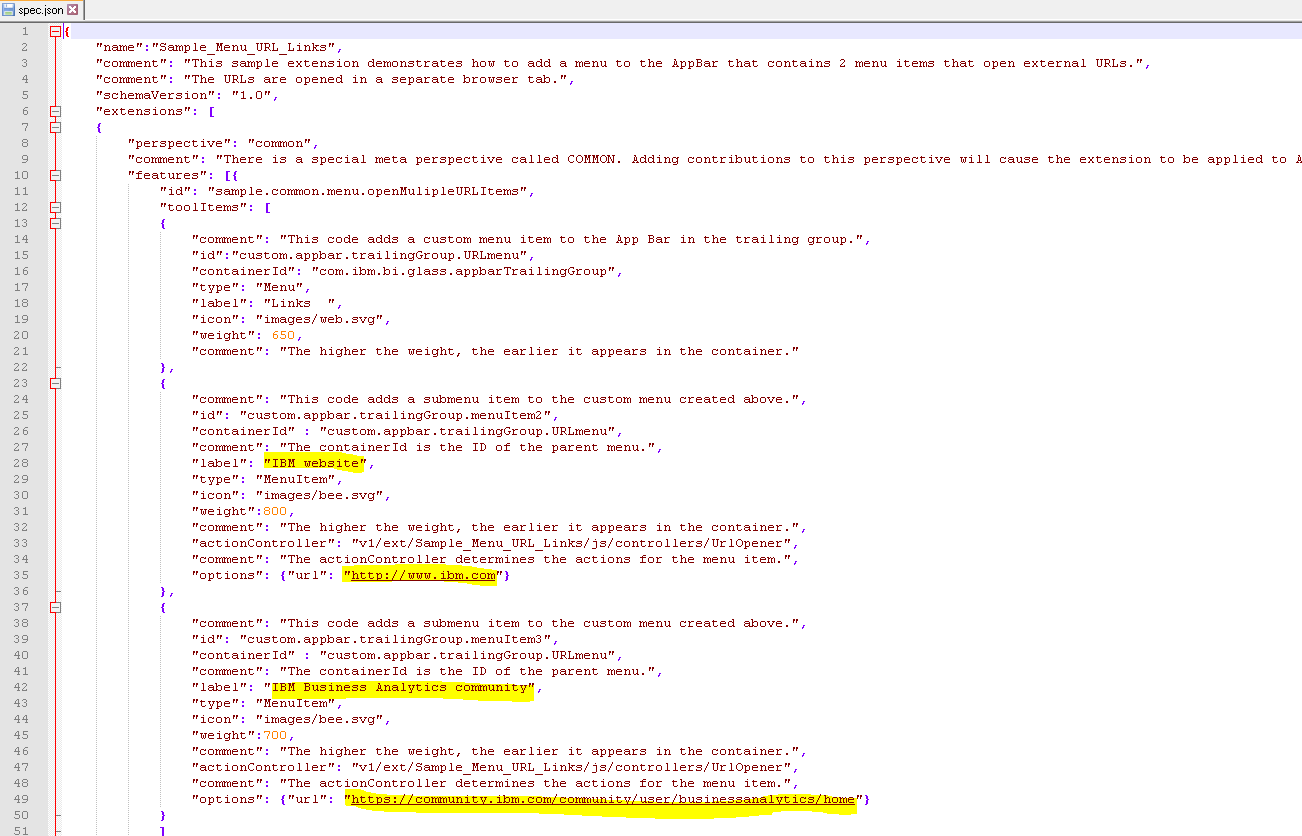
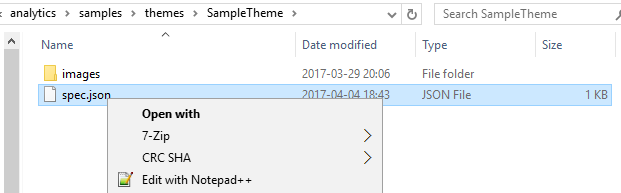
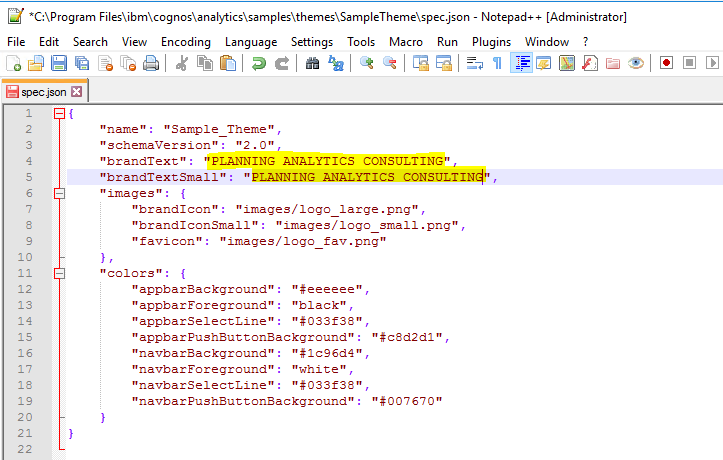
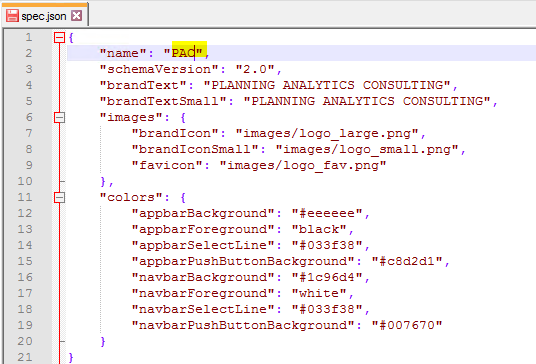
Open spec.json file in notepad++
Change the company name to your name and save the file.
You need to change the logo png files to your company logo with a picture software. Go to the images folder.
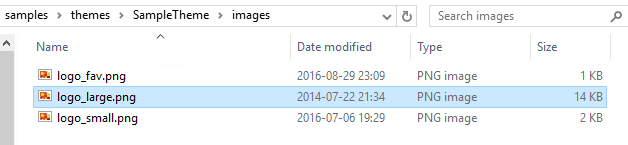
You must keep the size the same of the original png file.
The logo_large.png are 364 x 200 pixels.
The logo_small.png are 54 x 30 pixels.
Open your company png file in Windows Paint, and select change size. Enter the new format.

Save as large.png
Change the format again to small, and save that picture as small.png
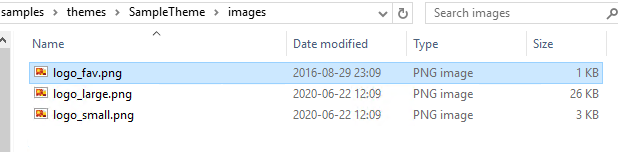
Copy the two png files to your sample images folder.

Remove the old logo_large.png and logo_small.png files.
Rename your files to logo_large.png and logo_small.png respectively.
Rename the folder to your company name, in our example PAC.
Open spec.json again in notepad++

Change the name to your company name, in our example PAC.
Save the file.
Go to the folder above, e.g. samples.
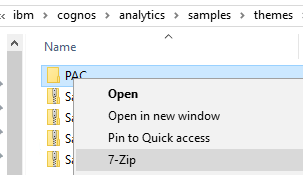
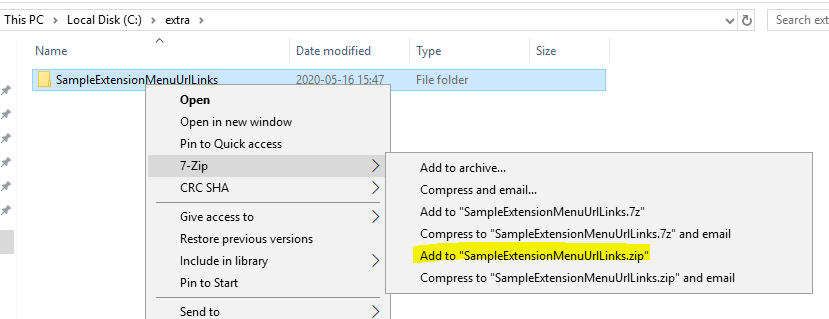
Zip your new folder to a zip file.
Login to Cognos Analytics as a administrator.
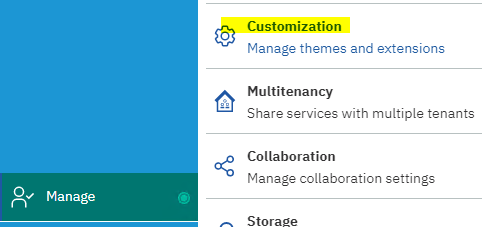
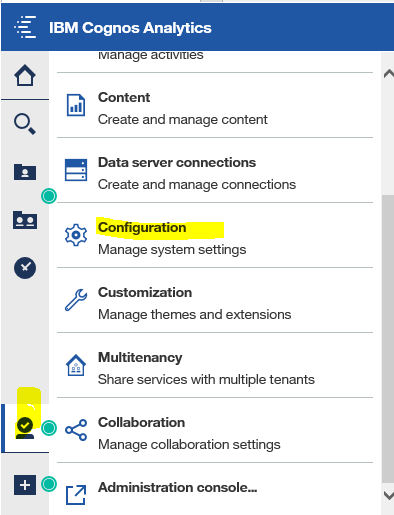
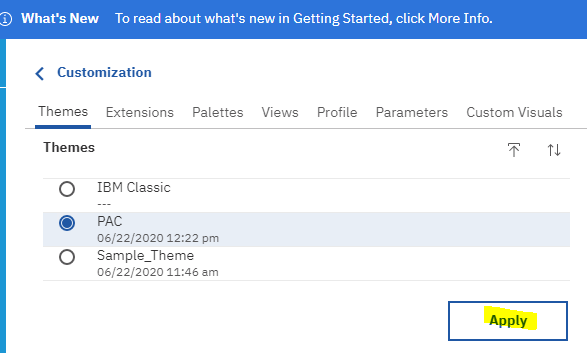
Click on Manage and Customization.
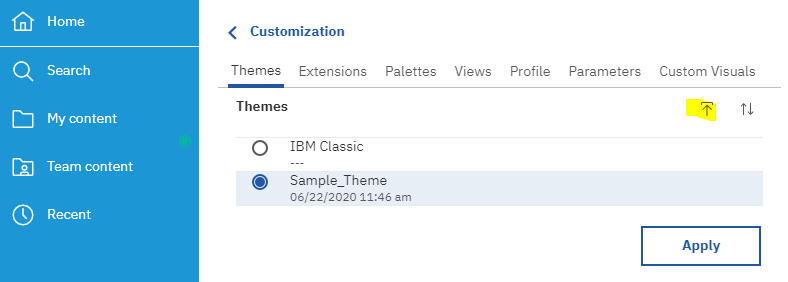
Under Themes, click on upload team icon.
Find your new file and select it.
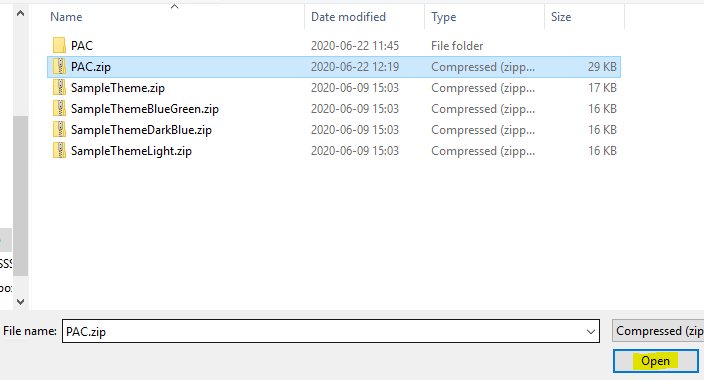
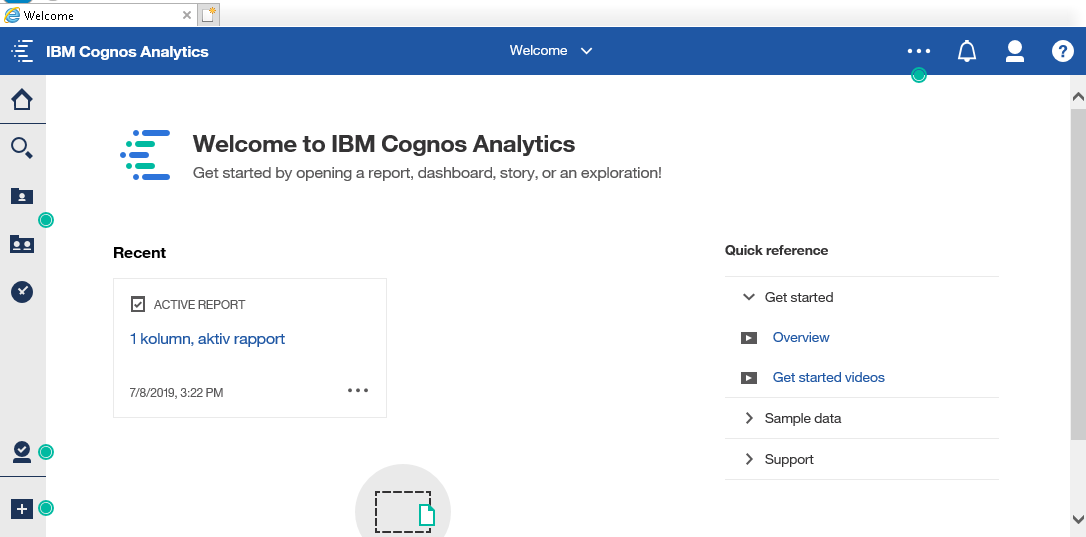
When it is loaded into Cognos Analytics select it and click apply.
You need to logout and in again to have the new team shown.
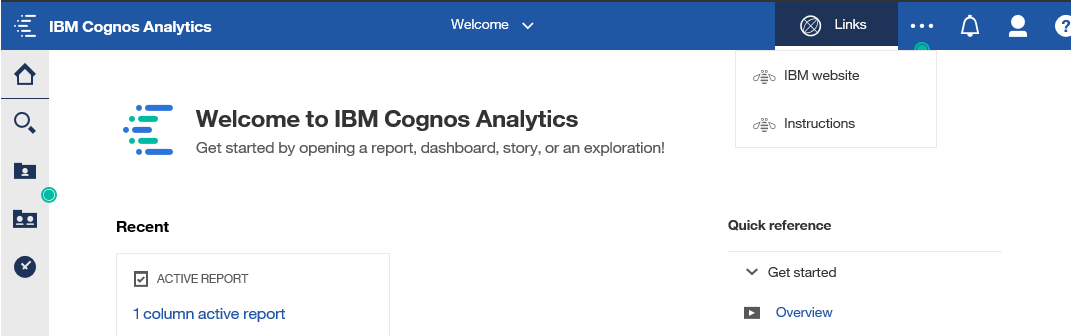
If you want to change more, like the background picture and text, you can do this https://quebit.com/askquebit/IBM/creating-and-setting-a-default-welcome-page-for-cognos-analytics-11-0-4/
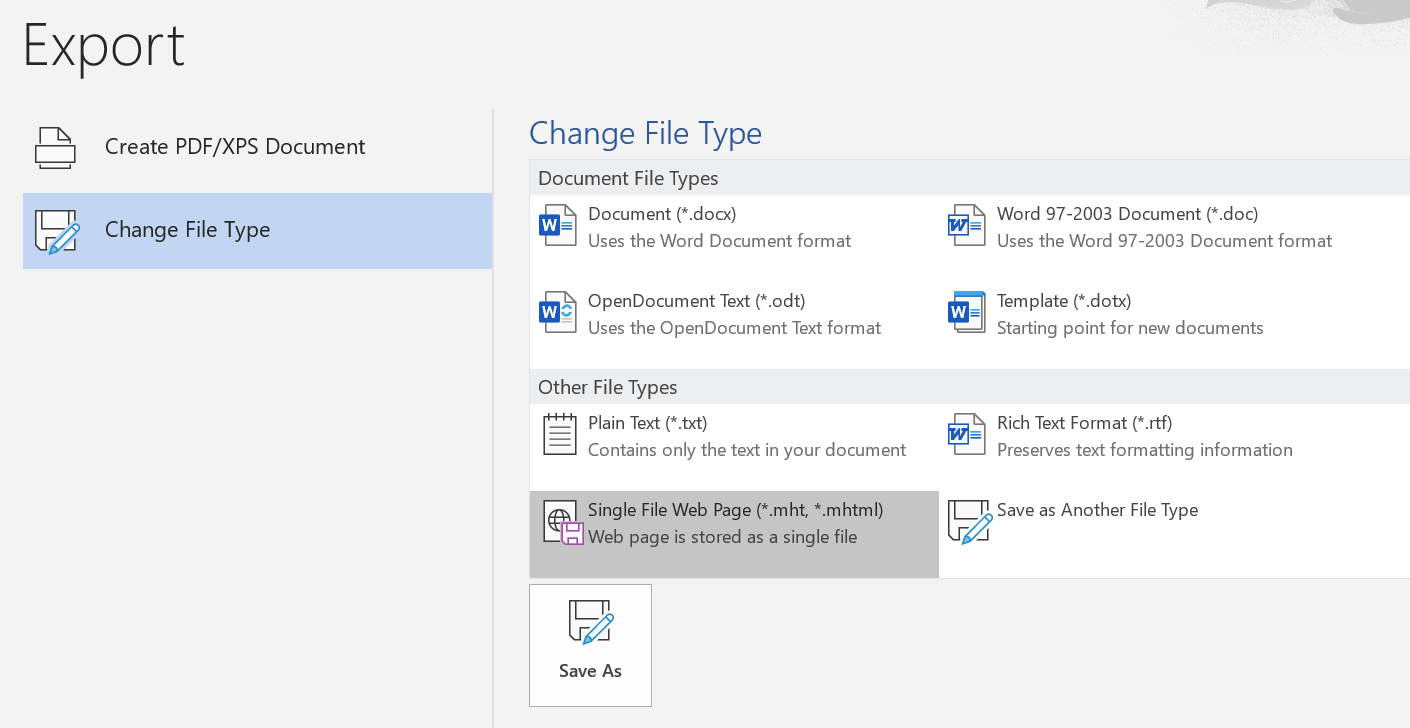
Upload the Samples_for_Install deployment archive. (To ensure you have all demo reports)
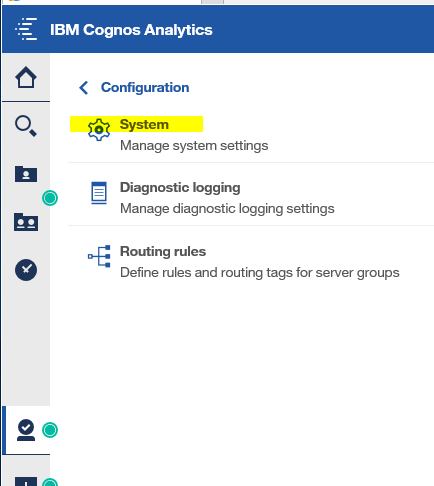
Use Manage > Administration console to open IBM Cognos Administration.
On the Configuration tab, click Content Administration.
On the toolbar, click the New Import button.
Select Samples_for_Install in the first step of the New Import wizard and complete the remaining steps of the wizard.

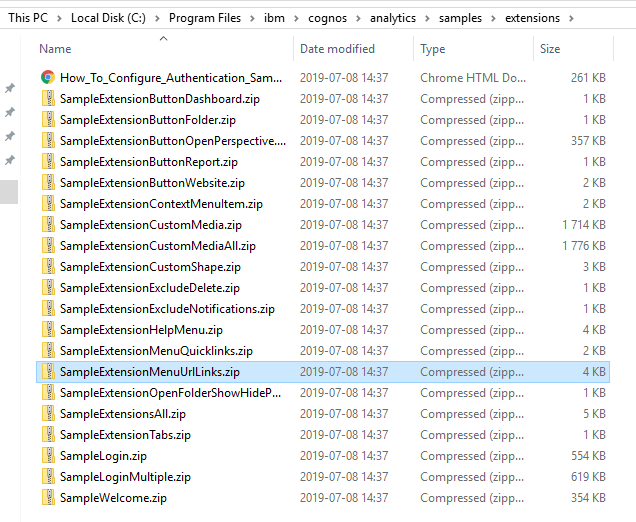
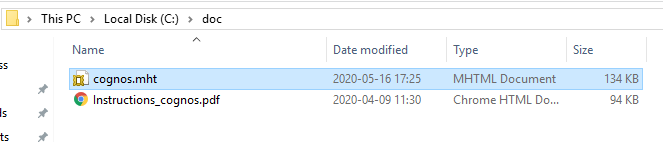
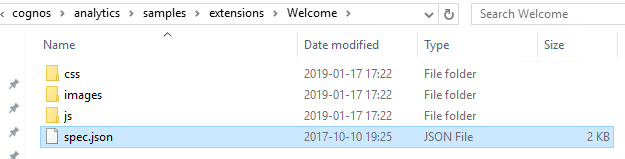
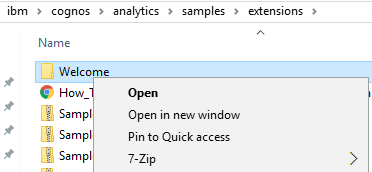
Find the SampleWelcome.zip file in folder C:\Program Files\ibm\cognos\analytics\samples\extensions
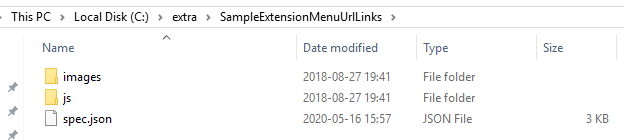
Extract the zip file in a separate folder. Change the name of the folder to Welcome.
Open spec.json file in notepad++
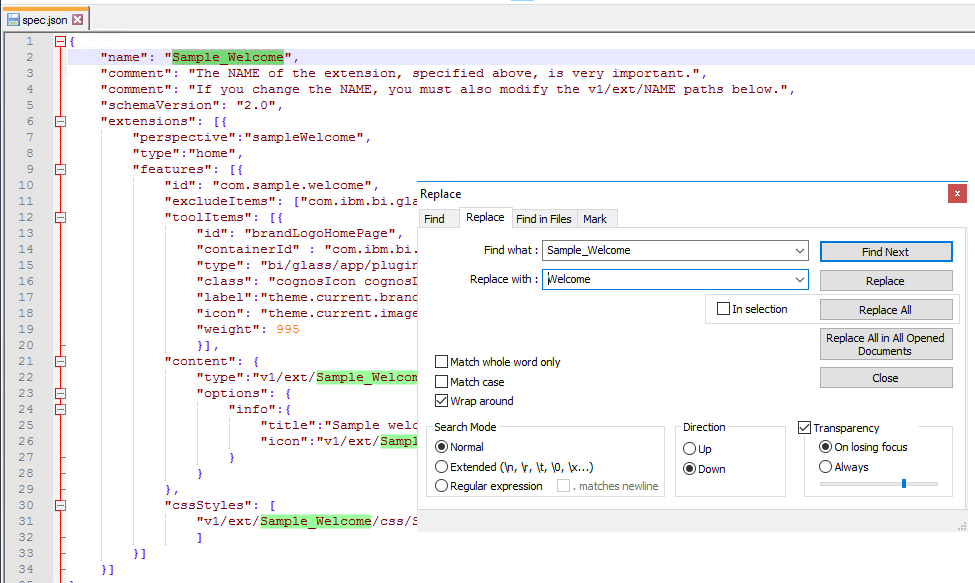
Search and replace Sample_Welcome with Welcome.
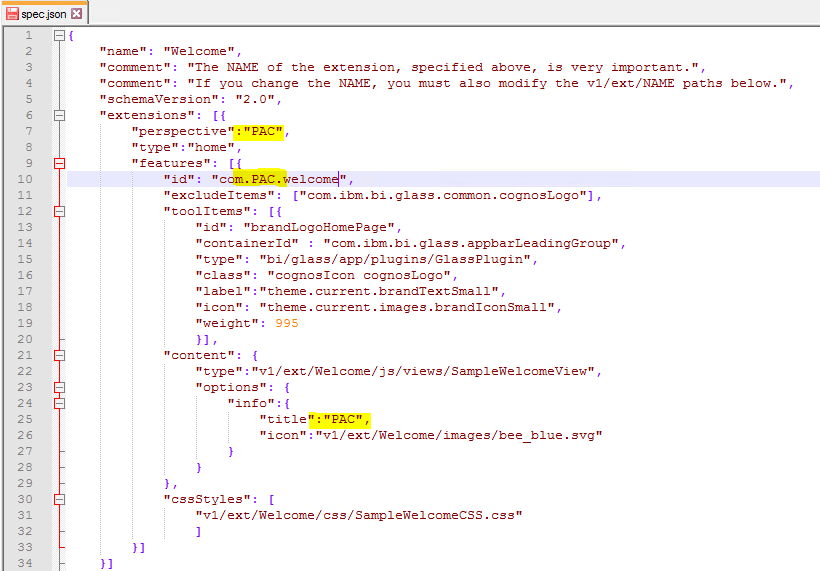
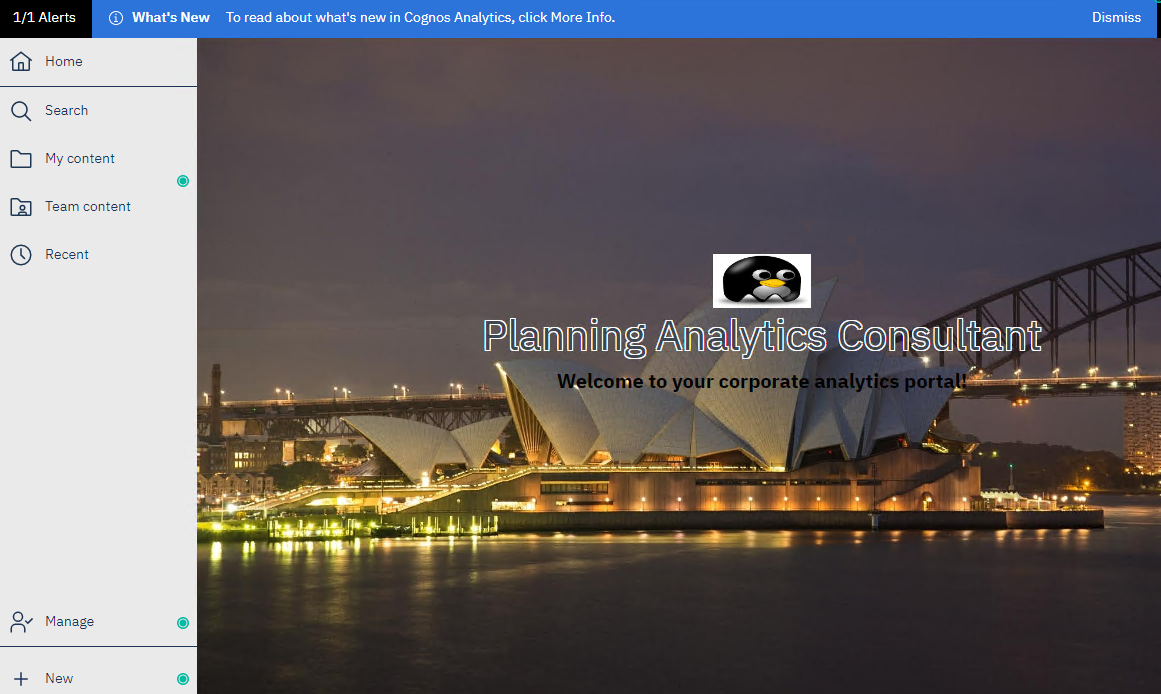
Replace the titles to your company name.
Save the file.
Go into the image folder.
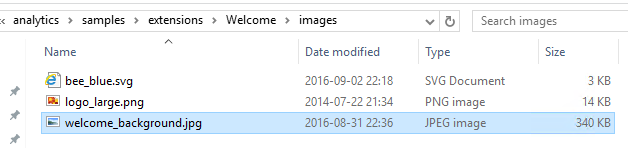
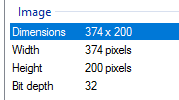
Change logo_large.png to your logo in format 374×200 pixels.
Change welcome_background.jpg to a picture of your office in size 1920×1280 pixels.
You can find free pictures at https://pixabay.com/
You can resize a picture at https://www8.lunapic.com/editor/
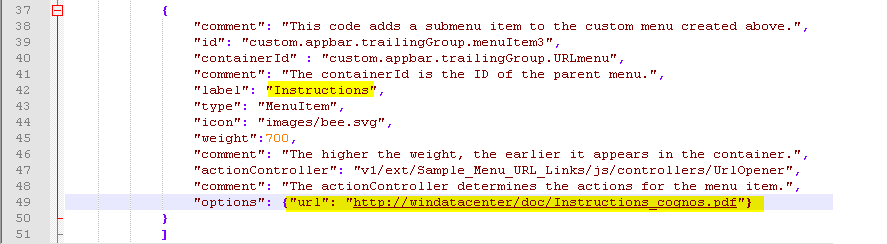
Go to the C:\Program Files\ibm\cognos\analytics\samples\extensions\Welcome\js\views folder and update the SampleWelcomeView HTML file with correct path.

You may remark or update the other text in HTML file for you company information.
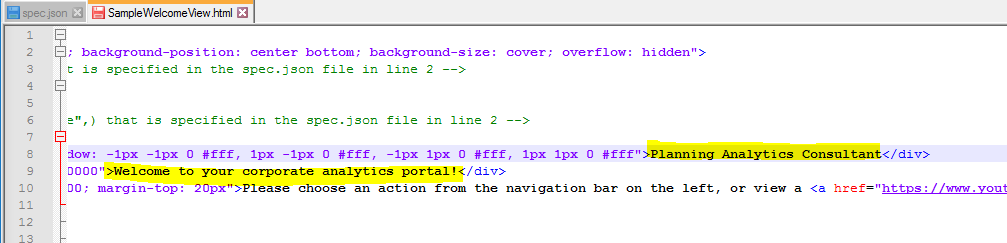
On line 10 set <!– ….. –> to remove the video link in the example file.
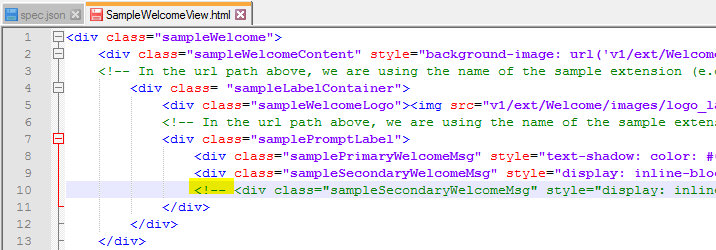
save the file.
Go up one folder, and zip the welcome folder to welcome.zip file.
Login to Cognos Analytics as administrator.
Click on Manage.
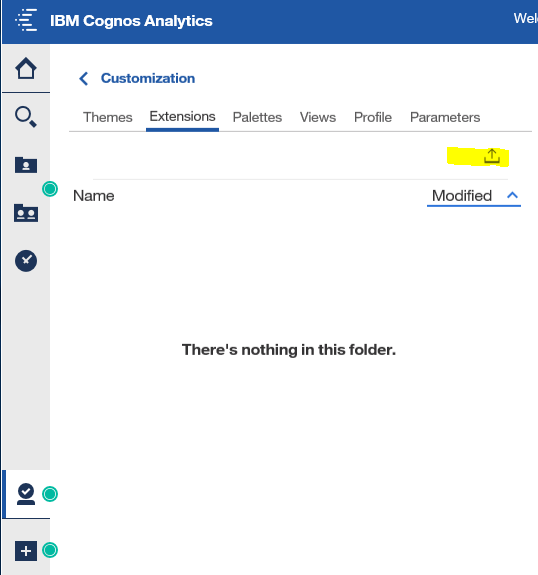
Click on Customization.
Click on Extensions.
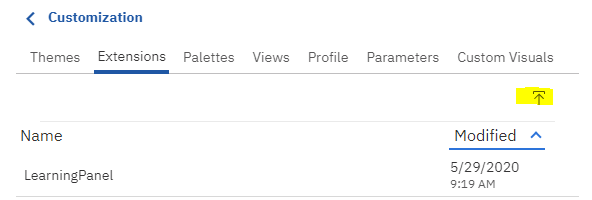
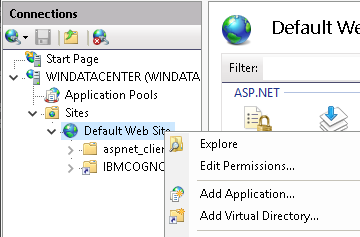
Click the upload icon.
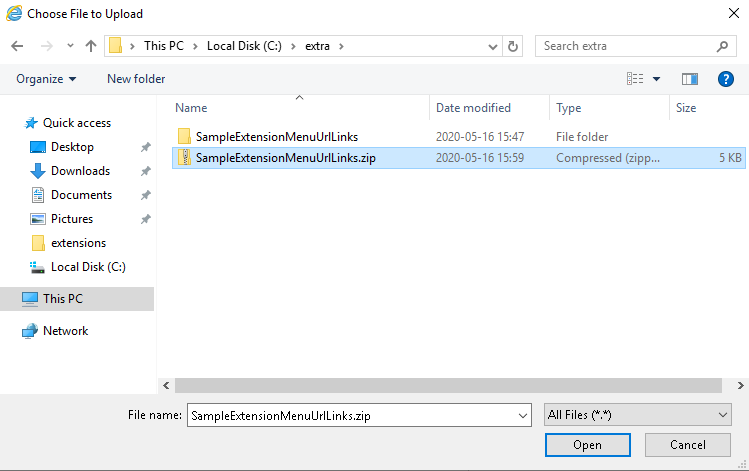
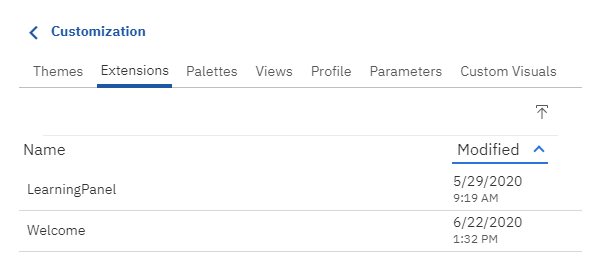
Find your zip file in C:\Program Files\ibm\cognos\analytics\samples\extensions folder.
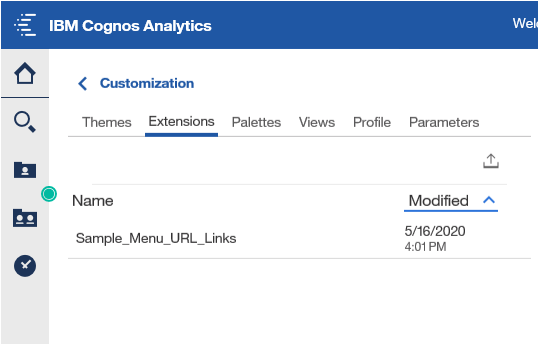
Open it and see the extension load.
You need to change the home page to make it be visible.
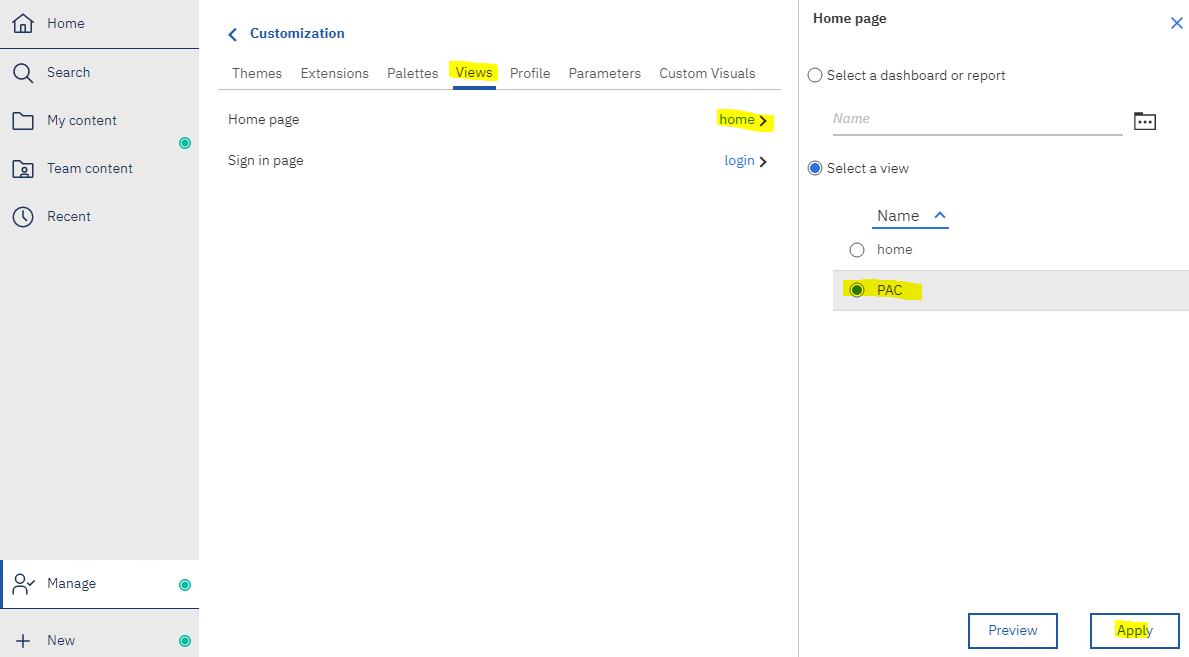
Go to Manage-Customization-Views-home and select the new view PAC.
Click Apply.
Log out and in again.
The selection of Themes control the text in the top blue banner.
The selection of view, tell what extension will be used at the main canvas (perspective).
You can preview at http://servername.domain.com/ibmcognos/bi/?perspective=sampleWelcome
You can set that users that belong to a cognos group, will see a specific view.
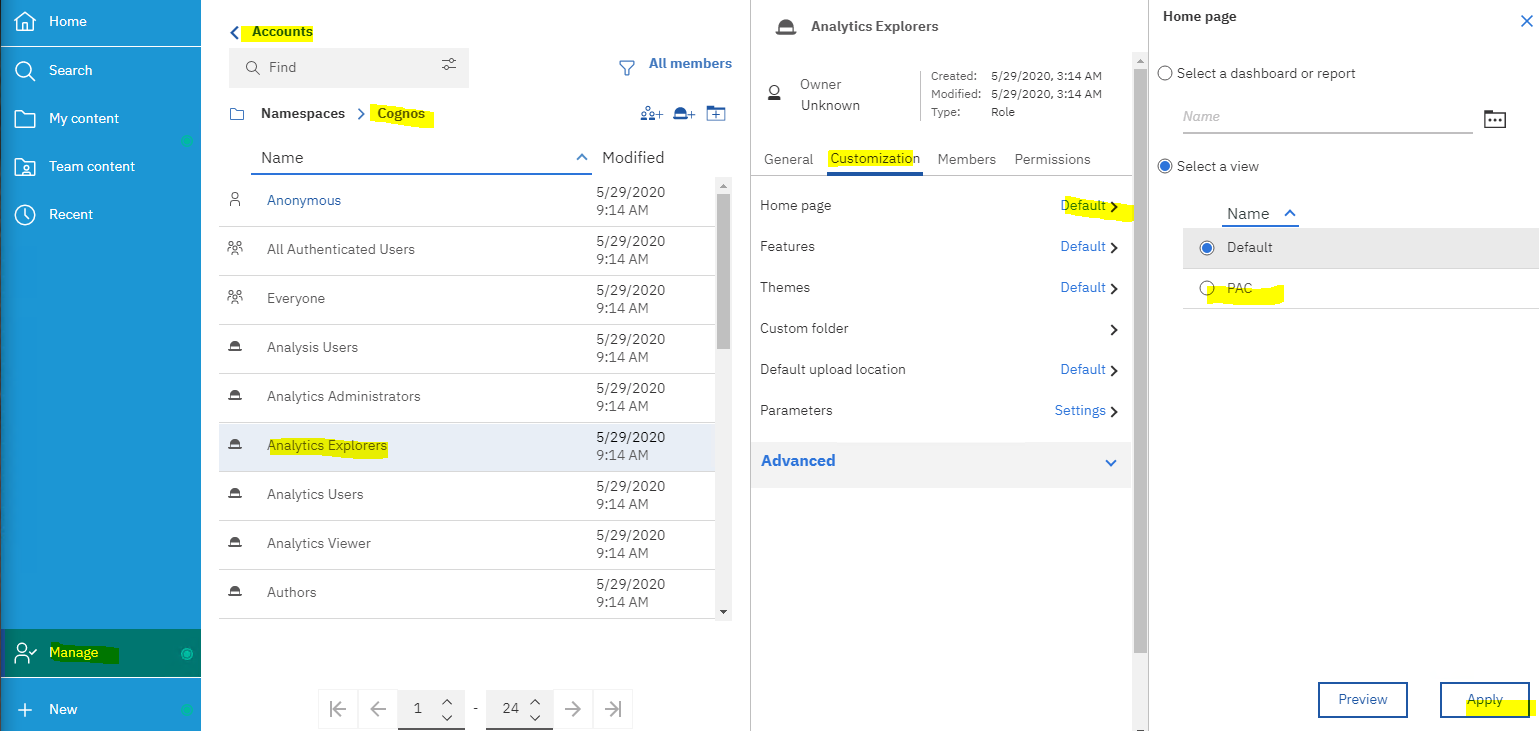
Go to Manage – Accounts – Cognos – Analytics Explorers – Customization – Home page Default – PAC.
Click Apply.
More information:
https://www.ibm.com/support/knowledgecenter/SSEP7J_11.1.0/com.ibm.swg.ba.cognos.ag_manage.doc/t_ag_manage_cust_home.html
http://queryvision.com/kb/supporting-portal-pages-portal-tabs-ibm-cognos-analytics-11-x/
https://www.ibm.com/support/pages/node/553135
https://www.ibm.com/support/pages/how-users-default-home-page-changed