Product:
Cognos Analytic 11.1.6
Microsoft Windows 2016 server

Problem:
When you browse to http://caservername/ibmcognos you get an error;

Service Unavailable
HTTP Error 503. The service is unavailable.

Solution:
This is in most cases is this that the application pool is stopped.

Go to IIS manager and start the ICApool.


More Information:
https://www.ibm.com/support/pages/request-failed-http-status-503-service-unavailable-when-launching-cognos-iis-gateway
https://www.ibm.com/support/pages/request-failed-http-status-503-service-unavailable-when-launching-controller

Product:
Planning Analytics 2.0.7
Cognos Analytics 11.0.x
Microsoft Windows 2012 server

Problem:
During change of CA11 server, you can not login to TM1 Architect or TM1WEB.
You get error: SystemServerClientNotFound
The new windows IIS for the Cognos BI gateway server is using HTTPS.

Solution:
Inside tm1s.cfg file ensure the values for IntegratedSecurityMode=5 point to correct part of Cognos Analytics.

ServerCAMURI=http://caservername.domain.com:9300/p2pd/servlet/dispatch
ClientCAMURI=https://caservername.domain.com:443/ibmcognos/bi/v1/disp

If the Cognos BI dispatcher also uses SSL, then set it up like this
https://www.ibm.com/support/pages/how-configure-planning-analytics-connect-ssl-secured-cognos-dispatcher

More Information:
https://www.ibm.com/support/pages/configure-tm1-cam-authentication-using-cognos-analytics-110-sso

Product:
Cognos Controller 10.3.1 interim fix 13
Microsoft Windows 2012 server

https://www.ibm.com/support/pages/cognos-controller-builds-ccr-name-and-database-version

Problem:
After update with a interim fix to Cognos Controller, user get a error when start of a JAVA based dialog, like JOBS DEFINE or COMMAND CENTER.

Solution:
On the IIS manager, for the application folder CONTROLLERSERVER set to allow “Anonymous Authentication”, and only have “Windows Authentication” on virtual folder IBMCOGNOS or SSO.


More Information:
https://www.ibm.com/support/pages/node/1119885
https://www.ibm.com/support/pages/how-upgrade-controller-1031x-later-interim-fix-if-fix-pack-patch-level

Product:
Cognos Analytics 11.1.x
Microsoft Windows 2019 Server

Problem:
How add links to webpage with instructions for the users?

Linking a website URL to my Cognos Analytics 11.0.4+ Welcome Page

Solution:
You can add a extra menu with links to your (HTML, PDF) pages.

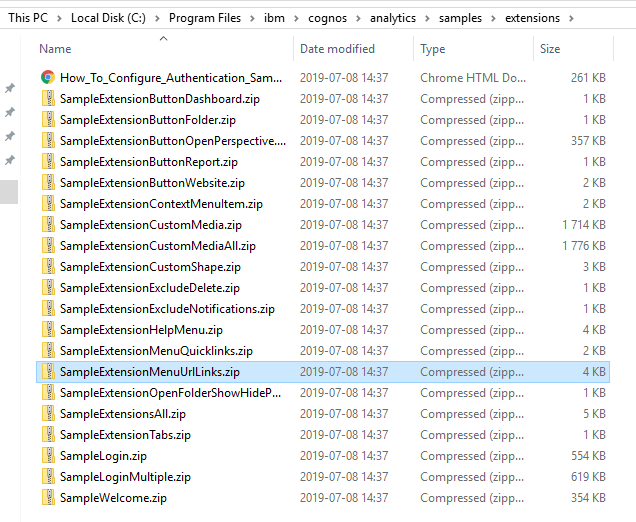
On the CA11 server go to the folder C:\Program Files\ibm\cognos\analytics\samples\extensions

Create a new empty folder, called c:\extra.


Copy the SampleExtensionMenuUrlLinks.zip file to the c:\extra folder.

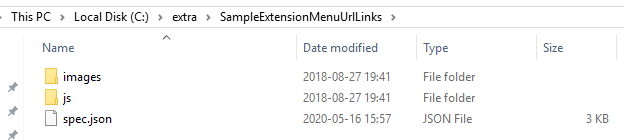
Unzip the file SampleExtensionMenuUrlLinks.zip.

Go into the new folder SampleExtensionMenuUrlLinks and open the file spec.json in notepad++

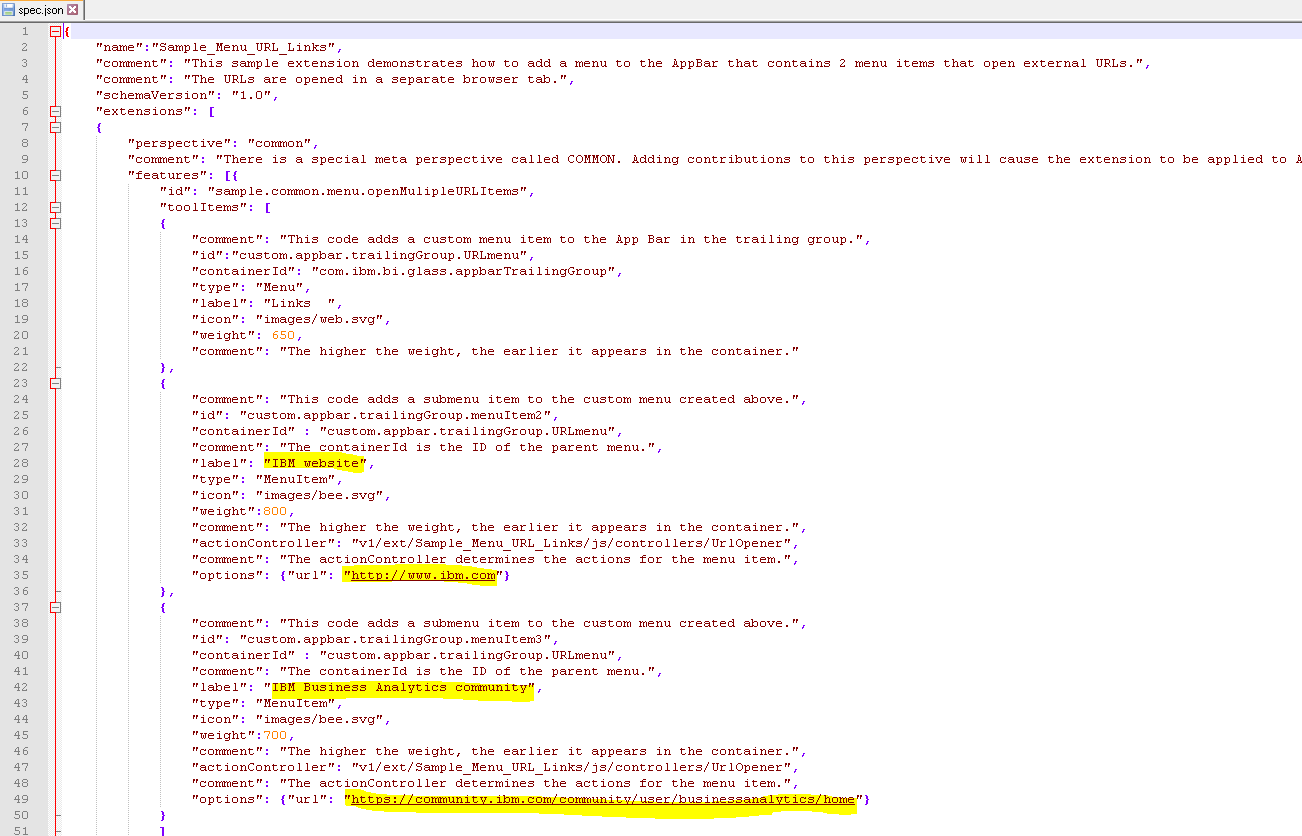
In this example there are two menu items you can edit to use for your needs.
Edit the “label”: “IBM website”, and “options”: {“url”: “http://www.ibm.com”} lines.

You need to have a document to share with the users, we copy a pdf file to a new folder c:\doc

on a server where you have IIS installed, so you can in inside IIS manager share this files.

Start IIS manager and go to your default site.

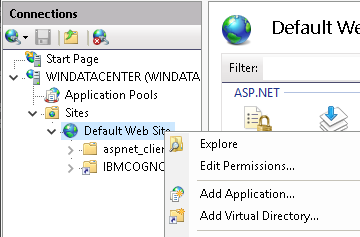
Mark the Default Web Site and right click and select Add Virtual Directory

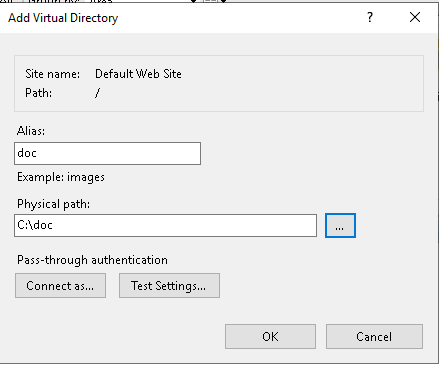
Enter a alias as Doc and change the physical path to your folder c:\doc. Click OK when done.
Now you can place any files in this folder (like HTML or PDF) that you later can share in Cognos portal by updating the json file.

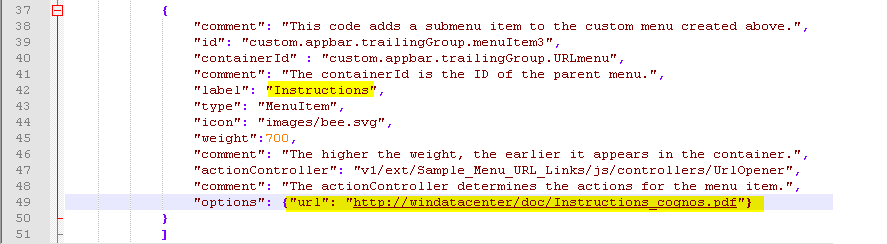
In our example we change the second label to Instructions and the second options to “http://windatacenter/doc/Instructions_cognos.pdf” – you need to change that line to use your windows server name (not my windatacenter) and the pdf file name to your pdf file name. Do not use a space in the file name. Save the spec.json file.

Go up to extra folder, and use 7zip to create a zip file again.

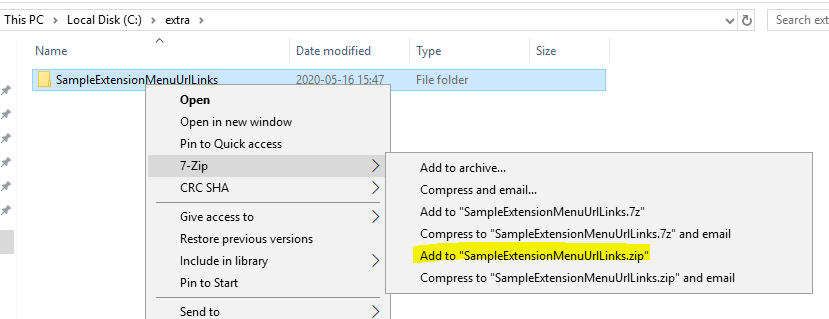
All files in the folder should be compressed to a zip file. You can give the zip file a new name if you like.

Now you need to update CA11 with this extension that will change the looks of Cognos Connection.

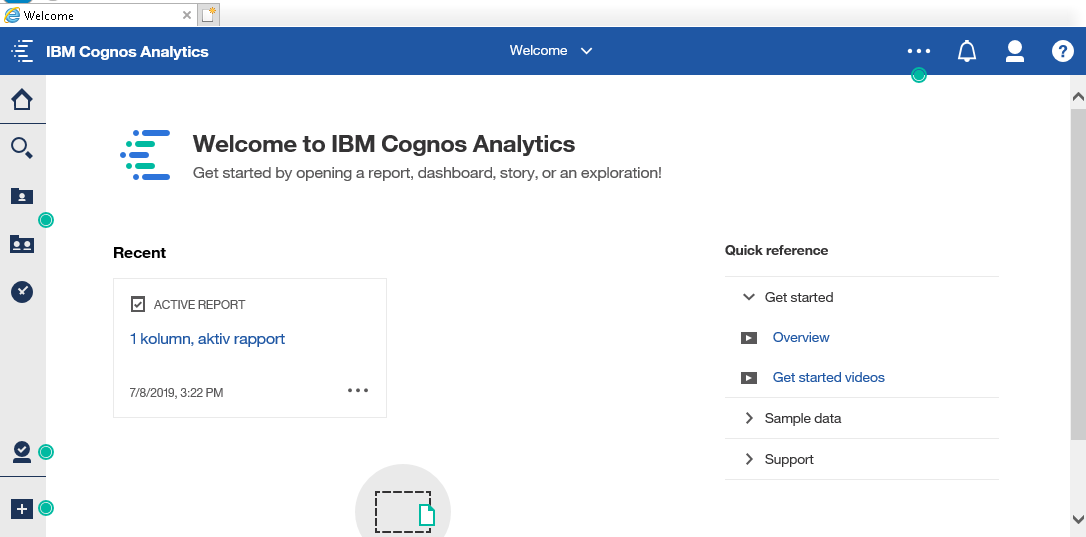
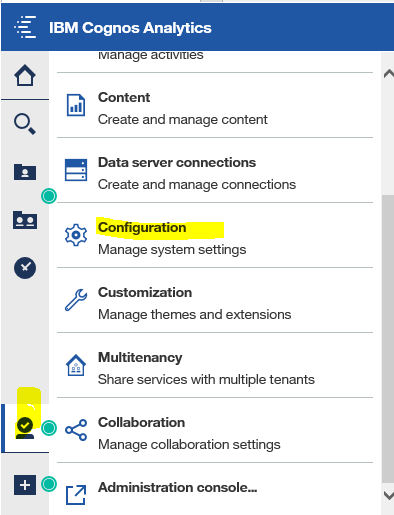
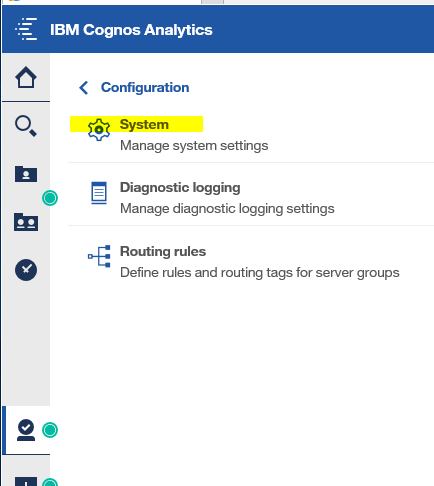
Login as administrator, click on manage and customization.

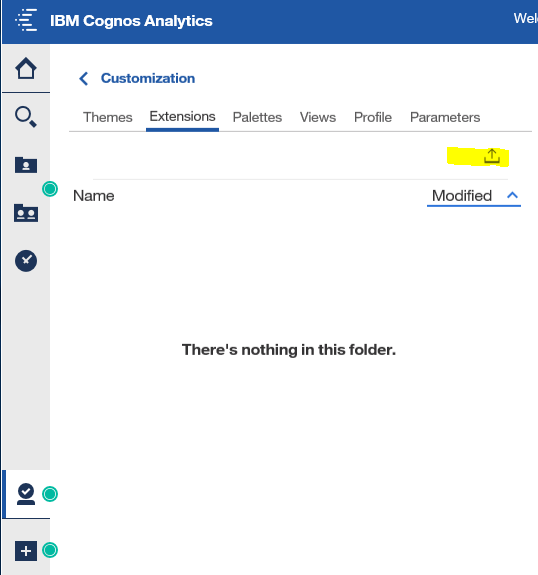
Click on tab Extensions, and click on the upload icon.

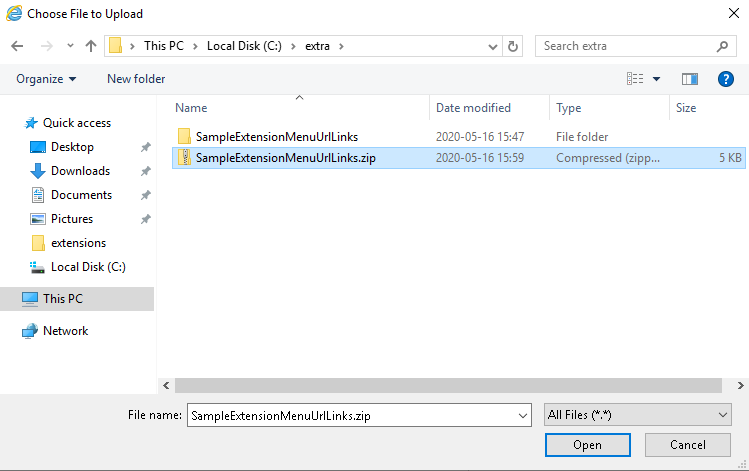
Select your newly created zip file and click open.

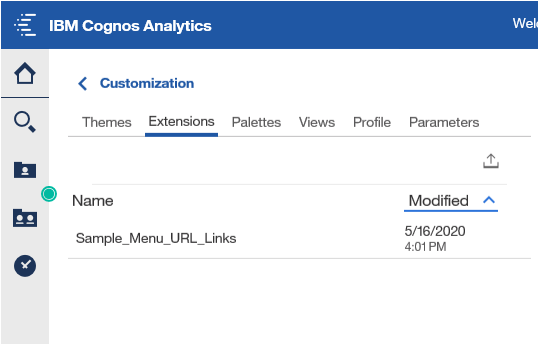
The extension is loaded into the Cognos store. You need to logout and in again to see the effect.

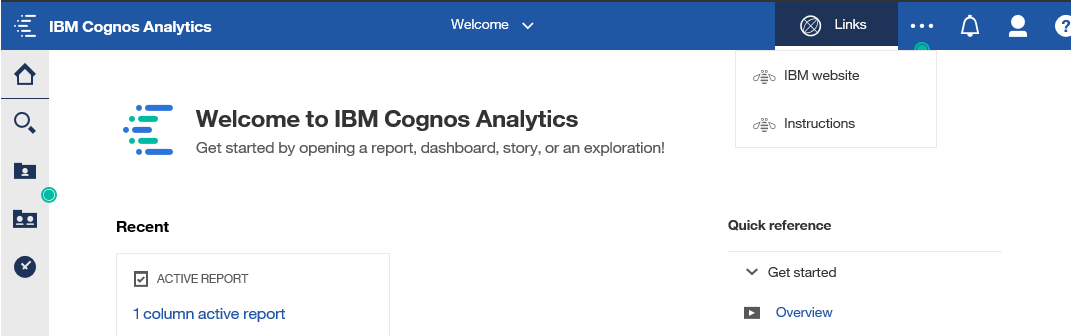
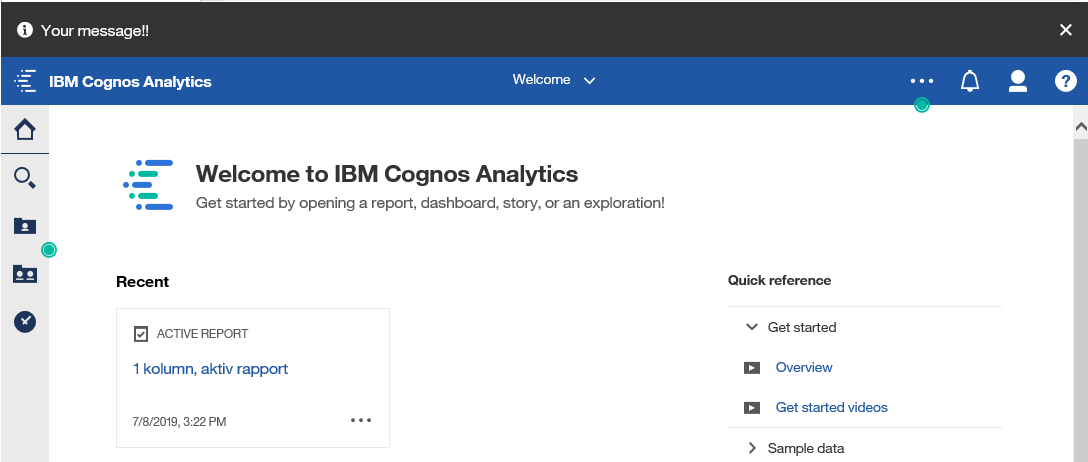
You get a new LINKS menu with two options, we have only changed the second one to Instructions. If you click on that the PDF should open.

You may get above message in Internet Explorer and need to click Open to open the pdf in a reader.

If you have issues, please try with chrome first – go to you Cognos Analytics web site.
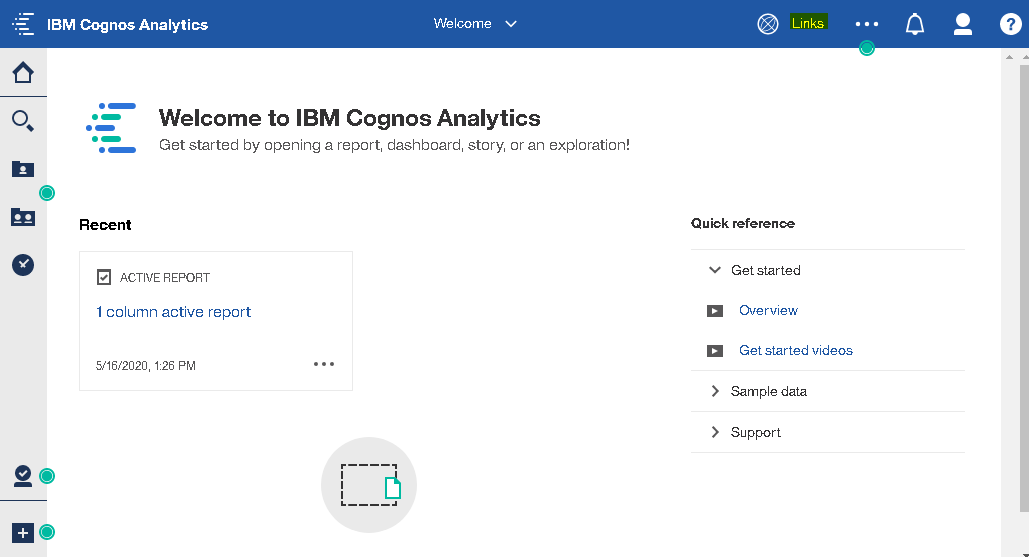
Click on links.

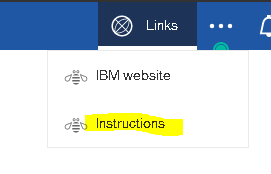
Click on Instructions.

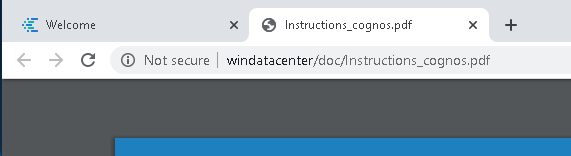
The pdf should open in chrome browser.
Any files placed in your c:\doc folder is accessible for any user that can browse to your IIS server.
You provide the direct links in Cognos to make it easier for the users to find a specific file.

More Information:

https://www.ibm.com/support/knowledgecenter/SSEP7J_11.0.0/com.ibm.swg.ba.cognos.ag_manage.doc/t_ag_manage_cust_home.html

https://www.ibm.com/support/knowledgecenter/SSEP7J_11.1.0/com.ibm.swg.ba.cognos.ag_manage.doc/c_mng_cust_cr_home.html

https://www.ibm.com/support/knowledgecenter/SSEP7J_11.1.0/com.ibm.swg.ba.cognos.ag_manage.doc/c_ag_cust_extensions.html#cust_sample_extensions

https://www.ibm.com/support/knowledgecenter/SSEP7J_11.1.0/com.ibm.swg.ba.cognos.ag_manage.doc/c_mng_cust_manage.html

You can in Microsoft Word export a word doc to a HTML file, select export from file menu, and select change file type to “Single File Web Page” and click save as.

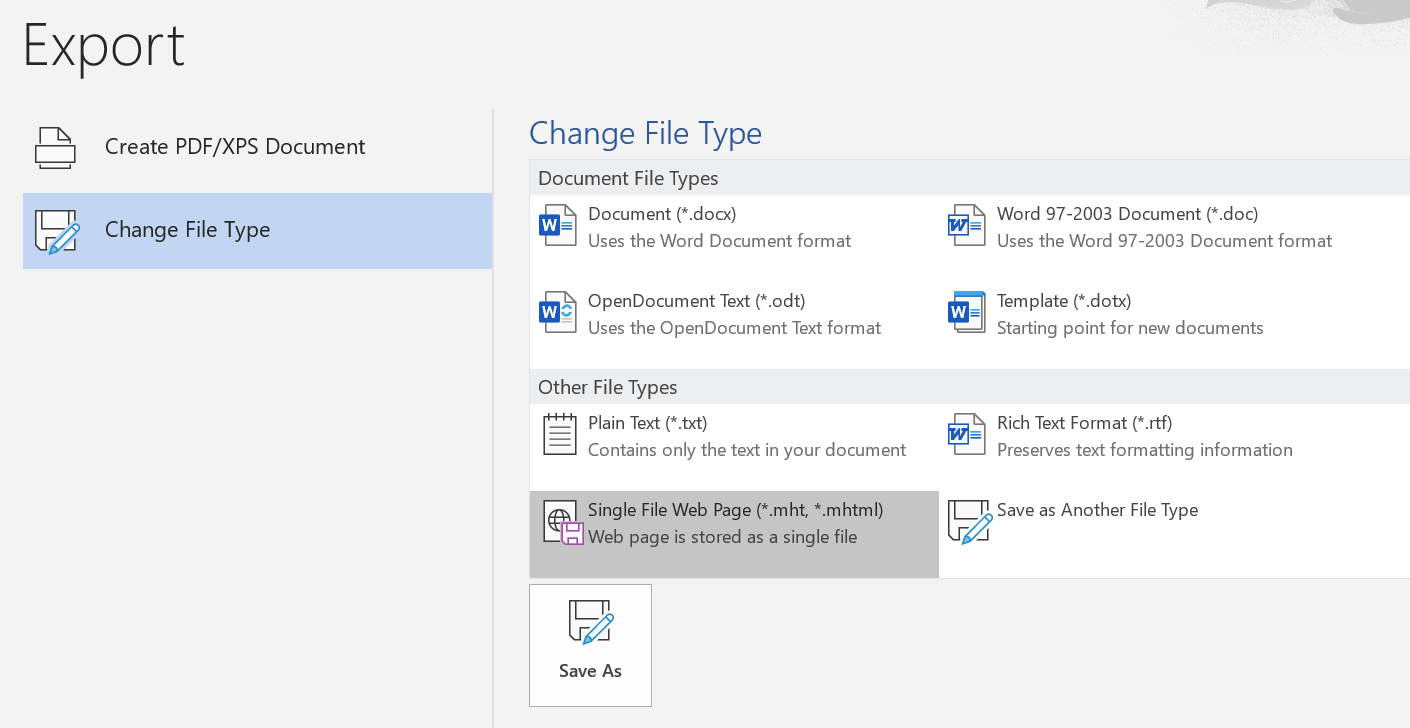
Select a easy name and select html or mhtml.

Copy the file to your web server (IIS) and then update the first link in the json file.

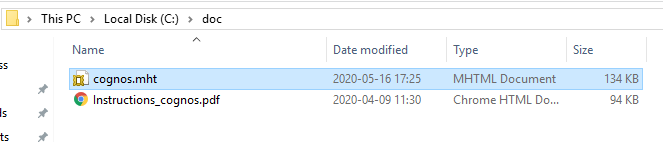
So it should be like this “options”: {“url”: “http://windatacenter/doc/cognos.mht”}

instead of “options”: {“url”: “http://www.ibm.com”}

Save the file, and do the zip and upload steps again. Logout and in to CA11 again, to see the new link.

Product:
Cognos Analytics 11.1.4
Microsoft Windows server 2019

Problem:
How alert Cognos users about a important change?

Solution:
Add a banner that show when the user login to Cognos Connection portal.

Log in to Cognos Analytics as a administrator and click on Manage.

Click on Configuration.

Click on System.

Scroll down to Advance Settings, and fill in values for Custom settings.
Add Key: Glass.enableBanner and as Value, true. Click Apply button.

Repeat for your message text.
Add Key: Glass.bannerMessage and as Value, Your Message!!. Click Apply button.

Log out and in to Cognos Analytics to see the result.

You can click the X on the right to remove the message for this session.

You can set Glass.disableAlertBanner = true to disable the entire banner, or Glass.disableWhatsNewAlerts = true to disable only the Whats New messages in the banner.

More information:
https://www.atlanticcognosanalytics.com/post/what-s-new-in-cognos-11-1-4-new-welcome-screen
https://www.ibm.com/support/pages/apar/PH18436

Creating and Setting a Default Welcome Page for Cognos Analytics 11.0.4+

https://www.ibm.com/support/knowledgecenter/SSEP7J_11.1.0/com.ibm.swg.ba.cognos.ag_manage.doc/c_ag_cust_extensions.html#cust_sample_extensions

https://www.ibm.com/support/pages/customizing-alerts-banner

11.1.4:
Navigate to Manage > Configuration > System, and select Advanced Settings.
Key = Glass.bannerMessage Value = <your message> will add the additional message to the alert banner.

11.1.5:
Navigate to Manage > Configuration > System, and select Advanced Settings.
Key = Glass.maintenanceMessage Value = <your message> adds an additional message to the alert banner.

Product:
Planning Analytics 2.0.8
Microsoft Windows 2016 Server

Problem:
How install the ILMT BIG FIX client to Planning Analytics servers?
IBM demand that virtual PA installations have the ILMT client installed and that the customer provide an ILMT report of the CPU usage for virtual installations.

https://lodestarsolutions.com/why-have-i-never-heard-about-the-ibm-ilmt-tool-for-cognos-bi-or-tm1/
http://www.aramartech.co.uk/for-ibm-cognos/ilmt-(1)
https://exploringtm1.com/tm1-ilmt/

How install the BIG FIX client:
You should have installed the ILMT and BIG FIX server in your organization on a separate server.
During the installation of the Big Fix server a license is created for your organization.
Above is a must for you to be able to install the client.

Download client file from here https://support.bigfix.com/bes/release/

The simplest way is that you get a setup.exe and actionsite.afxm file from the server copied to your Planning Analytics (TM1) server – place all files in same folder (c:\install). If you do not have the afxm file you get a error like this:

Run the installation of the client program BigFix-BES-Client-9.5.14.73.exe


(The files to copy for the client, can be found on the BigFix server in folder C:\Program Files (x86)\BigFix Enterprise\BES Installers\Client)

Click OK to the language selection.

Click Next.

Click next to the selection of installation folder.


Click install.


Click finish.

The client should talk to the server and show up direct, inside the Big Fix server console.

Then the IT department need to activate the scans for IBM software.
https://help.hcltechsw.com/bigfix/9.5/inventory/Inventory/planinconf/t_scheduling_soft_scans.html

There is the possibility that IT department need to download other scan software, as part of the Big Fix server configuration to allow the Big Fix client to perform the software scan. This is done with the Big Fix system.

Download software from here (old version):

Install the installation generator first from here;
http://software.bigfix.com/download/bes/95/BigFix-BES-9.5.2.56.exe

The server exe is found here;
http://software.bigfix.com/download/bes/95/BigFix-BES-Server-9.5.2.56.exe


After the installation generator is setup, you get instructions on how to install the clients.

More information:

https://support.hcltechsw.com/csm?id=bigfix_support
https://help.hcltechsw.com/bigfix/10.0/platform/Platform/Installation/c_licensing_tasks.html
https://help.hcltechsw.com/bigfix/9.5/platform/Platform/Installation/c_installing_the_client_manually.html
https://www.ibm.com/support/knowledgecenter/SS8JFY_9.2.0/com.ibm.lmt.doc/Inventory/planinconf/t_changing_freq_sch_scan.html
https://www.ibm.com/support/knowledgecenter/SS8JFY_9.2.0/com.ibm.lmt.doc/Inventory/overview/c_overview_main.html
https://www.ibm.com/support/knowledgecenter/SS8JFY_9.2.0/com.ibm.lmt.doc/Inventory/planinconf/c_default_scan_configuration.html
https://forum.bigfix.com/t/bigfix-server-install-fails-missing-masthead/17434/4


The big fix program use port 52311 to talk to the server.

On the Big Fix server, launch console, create a lot of default values.

You can download a old client direct from here https://support.bigfix.com/bes/release/9.2/patch8/

https://uit.stanford.edu/service/bigfix/pc
https://www.ibm.com/support/knowledgecenter/SS8JFY_9.2.0/com.ibm.lmt.doc/Inventory/planinconf/t_installing_bigfix_win.html#task_rnp_xzm_tx
https://forum.bigfix.com/t/endpoint-manager-need-to-create-new-masthead-file/13327/5
https://help.hcltechsw.com/bigfix/9.2/platform/Platform/Config/c_editing_the_masthead.html

Please check the current license demands from IBM on the Cognos and TM1 products, as they may change.

Product:
Cognos Controller 10.4.2
Microsoft Windows server 2012 R2
Microsoft SQL Server 2016

Problem:
After restore of one old Cognos Controller database backup, you get this error when you try to create a SQL account for the database.

Error:
The server principal ‘fastnet’ already exists

Solution:
Go into Microsoft SQL Server Management Studio as Administrator
Mark your newly restored controller database
Expand the Tables and check the schema name (mostly it is fastnet)
Click on “New Query”
Past in this code (edit the name and update the ‘ to be correct symbol)
EXEC sp_change_users_login ‘Auto_Fix’, ‘fastnet’
Click on Execute.

The row for user ‘fastnet’ will be fixed by updating its login link to a login already in existence.
The number of orphaned users fixed by updating users was 1.
The number of orphaned users fixed by adding new logins and then updating users was 0.

This should create and update the SQL server with the account used for the controller database.

More information:
https://sqlserverbuilds.blogspot.com/
https://www.crestwood.com/2017/05/24/error-creating-new-sql-user-server-principal-already-exists/

Product:
Cognos Analytics 11.1.5 Jupyter notebook
Linux Red Hat Server 7.7

Problem:
During setup of SSL(TLS) support on the jupyter notebook, we can not run the build script.

Error message:
chmod: cannot access ‘/srv/proxy.key’: No such file or directory

Solution:
On the linux jupyter server. Connect to it with PUTTY or WinSCP.
Open the Dockerfile_hub file (it is in the folder where you unpacked the jupyter files e.g. /ibm/jupyter/dist/scripts)
check that after first “USER root” command there is this command line;
 COPY build-tmp/hub  /srv
if it is not, add it and remark out the same command line later in the file.

Save the file.
Then go to the /ibm/jupyter/dist/scripts/unix folder
Run ./build.sh

if there is no errors
Run ./startup.sh

Then continue with the setup of SSL for jupyter notebook.

More Information on how setup HTTPS for jupyter notebook:
https://www.ibm.com/support/pages/node/6116296
https://www.ibm.com/support/knowledgecenter/SSEP7J_11.1.0/com.ibm.swg.ba.cognos.inst_cr_winux.doc/c_inst_jupyter.html

https://www.ibm.com/support/pages/jupyter-notebooks-1115-does-not-work-when-proxykey-has-insufficient-permissions

Product:
Cognos Analytics 11.1.5 framework manager
Product_version=11.1 R5
Microsoft Windows 2016 server

Problem:
When saving FM cognos configuration changes, you get a error.

Error message:
BMT-MD-0003 CST-AOM-0016 A SAX error with the message ‘Invalid document structure’ occurred while processing the request.

Solution:
Check the values Dispatcher URI for External Applications in Framework Manager configuration (<fm_home>/bin/cogconfigw.exe)
Under Environment locate setting Dispatcher URI for External Applications
check it to be in format: http://dispatcher.server.sample:9300/p2pd/servlet/dispatch

The value for http://dispatcher.server.sample:9300//p2pd/servlet/dispatch have a extra slash, change to http://dispatcher.server.sample:9300/p2pd/servlet/dispatch
and the save should work.