Product:
IBM DB2 Data Studio
Microsoft Windows 2022 server
Issue:
Error when starting DS4.1.2 client
An error has occurred, See the log file d:\program files\ibm\ds4.1.2\configuration\1747225616665.log
org.osgi.framework.BundleException: Unable to acquire the state change lock for the module: osgi.identity; osgi.identity=”org.eclipse.core.runtime”
Solution:
Before starting the DB2 studio client program
- Go to your eclipse directory and open configuration directory. (can be D:\Program Files\IBM\DS4.1.2\configuration\org.eclipse.osgi\.manager )
- open org.eclipse.osgi directory.
- open .manager folder.
- Delete .fileTableLock file.
- Restart your DB2 data studio program.
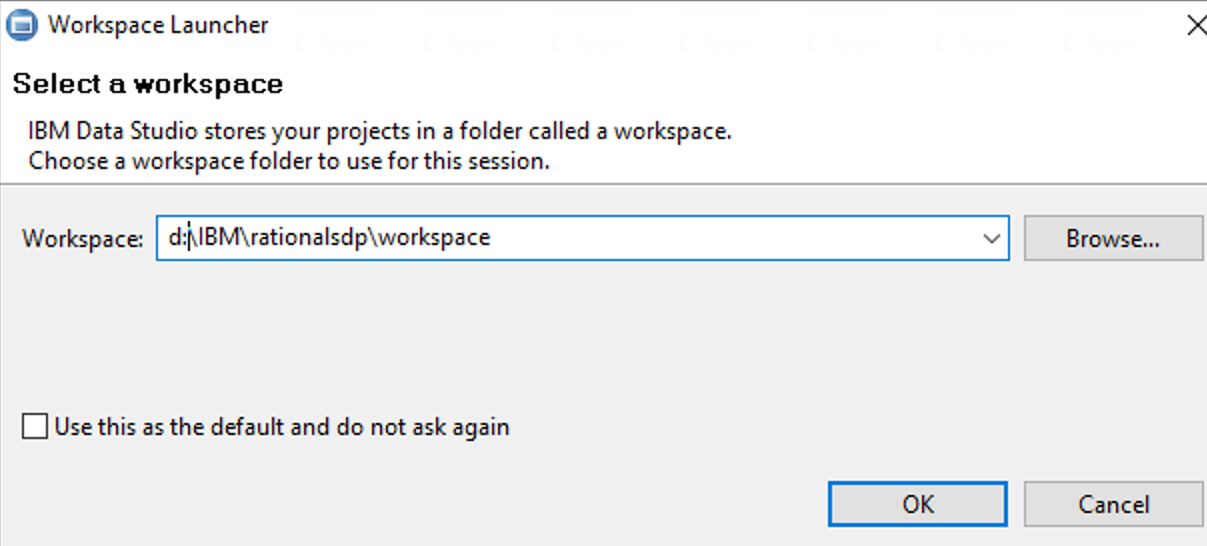
Then start the program as “administrator”, right click on icon and select “run as administrator”.
and select the path to the folder to be something like d:\IBM\rationalsdp\workspace
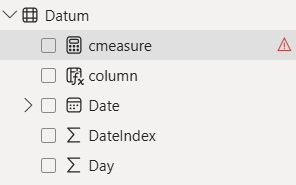
Then you should be inside DB2 Data Studio, and see the list of database on the side.
More Information:
https://www.eclipse.org/forums/index.php/t/823236/
https://www.ibm.com/docs/en/db2/11.5.x?topic=objects-retrieving-data-from-tables-views
https://www.raghu-on-tech.com/2020/02/29/db2-finding-top-10-most-active-tables/