Product:
Planning Analytics 2.0.2
Planning analytics workspace 2.0.25
Microsoft Windows 2016 standard server
Problem:
How install PAW with Microsoft 2016 Docker files?
Solution:
When using the Microsoft 2016 server with Docker EE, there is no need to have a Virtualize active in VMWARE, therefor is this a better solution. (If you not use Linux OS). Docker EE also does not cost anything extra, as it is part of the Microsoft 2016 licenses.
But to make this work you must:
– The Microsoft Windows 2016 server must be connected to Internet to download the Docker EE.
– Update Microsoft Windows 2016 standard server to the latest fix pack.
– You must use FQDN to access all servers.
– You must have 70 GB free disk space on the Microsoft Windows 2016 server.
– Turn off the Antivirus program on the Windows 2016 server where PAW is installed.
– After you start PAW you must always wait 10 minutes before you try to access it.
– Recommend that you only have ONE network card on the Microsoft Windows 2016 server for PAW.
paw1
Above only for your test server, on your laptop.
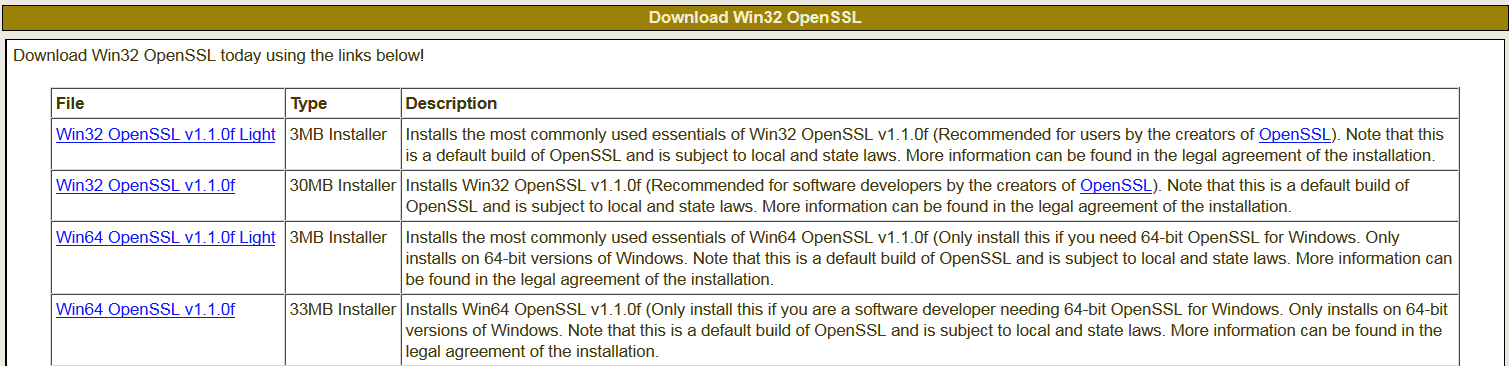
There is possible to download Docker EE and move it to a different server, according to this page,
https://docs.docker.com/engine/installation/windows/docker-ee/
I copy some of the information here:
Use the following steps when you want to install manually, script automated installs, or install on air-gapped systems.

  • PS> Expand-Archive docker.zip -DestinationPath $Env:ProgramFiles
  • # Extract the archive.
  • Copy the zip file to the machine where you want to install Docker. In a PowerShell command prompt, use the following commands to extract the archive, register, and start the Docker service.
  • https://download.docker.com/components/engine/windows-server/17.06/docker-17.06.2-ee-4.zip
  • PS> invoke-webrequest -UseBasicparsing -Outfile docker.zip
  • # On an online machine, download the zip file.
  • In a PowerShell command prompt, download the installer archive on a machine that has a connection.
  • # Clean up the zip file.
  • PS> Remove-Item -Force docker.zip
  • # Install Docker. This will require rebooting.
  • $null = Install-WindowsFeature containers
  • # Add Docker to the path for the current session.
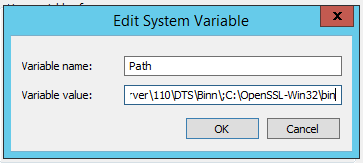
  • PS> $env:path += “;$env:ProgramFiles\docker”
  • # Optionally, modify PATH to persist across sessions.
  • PS> $newPath = “$env:ProgramFiles\docker;” +
  • [Environment]::GetEnvironmentVariable(“PATH”,
  • [EnvironmentVariableTarget]::Machine)
  • PS> [Environment]::SetEnvironmentVariable(“PATH”, $newPath,
  • [EnvironmentVariableTarget]::Machine)
  • # Register the Docker daemon as a service.
  • PS> dockerd –register-service
  • PS> Start-Service docker
  • # Start the Docker service.
  • Test your Docker EE installation by running the hello-world container.
  • PS> docker container run hello-world:nanoserver

But for this installation, we will have the Microsoft Windows 2016 server connected to Internet.

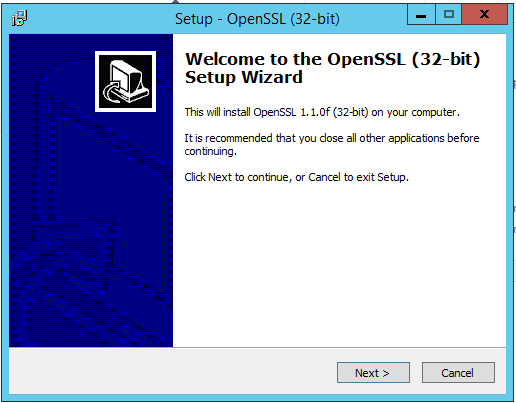
Download the latest PA Workspace file (ipa) from IBM Fix Central
http://www-01.ibm.com/support/docview.wss?uid=swg27049597

In these instructions we use the version 25. Note; take the WIN version, the other is for Linux (or Windows 2012).

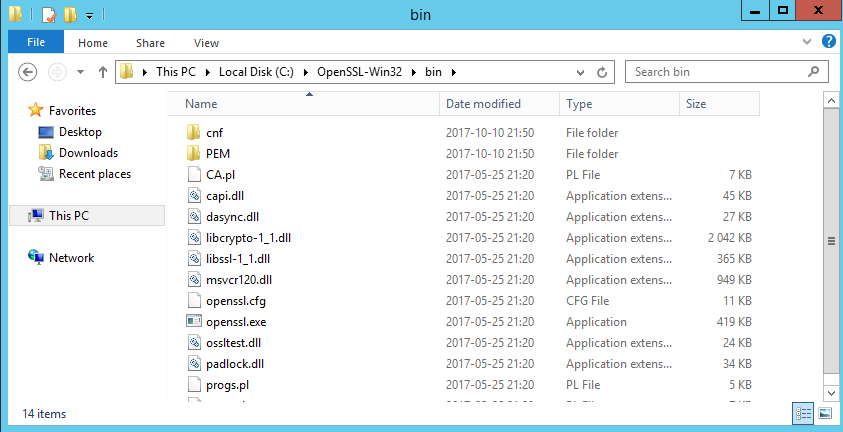
Unzip the file and place it on the Microsoft Windows 2016 server in a folder, e.g. \install\paw

paw2

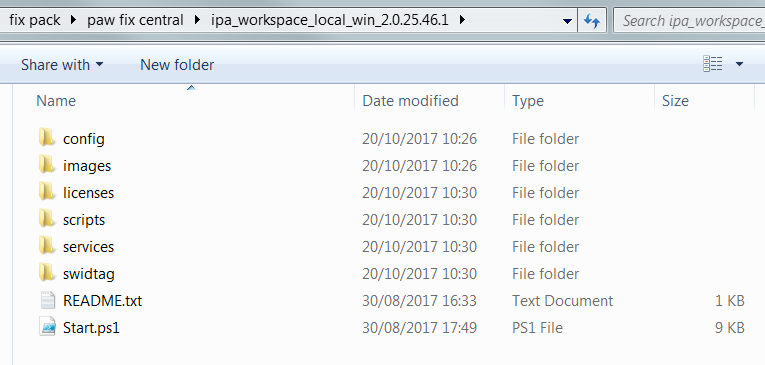
The Start.ps1 file indicate that you have downloaded the correct program for Windows 2016.

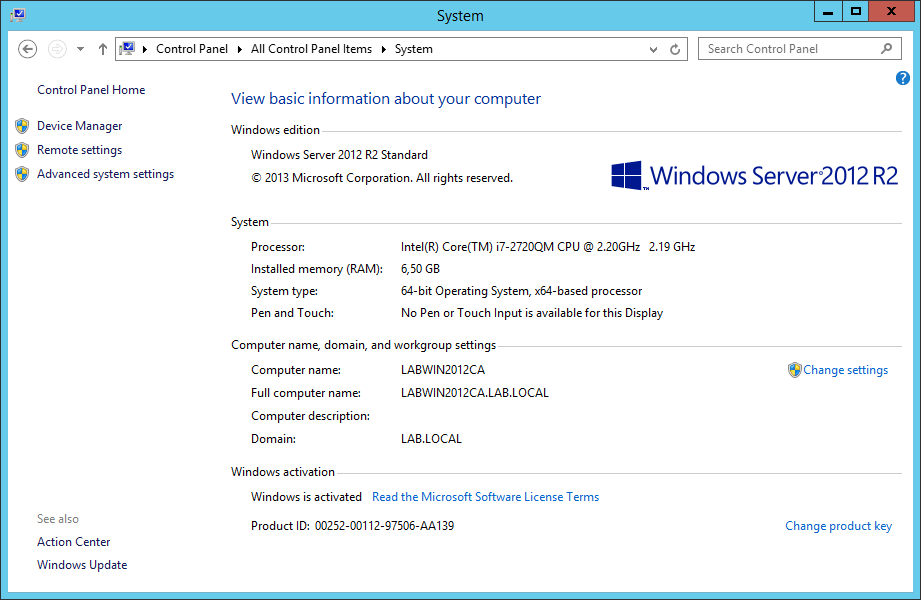
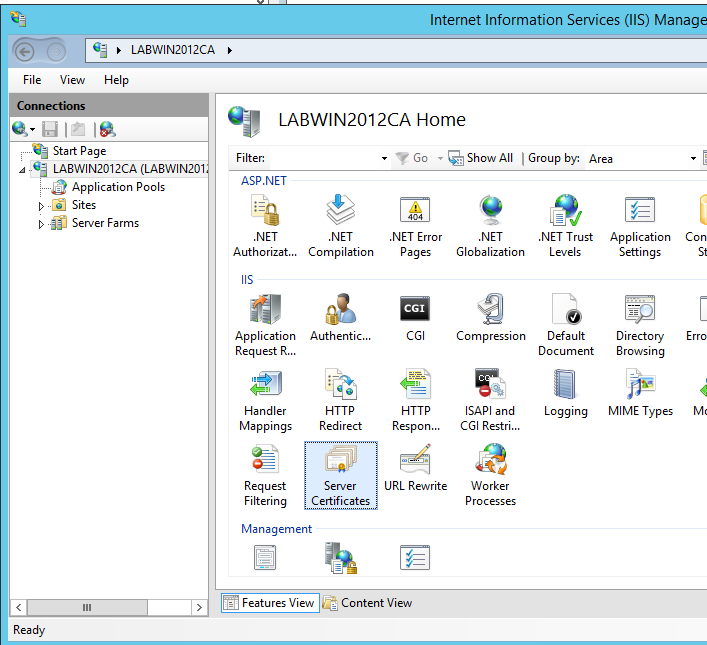
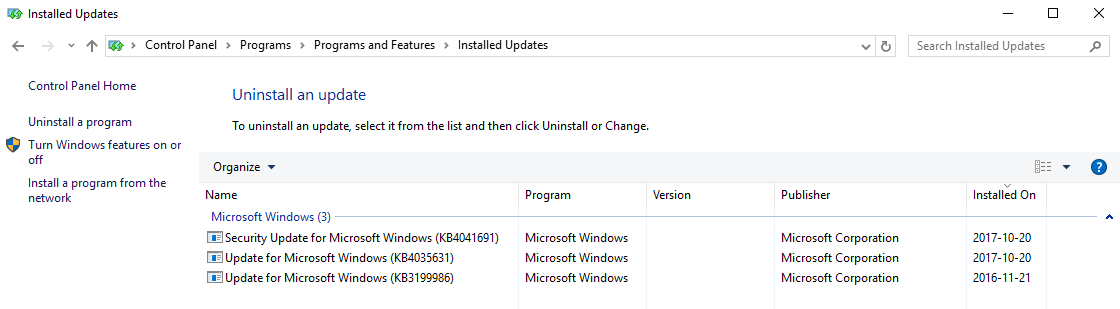
Check that Microsoft Windows 2016 is update in control panel
paw3

You can go to settings from Server Manager or enter Settings in the search box.

paw4

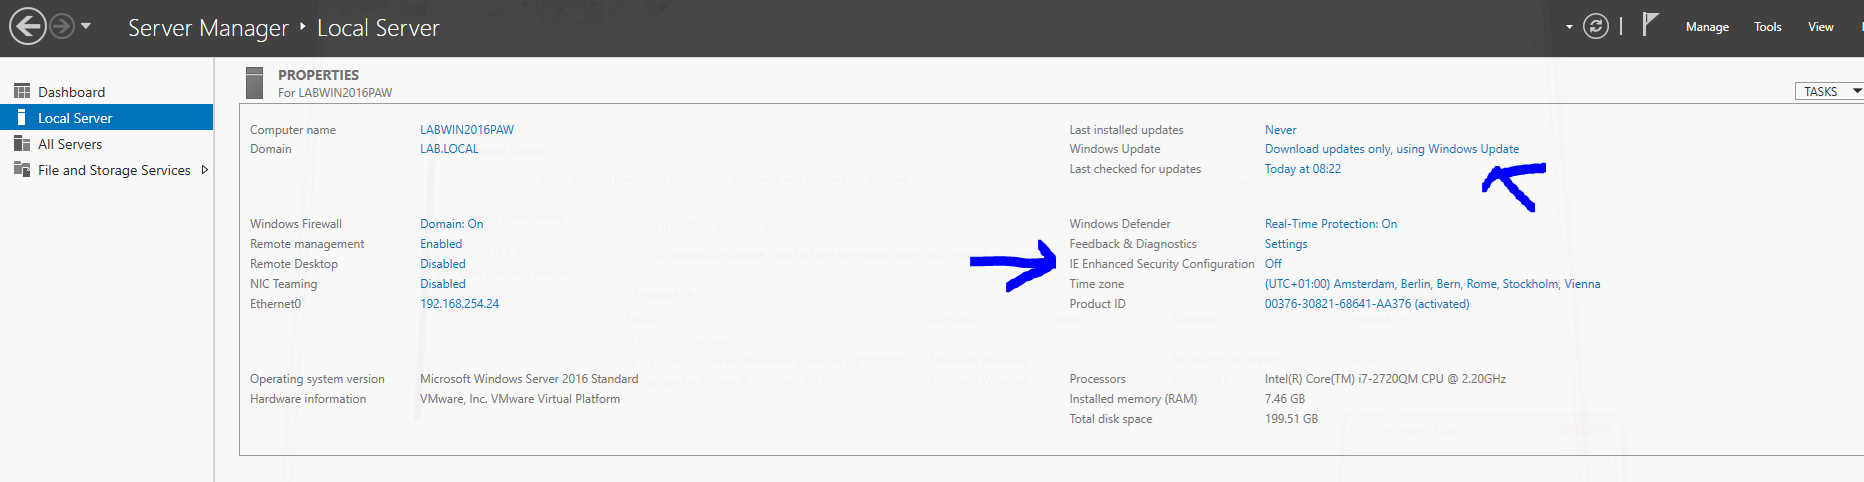
By the way, we have IE Enhanced Security Configuration and DEP off during the installation. Turn off the Windows firewall during installation and first testing. Start up the firewall later.
paw5

After the update you need to reboot your Microsoft Windows 2016 server.

How install Docker EE

paw6

https://github.com/docker/labs/blob/master/windows/windows-containers/Setup-Server2016.md

PowerShell Package Provider (recommended)

Microsoft maintains a PowerShell package provider that lets easily install Docker on Windows Server 2016.
Run the following in an Administrative PowerShell prompt:

Install-Module -Name DockerMsftProvider -Force
Install-Package -Name docker -ProviderName DockerMsftProvider -Force
Restart-Computer -Force

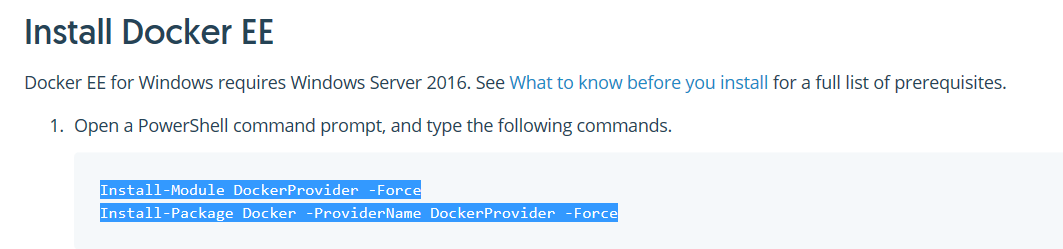
So, ensure the server is connected to internet, and right click on start, and select Windows PowerShell (Admin).

Enter the below commands:

Install-Module DockerProvider -Force

Install-Package Docker -ProviderName DockerProvider -Force

paw7

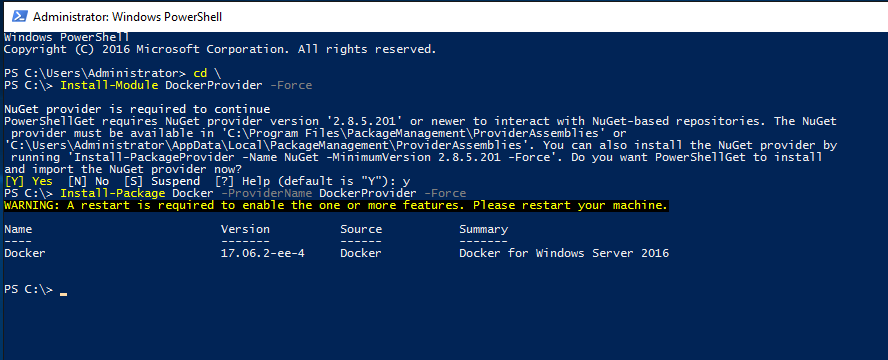
For the questions about update the NUTGET, press Yes.

Then the download is done as shown in above picture.

Restart the Microsoft Windows server

paw8

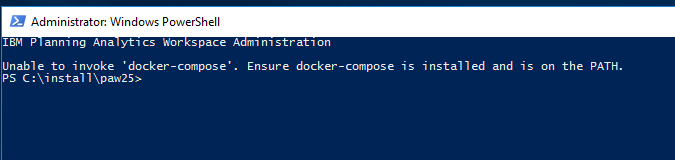
Above error comes when you run Start.ps1 and you have not downloaded docker compose.

Download docker compose from here https://github.com/docker/compose/releases/tag/1.16.1

paw9

paw10

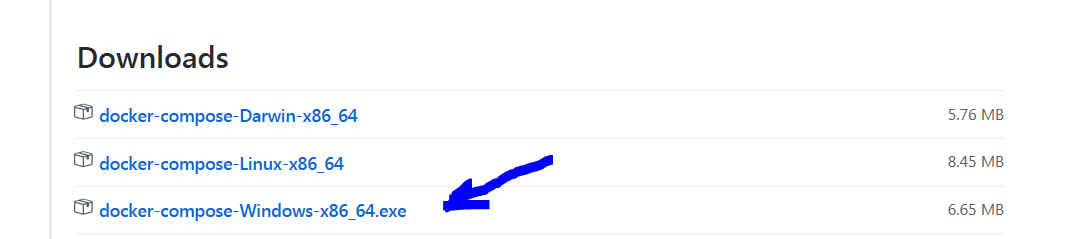
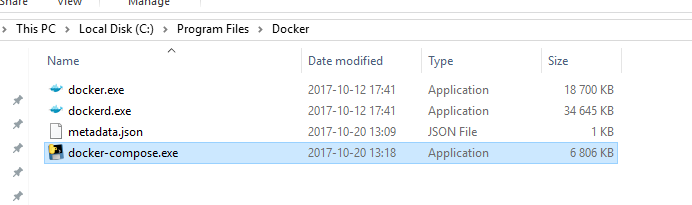
Copy to the file to \program files\docker folder and rename the file to docker-compose.exe.

Install IBM Planning Analytics Workspace

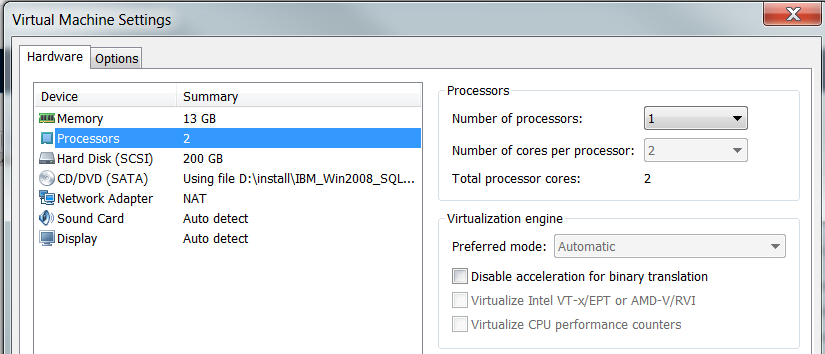
The Microsoft Windows 2016 server will need at least

  • 13308 MB of memory
  • 4 CPUs
  • 70,000 MB (70 GB) of storage

Here the official instructions
https://www.ibm.com/support/knowledgecenter/SSD29G_2.0.0/com.ibm.swg.ba.cognos.tm1_inst.2.0.0.doc/t_paw_install.html

paw11

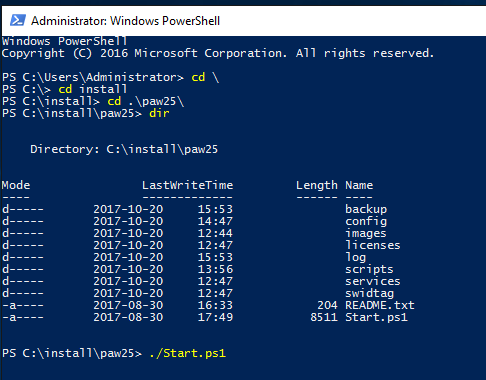
Then go to the powershell admin and run ./start.ps1

paw12

Click Y to start the admin tool
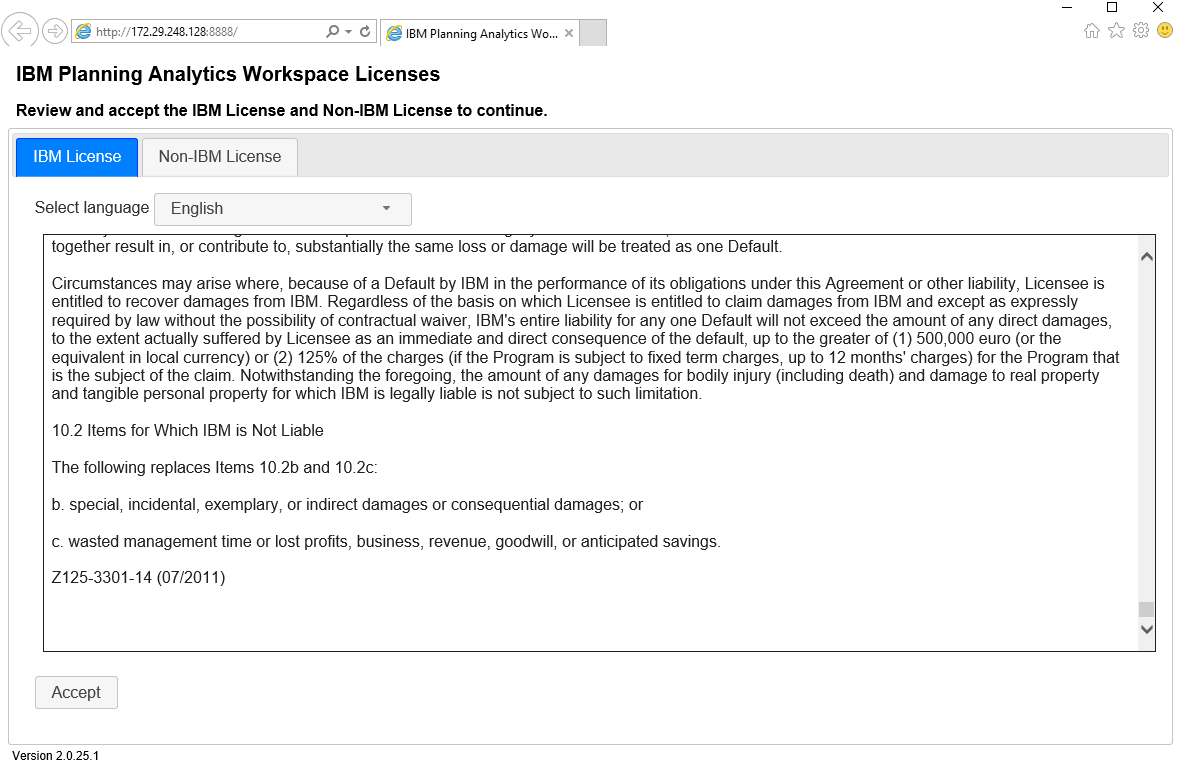
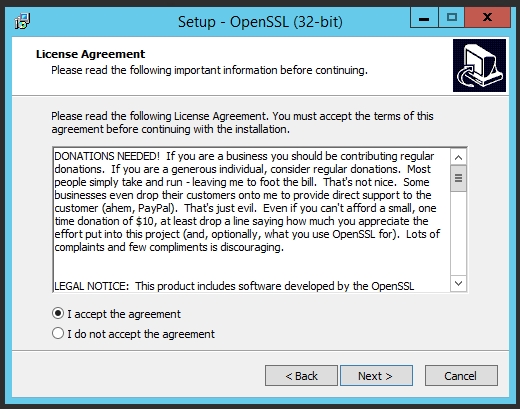
paw13

Accept the licenses

paw14

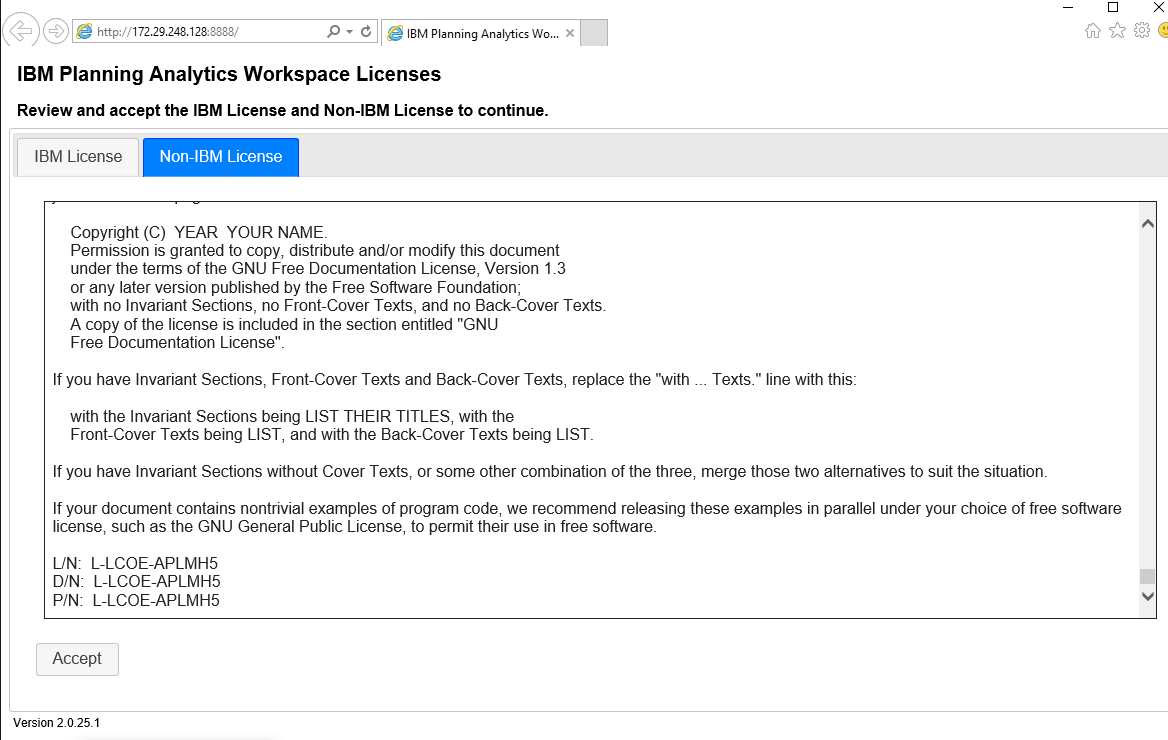
You must accept both the license tabs

paw15

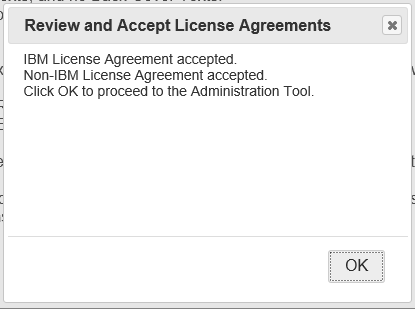
Click OK and you are into the setup dialog.

paw16

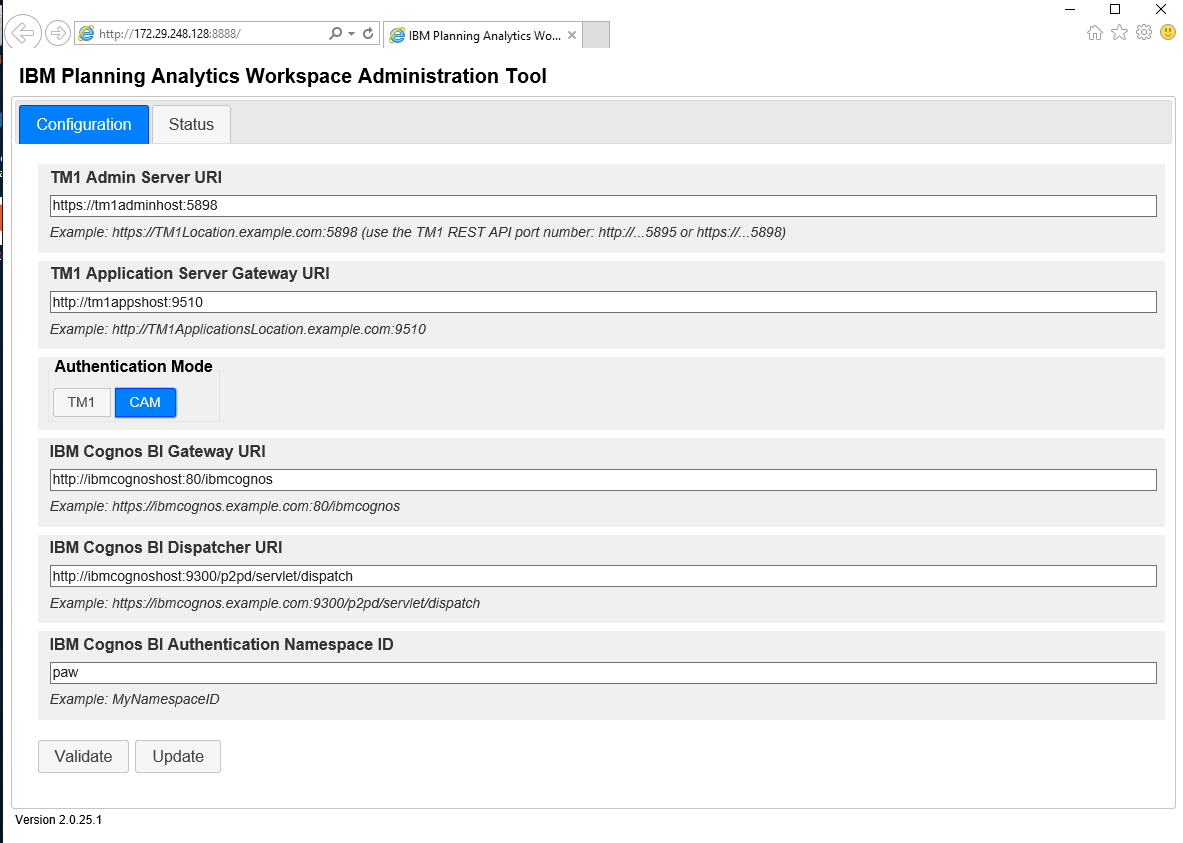
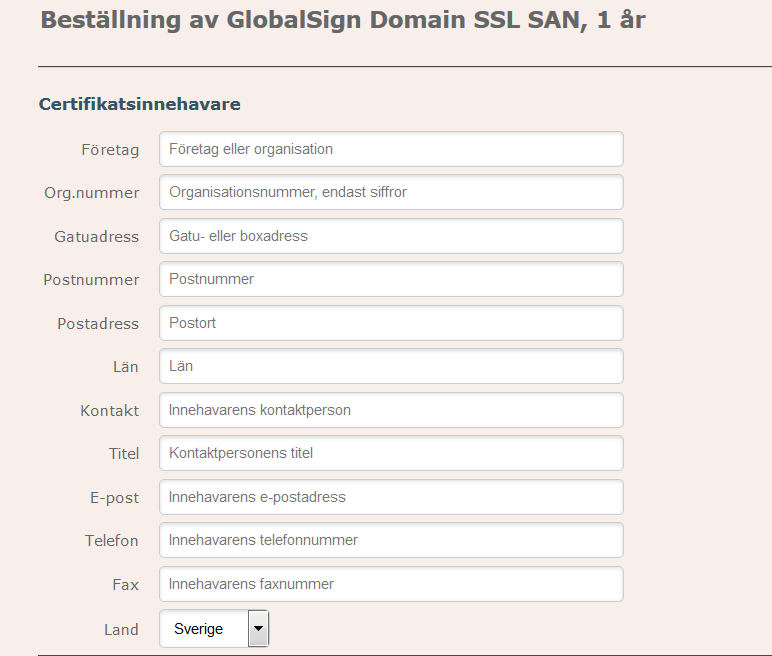
If you want CAM security (then you need to fill in all above)

paw17

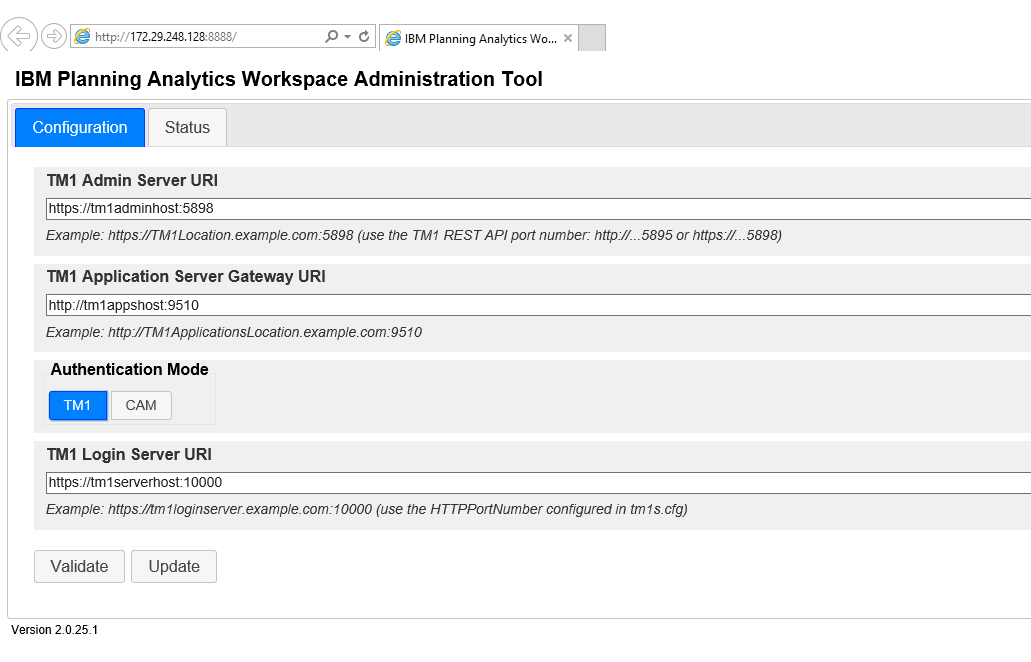
But for our test we will use Native TM1 security, then we only need to fill in above values.

paw18

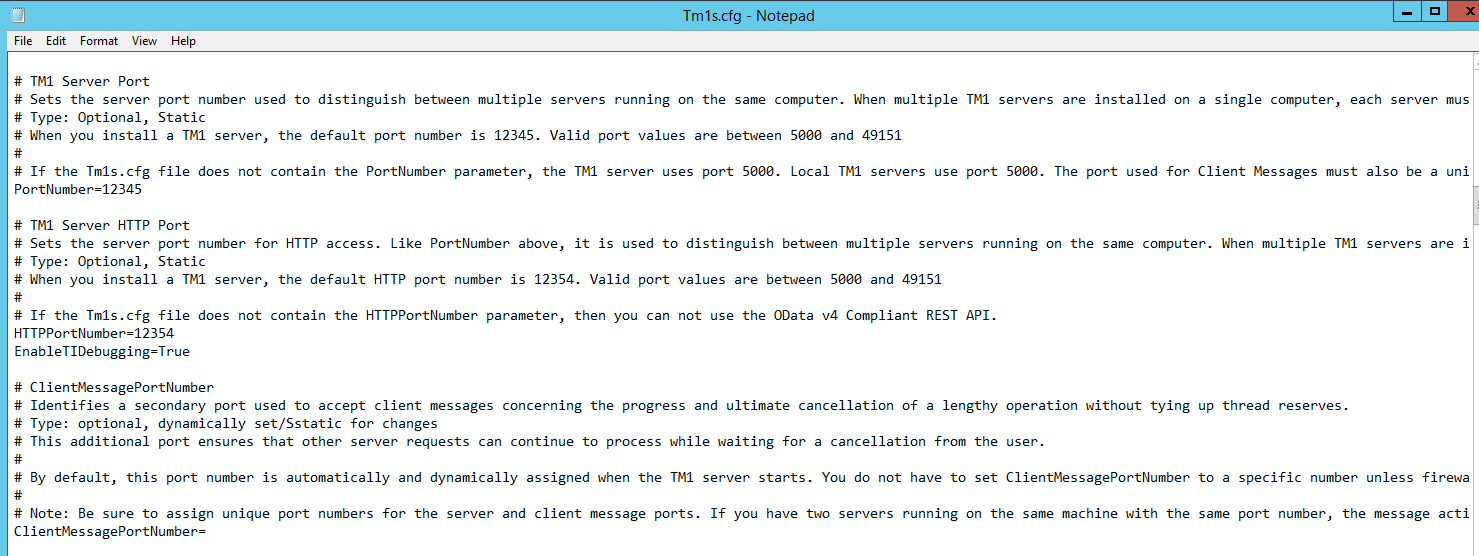
The HTTPPortNumber is found in the TM1S.CFG file for the TM1 application that you will use as Authority to the PAW program. Above we use the Planning Sample application.

All users that will use the PAW program must be part of that application, so the users must in most cases be part of TWO TM1 instances, the “login” TM1 instance and the “Application” instance – where they should work on their Budget solution.

paw19

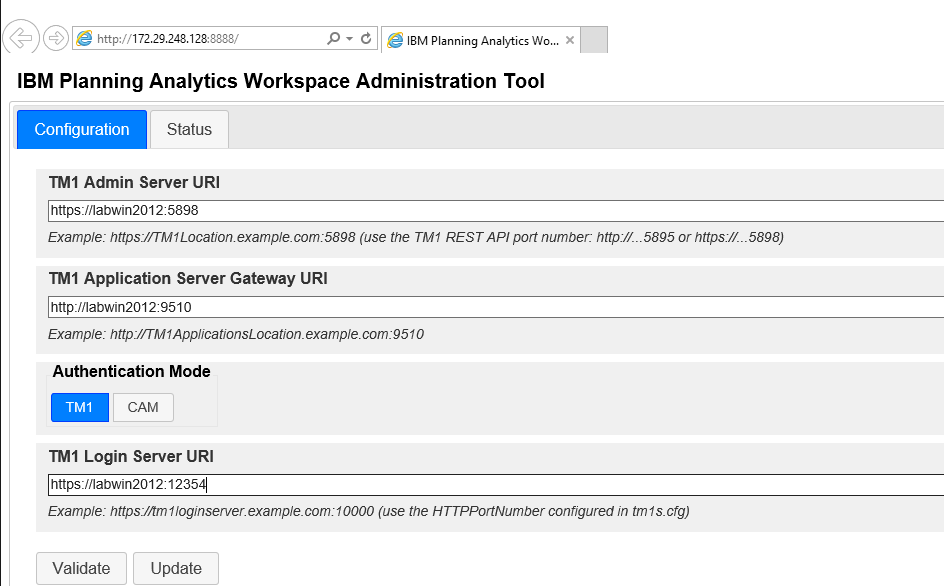
Fill in the server name and port number and click on Validate.

paw20

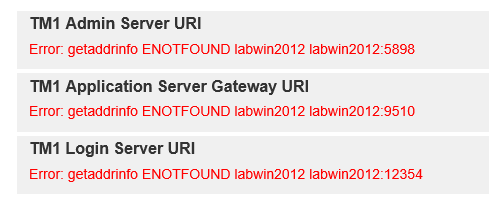
If you get above error, this can be a DNS or Network problem, change to use FQDN, even do the ping to the server is working.

paw21

paw22

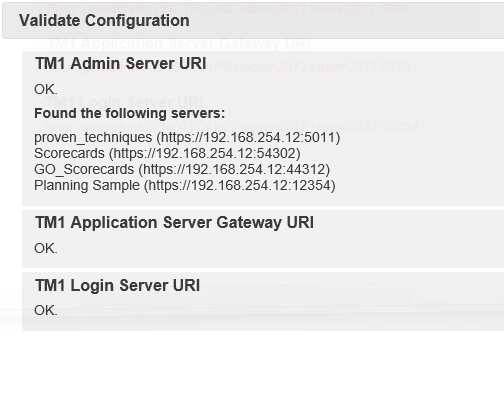
Now you see the HTTP ports number the different TM1 instances are using on your server.

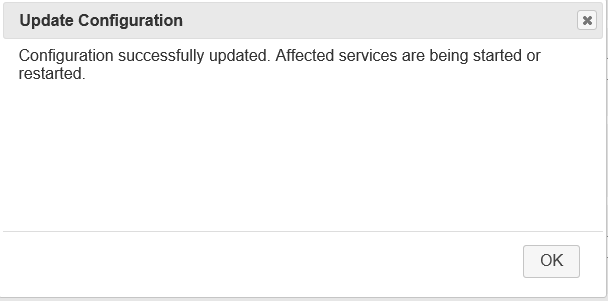
Click on UPDATE to start the services.

paw23

paw24

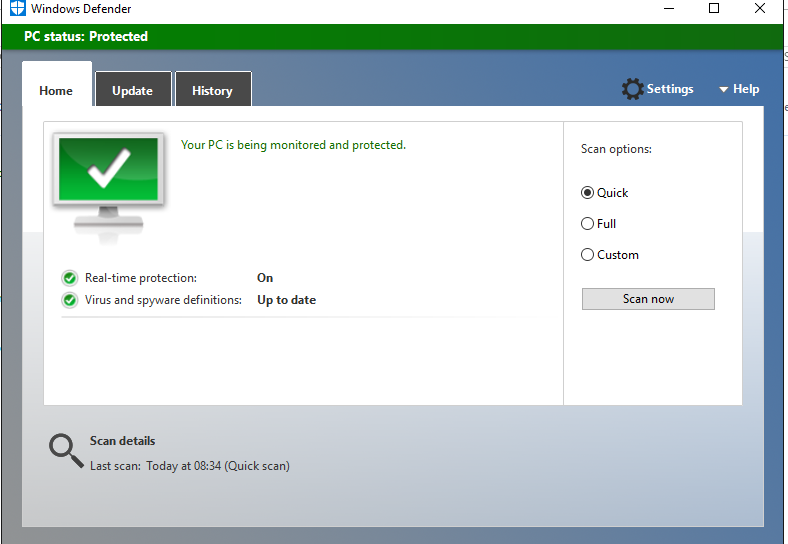
Go to the Antivirus software, in above dialog it is Microsoft Defender, and click on Settings to turn it off.

paw25

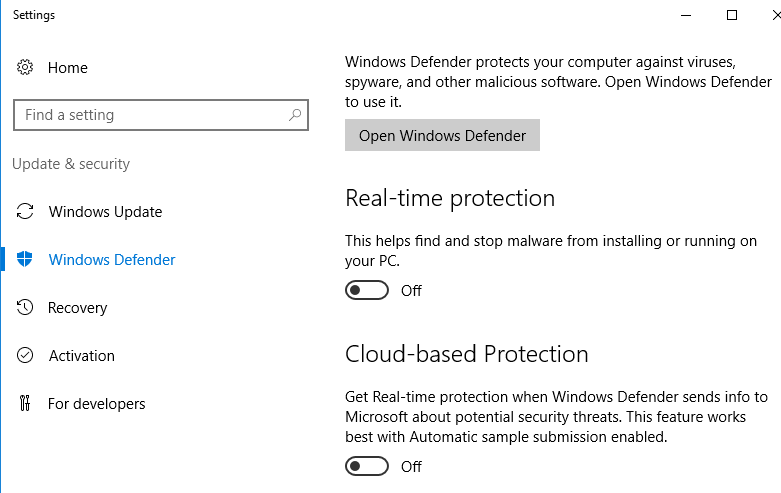
Turn off Real-time protection.

paw26

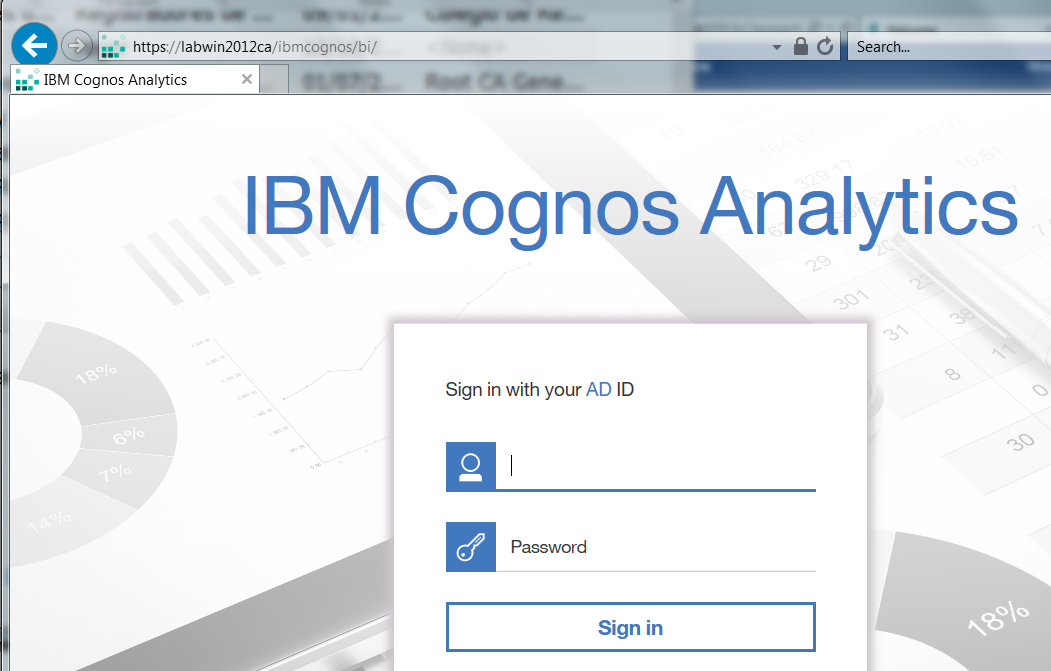
Start Internet explorer and surf to you server to test the installation of PAW , surf to your IP address of your Windows server.

http://192.168.254.24/login/form

paw27

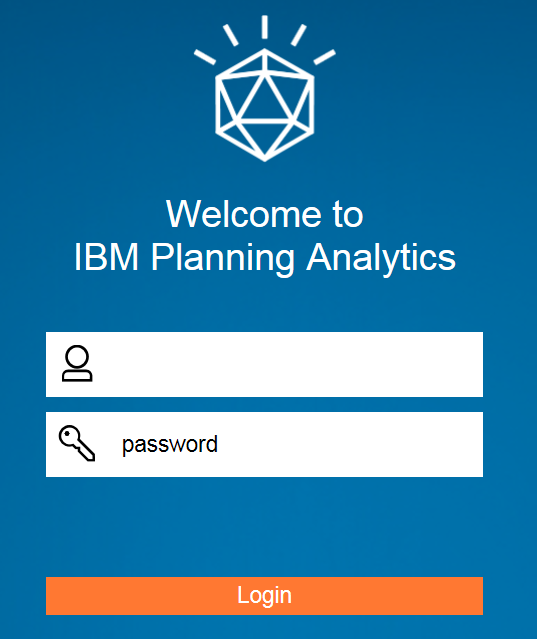
Login with the user and password for the planning sample application. Now you need to test the installation by creating a workbook.

https://www.ibm.com/support/knowledgecenter/en/SSD29G_2.0.0/com.ibm.swg.ba.cognos.tm1_prism_gs.2.0.0.doc/c_prism_books_views.html

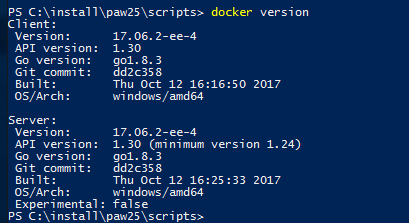
To check the version of docker enter: docker version

paw28

Enter Docker stats to see what memory is used by the services

paw29

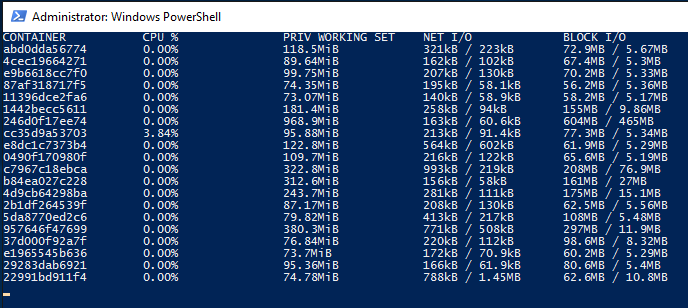
Press CTRL+C to exit the session.

How to backup the PAW database

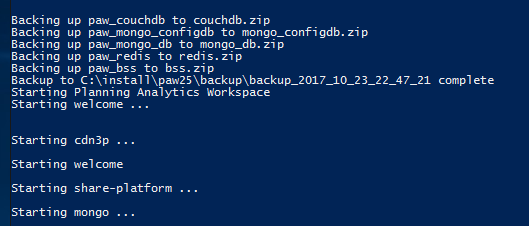
To take a backup of the databases inside PAW, recommend to run every week the ./Backup.ps1 script from the scripts folder. This will stop and start the services, making the backup possible.

paw30

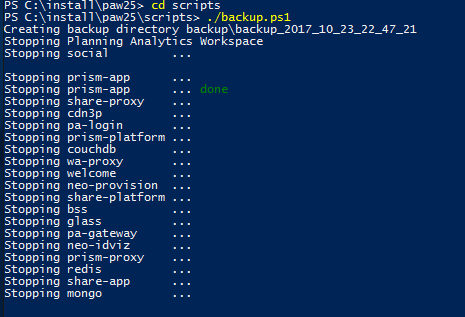
The backup files are placed in the backup folder.

paw31

How stop PAW in a secure way:

Start a powershell prompt in administrator mode and enter ./paw.ps1 stop

paw32

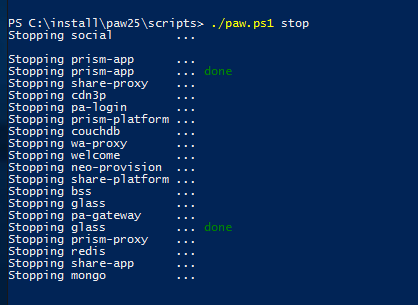
When that is finish – then you can shut down the Microsoft Windows 2016 server.

Docker stats should show an empty page, if all services are closed.

You can start the PAW from the PowerShell prompt with commando ./paw.ps1 start

How upgrade PAW to later version:

Depending on the version of PAW the steps are different, but in general for version 25.

You must first backup your existing PAW data by use of the backup_for_upgrade.ps1

Copy the zip backup files to a save location.

Procedure from IBM site;

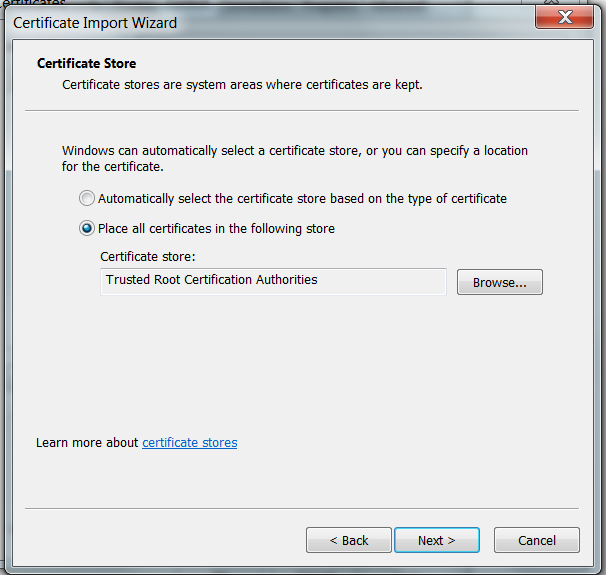
Copy the <paw_install_location>/config/paw.env file from your current installation to the new installation location.

Copy the <paw_install_location>/config/certs directory from your current installation to the new installation location.

Perform Installing of new Planning Analytics Workspace.

Reply “y” when you are prompted to install the Docker images. Reply “y” when you are prompted to open the administration tool.

In the Planning Analytics Workspace administration tool, restart all the services.

After you got all up and running, run the new Restore.ps1 script, and point to your saved files to read that data into the PAWs databases.

https://www.ibm.com/support/knowledgecenter/en/SSD29G_2.0.0/com.ibm.swg.ba.cognos.tm1_inst.2.0.0.doc/t_paw_backup_restore.html

How do i see PAW

Docker is running as a service in Windows 2016, and you have the PAW solution inside the docker service. Check Windows Task Managers details, to see if the PAW parts are running.

In new version of PAW you can set security better than in older versions, more information here
https://www.ibm.com/support/knowledgecenter/SSD29G_2.0.0/com.ibm.swg.ba.cognos.tm1_prism_gs.2.0.0.doc/c_paw_administration_top_level.html

In new version of PAW you can share a view, here more information on how
https://www.ibm.com/support/knowledgecenter/SSD29G_2.0.0/com.ibm.swg.ba.cognos.tm1_prism_gs.2.0.0.doc/t_prism_sharing.html

Note that version 25 of PAW does not support Single Sign On (SSO). That maybe will be accessible in a future version.

You cannot install more than one PAW on a server, due to network configuration issues.

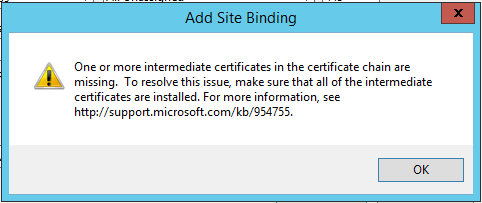
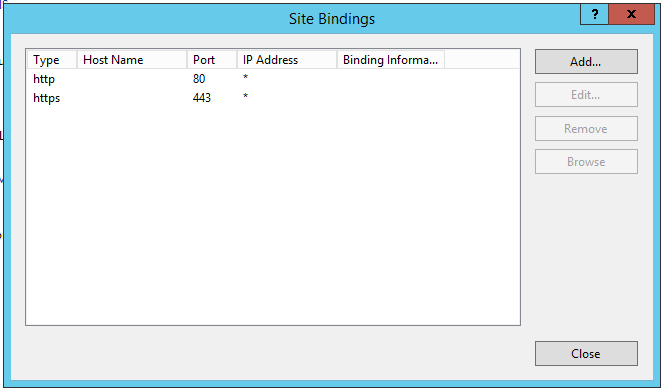
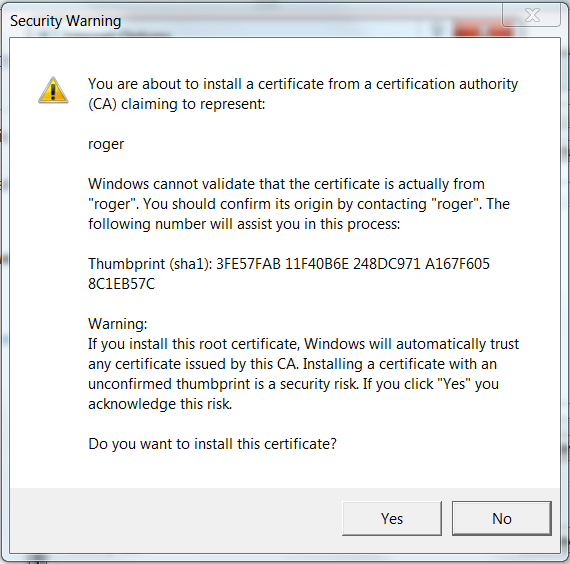
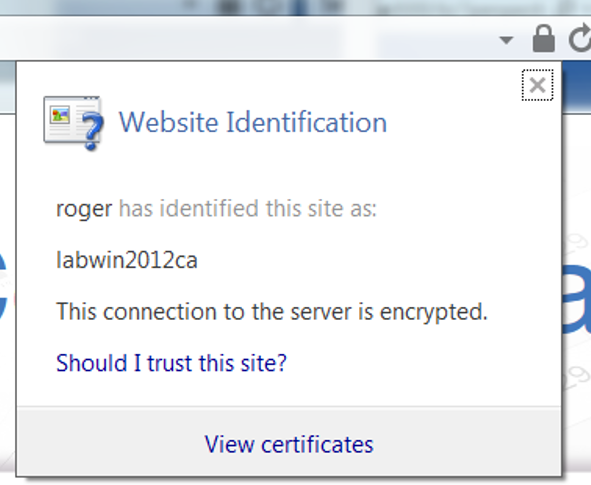
All TM1 applications use SSL for communications between the programs, using their default certificates.
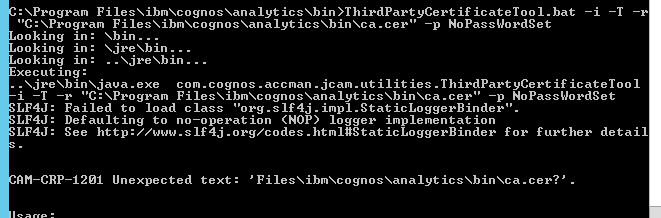
If you get error:

Unable to invoke ‘docker’. Ensure docker is installed and is on the PATH.

Then you have not reboot the server, after docker installation.

If you get error:

This error (HTTP 404 Not Found) means that Internet Explorer was able to connect to the website, but the page you wanted was not found. It’s possible that the webpage is temporarily unavailable. Alternatively, the website might have changed or removed the webpage.

For more information about HTTP errors, see Help.

Then the PAW is not started completely.

paw33

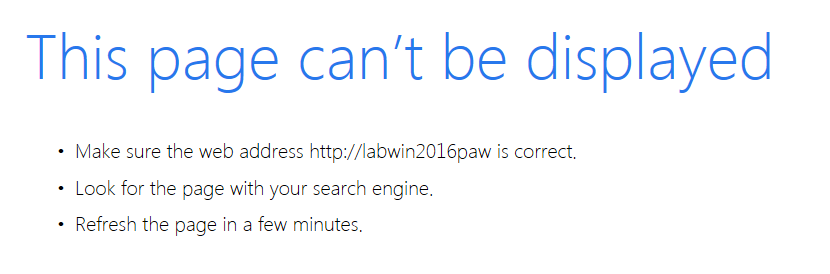
Above error show that the PAW underlying services are stopped. Check in Task Manager.

PAX (Planning Analysis for Excel) setup, is not covered in this article.

In the task manager you can see the processes that make up the Docker solution, under the details section;

paw35

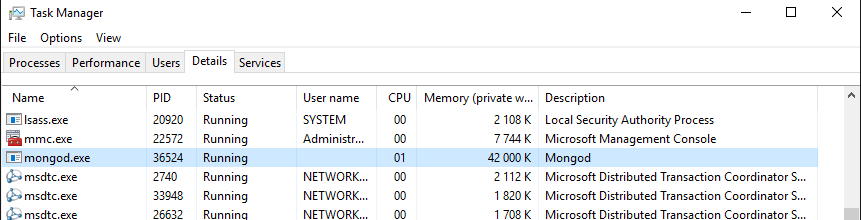
MONGO database is running here.

paw36

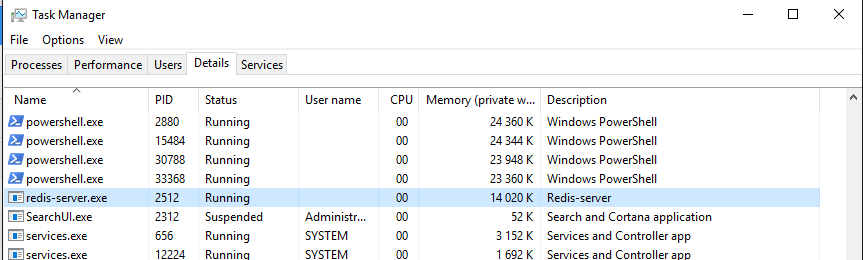
REDIS database is running here.

paw37

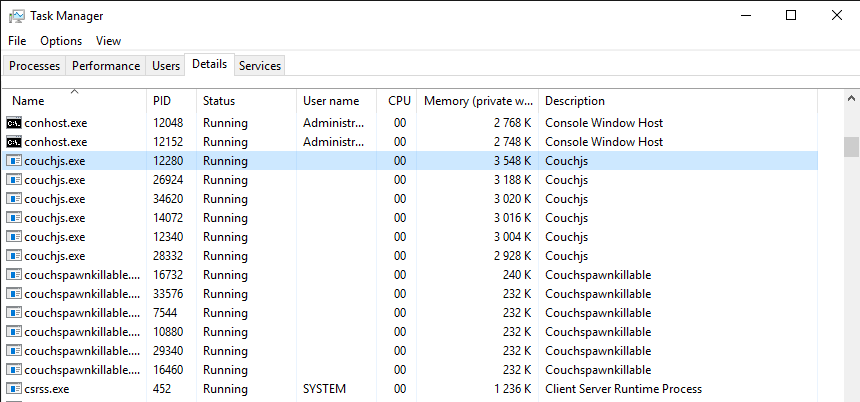
The COUCH database is running here.

paw38

When all the services inside docker are stopped, there is no CPU activate or memory used.

More Information:

How setup SSO

http://www-01.ibm.com/support/docview.wss?uid=swg22000283

How setup PAX

https://www.ibm.com/support/knowledgecenter/en/SSD29G_2.0.0/com.ibm.swg.ba.cognos.tm1_inst.2.0.0.doc/t_installingcognos8analysisformicrosoftexcel.html

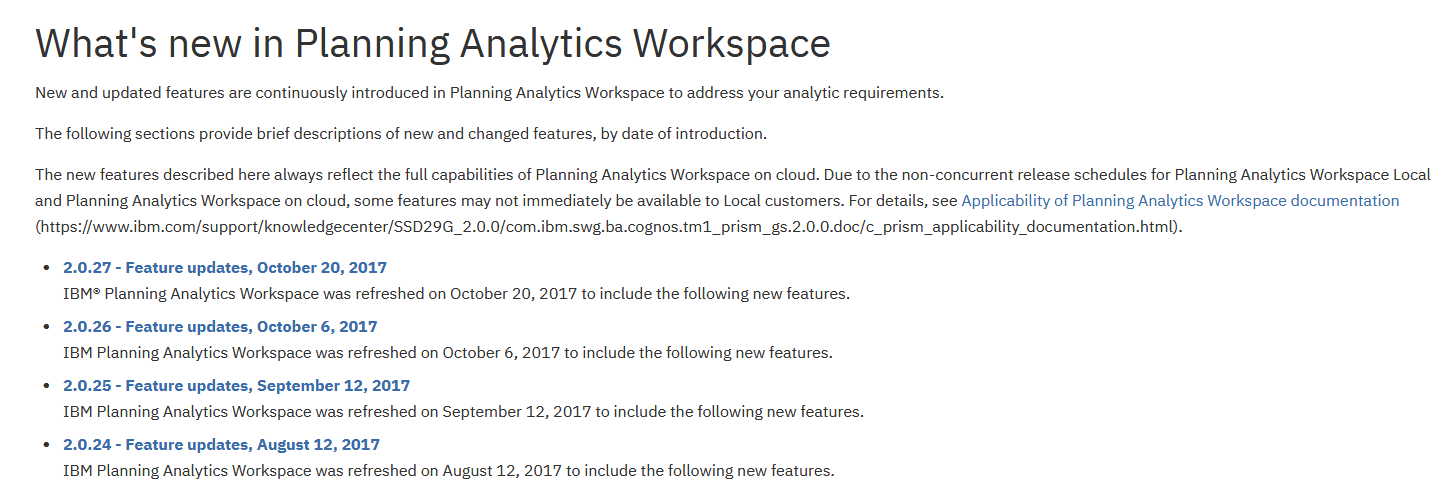
The latest functions in the different PAW versions

https://www.ibm.com/support/knowledgecenter/SSD29G_2.0.0/com.ibm.swg.ba.cognos.tm1_prism_gs.2.0.0.doc/c_new_features_paw.html

Please note; that the PA 2.0 LOCAL PAW is released a few months later than the PA on cloud. Local is around 3 versions after.

paw34

Product:
Cognos Analytics 11.0.7
Microsoft Windows 2008/2012/2016 server
Problem:
How setup SSL with the IIS for the cognos users?
Solution:
For testing in your demo environment, you can create own certificate, but for setup in production you need to buy a certificate from trusted CA store.

More information on OPENSSL can be found  here https://www.feistyduck.com/books/openssl-cookbook/

Demo setup:
Download open ssl from here in a good installation package http://slproweb.com/products/Win32OpenSSL.html
ssl1
Check the file for virus before you install it.
Install openssl on your server
ssl2
Click next on all dialogs to install it
ssl3

ssl4

ssl5

ssl6

ssl7

ssl8

Create a folder c:\ssl
Start a command prompt as administrator
Change into c:\ssl directory.
Make a directory called keys.
Make a directory called certs.
Make a directory called requests.
Make a directory called demoCA.
Move to the demoCA folder
Make a directory called demoCA/newcerts.
Do Echo 01 >demoCA/serial.
Create an empty txt file called demoCA/index.txt.
ssl10
You can also try to Open notepad to create the index.txt file
SSL11
Save the file and close notepad.
ssl12
ssl13
Note the name of the server and domain to create the certs.
The name that is in the cert must exist in the DNS to make it work.
Generate the private key and CA certificate needed to sign requests
you need to add openssl\bin to path, otherwise you get below error
ssl14
Open control panel – system – advance settings
ssl15
ssl16
add the BIN folder to path and click OK

We will create a simple SSL cert, recommendation is that you create a newer and stronger cert in your testing.

Start a new administrative command prompt and move to SSL folder
Enter this command to create the ca key
openssl genrsa -des3 -out keys/ca.key 1024
ssl17
Ensure to enter the same password in all the steps.
e.g cognos101
generate a self-signed CA certificate that will be used later to sign all certificate requests
Enter this command to create the root ca
openssl req -new -x509 -out certs/ca.cer -key keys/ca.key -days 365
ssl18
Enter values that make sense for you.
Above is to setup the ca – this can also be done in Windows IIS to or use a public vendor like;
https://www.expertssl.se/
https://uk.godaddy.com/help/ssl-certificates-1000006#nav-1
https://really-simple-ssl.com/
ssl19
Start IIS on the Microsoft Windows Server 2016 where the Cognos gateway are installed.
Click on Server Certificates
ssl20
Click on Create certificate request
ssl21

ssl22
ssl23
Save file in request folder
Now create the cert with this command
openssl ca -md sha1 -policy policy_anything -cert certs/ca.cer -keyfile keys/ca.key -in requests/certreq.txt -days 365 -out certs/certreq.cer
ssl24
If you get errors, it can be that the index.txt file was not created in correct way.
ssl25
Check that a cert was created with this command
openssl x509 -text -in certs/certreq.cer
ssl26
Now you have a cert file.
Complete the process on the IIS server to import the cert now.
ssl27
Inside IIS manager mark the servername and click on SSL certificates
Click on complete certificate request
ssl28
Browse to the new cer file
Enter a name
And click OK
ssl29
After some time the cert will show up in the list.
Mark default web site and click on bindings
ssl30
Click on Add in site Bindings dialog.
ssl31
Select https
Select the SSL certificate from the drop-down list
ssl32
This is only the simplest demo setup, and therefor in production you should also follow things like this if above error comes up
https://support.microsoft.com/en-gb/help/954755/how-to-configure-intermediate-certificates-on-a-computer-that-is-runni
ssl33
If you can not save with a blank host name, enter a name and remove it later.
Click close.
Mark ibmcognos virtual folder in IIS manager and click on SSL settings
ssl34
ssl35
Mark Require SSL and click on Apply in top right corner.
Restart the iis webserver.
Now if you surf to http://labwin2012ca:9300/bi/ you go direct to cognos server and do not use a encrypoted session.
If you surf to https://labwin2012ca/ibmcognos you will get this message
ssl36
If you click on continue to this website – you will come through to the website.
To get away of this error message, we will import the trust cert (CA) into Internet Explorer.
ssl37
Go to internet options and click on content
ssl38
Click on Trusted Root Certification Authorities and click import
ssl39
Click next
ssl40
Mark the ca.cer file that was created by openssl
And click next
ssl41
There is a suggestion on how to do the SSL setup, there are other ways that are more correct.
Click Next
ssl42
Click finish
ssl43
Because this is a cert we created we get this warning, click yes, to import it to your laptops IE.
ssl44
If you check the cert should be in your IE now.
ssl45
Close IE and try to surf again.
ssl46
Now you get direct to CA 11 without errors. You see on the lock in the toolbar that it is a secure connection, you can click on the lock to get more information.
ssl47
if you use your own OPENSSL cert, you need to import the ca cert in every client computer to get a secure connection without error messages. Therefor it is simpler to buy a cert from a known CA.
You will also need to install the CA.CER in the Cognos BI server to be able to create PDF reports with pictures.
Copy your ca.cer to the cognos\bin folder
ssl48
Open an administrative dos prompt
Enter this command
ThirdPartyCertificateTool.bat -i -T -r “C:\Program Files\ibm\cognos\analytics\bin\ca.cer” -p NoPassWordSet
ssl49
Above error comes when the “ is of the wrong format.
ssl50
Enter the command in NOTEPAD to ensure you have the correct signs. Copy from notepad to the cmd prompt.
ssl51
Now restart Cognos services and try the report to PDF again.
Important that the reference to a picture in a Cognos report is relative like this
../samples/images/Alex_Active.png
ssl52
If you use the sample images that are stored in folder C:\Program Files\ibm\cognos\analytics\webcontent\bi\samples\images\
then it will work with both http://labwin2012ca:9300/bi/ (direct to BI services) and https://labwin2012ca/ibmcognos/bi (secure link to the IIS gateway).

Use F12 in IE to troubleshoot, if you get errors, you will see text like this
SEC7132: The certificate protecting this web site uses weak cryptography, SHA1. The web site should replace this certificate with a SHA2 certificate before SHA1 is no longer allowed https://labwin2012ca/ibmcognos/bi/pat/images/select_container.png

You need to create a stronger SSL cert, to not get above warning in the Web Browser.

SSL Setup in Production IIS server:
How setup SSL with a bought certificate.
Create a DNS alias for the server, so you have a good FQDN that will work in your domain.
Test that the users can surf to you IIS/IBMCOGNOS server with use of the dns alias like this
http://dnsalias.domain.com/ibmcognos/bi
Get a cert from your supplier for the DNS alias.
SSL53
You need to fill in information like this – please talk to your Internet provider, they can help.
You will get a PFX file that you will have a password to, normally you get the password by sms.
Place the cert file in a folder on the IIS server.
Import Cert to IIS
ssl54
Start IIS manager
Mark the computer (server)
Click on server certificates
ssl55
Click on Import to read in the certificate you have got from your ISP.
SSL56
Enter the path and filename of pfx file
Enter the password you have got for the certificate.
Leave it to store in Personal folder.
Click OK.
ssl57
Mark the default web site and click on Bindings to the right.
ssl58
Click on add to add the new cert
ssl59
Fill in the hostname
Click on select to select the cert you have read in.
Click OK
SSL60
Click Edit on the same line you saved.
Remove the host name so it is blank.
Click OK to save it again.
ssl61
Mark your IBMCOGNOS folder in IIS Manager and click on SSL settings
ssl35
Mark Require SSL and click Apply in the top right corner.
This will make that a user that surf to /IBMCOGNOS/ must have a cert.
We have left port 80 open to default website, so users do not get a message that the site does not exist.
To make it easier for users, we create a default.htm page with below content and place it in the iisroot folder (C:\inetpub\wwwroot). This should make users that surf only to the server name, are redirected to the correct address.
<html>
<head>
<title>Cognos Connection</title>
<meta http-equiv=”refresh” content=”0 ;url=https://labwin2012ca/ibmcognos”>
</head>
<body>
<a href=”https://labwin2012ca/ibmcognos” >click here</a>.
</body>
</html>
More information on how you could do it in old Cognos;
https://docs.microsoft.com/en-us/iis/configuration/system.webserver/httpredirect/

To get report with pictures to be created as PDF, you need to import the root cert to Cognos BI server.
Export CA cert from IE for your trust issuer
Go to Windows control panel
Open internet options
ssl62
Click on certificates
Click on Trusted Root Certificate Authorities
If you do not find your supplier in the list, check on your local Windows 7 computer, it can have more certificates than a Windows server.
ssl63
Select you certificate and click on Export
ssl64
Click next
ssl65
Select BASE-64 CER file and click Next
ssl66
Enter a filename and click next.
ssl67
CLick finish
ssl68
You will need to copy the cer file to your Cognos BIN folder.

Import CA cert to CA 11.0.7 content store
Place the ca2.cer file in your cognos BIN and BIN64 folder.
Start an administrative command prompt
Move to the bin folder
ssl69
Enter the command ThirdPartyCertificateTool.bat -i -T -r ca2.cer -p NoPassWordSet
The password is the password for the Cognos storage, most cases NoPassWordSet
This will get the cert into the Cognos store.
If you get an error like “short read” then the cer file is in the wrong format. Please export it again from IE.
In most cases you need to put the full path to the file like this
ThirdPartyCertificateTool.bat -i -T -r “C:\Program Files\ibm\cognos\analytics\bin\ca2.cer” -p NoPassWordSet
Then it should be possible to read in the cert without errors.
You must restart the Cognos Analytics service, to make it notice the new cert.
Test by create a cognos report with a picture and run it as a PDF.
You should use the ../samples/images/Alex_Active.png to the picture if you have the picture in folder C:\Program Files\ibm\cognos\analytics\webcontent\bi\samples\images

Cognos Framework manager will work, as long it points to the CA server and not the gateway.
So, FM and other clients like Cube Designer should point to http://servername:9300/bi/v1/disp
If FM use a Gateway URI that use HTTPS and point to the IBMCOGNOS, then you need to do the same import in their local store.
This is for all Cognos tools that uses Java.

When testing, ensure that the Cognos Service have started correct, and also ensure that the web browser you use, have the trusted root cert for you cert. You must clear the web browser cache between every test.

More information
https://www.digicert.com/csr-ssl-installation/iis-8-and-8.5.htm
https://www.ibm.com/support/knowledgecenter/en/SSEP7J_11.0.0/com.ibm.swg.ba.cognos.inst_cr_winux.doc/c_thirdpartycertificatetoolcommands.html
http://www-01.ibm.com/support/docview.wss?uid=swg21339916
https://www.ibm.com/support/knowledgecenter/en/SSEP7J_10.2.1/com.ibm.swg.ba.cognos.inst_cr_winux.10.2.1.doc/t_importcacertificates.html
http://www-01.ibm.com/support/docview.wss?uid=swg21992784

Product:
Cognos Analytics 11.0.7
Microsoft Windows 2012 R2 server

Problem:
The custom control is not found.

Suggested solution:
For this example you can download this files
https://ibm.ent.box.com/v/AlternatingBackground

Place the file AlternatingBackground.js in folder C:\Program Files\ibm\cognos\analytics\webcontent\bi\samples\js on your Cognos server.
If you use SSO, you may need to start IIS Manager and go to the
ibmcognos virtual folder, then step down to bi-samples.
Mark samples folder and click on Authentication icon.
Mark Anonymous Authentication and click Enable.
Exit IIS manager.

Create a list report on some sample data in Cognos Analytics.
Test that the report works.
In edit mode click on TOOLBOX icon.
Expand ADVANCE section and drag in a Custom Control to your report.
Set the description to a name like: AlternatingBackground
Click on module path and set it to be
../samples/js/AlternatingBackground

include the js file in the path name.

Click on configuration and enter this
{
“isCrosstab”: false,
“controlName”: “List1”,
“firstColor”: “yellow”,
“secondColor”: “#EAE6E3”
}
Click Apply
Click OK
Save the report.

The controlname refer to the report object that will be affected.
Important that the JSON configuration is inside “curly brackets” { }.

Test the report again in HTTP. Go to the last page of the report to ensure it is working.

Here a video on how to set it up
https://www.youtube.com/watch?v=ZYheTq5VpUc
https://community.watsonanalytics.com/wp-content/uploads/2017/10/JavaScript_setup_instructions.pdf?cm_mc_uid=23471188803615059157867&cm_mc_sid_50200000=1508323924

Product:
Cognos Analytics 11.0.7
Microsoft Windows 2016 Standard server

Problem:
No picture shown in the PDF report, but they show nice in a HTML report.

Solution:
If you have SSO with IIS, then you need to set Anonymous Authentication on the folders where the images are stored.
This can be more than one folder, depending on where you have your company reports pictures stored.
The sample pictures are stored in folder c:\Program Files\ibm\cognos\analytics\webcontent\bi\samples\images

So you need to start IIS Manager
Expand to your IBMCOGNOS folder
Expand down to bi/samples
Mark images folder and click on Authentication icon
Mark Anonymous Authentication and click on Enable text, to change status to Enabled
Exit IIS
Try to run the report as PDF again.

You can also ensure that the account running the Cognos BI services have full rights to the images folder in NTFS file system.

More Information:
http://www-01.ibm.com/support/docview.wss?uid=swg21656263
http://www-01.ibm.com/support/docview.wss?uid=swg21339267