Product:
Planning Analytics 2.0.9.3
Microsoft Windows 2019 Server
Problem:
How to install PA on Windows 2019 server?
Solution:
Follow IBM guide lines in the first place;
https://www.ibm.com/support/knowledgecenter/SSD29G_2.0.0/com.ibm.swg.ba.cognos.tm1_inst.2.0.0.doc/t_tm1_gs_inst_basic_install_on_windows.html
Download the latest service pack of the software
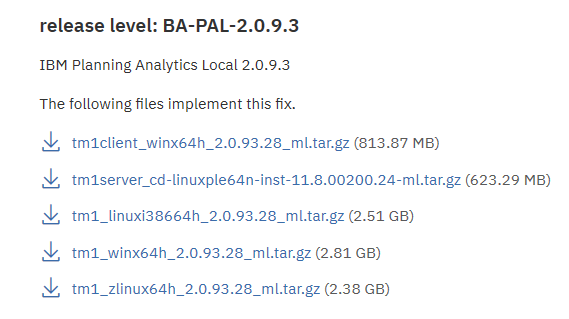
https://www.ibm.com/support/pages/ibm-planning-analytics-20-fix-lists
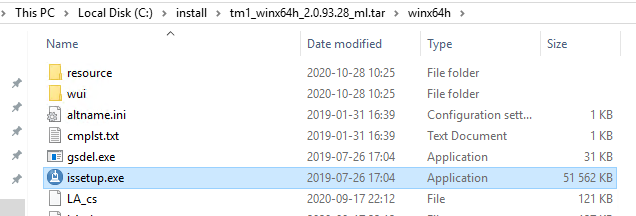
Copy the media over to the server and run as administrator the issetup.exe file.
Click Next
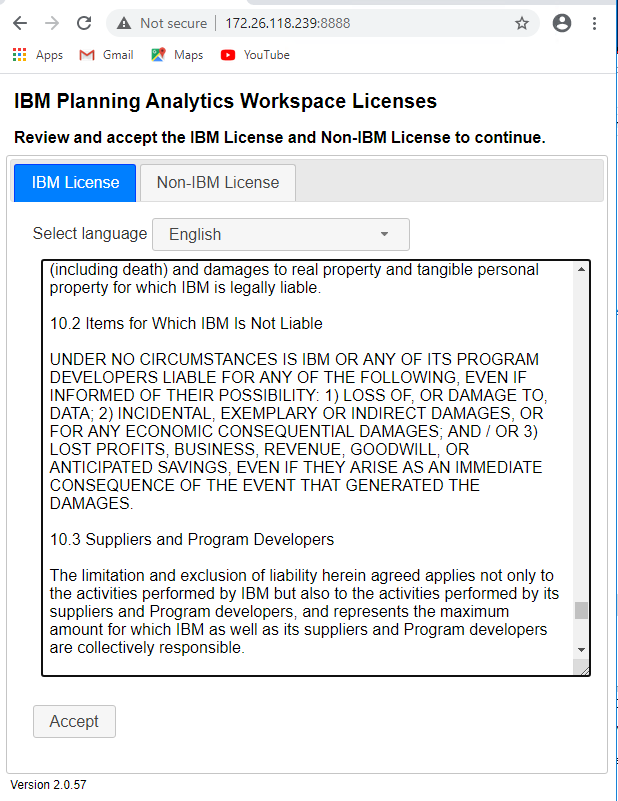
Mark “I Agree” and click Next
Select folder to install to and Production and click Next
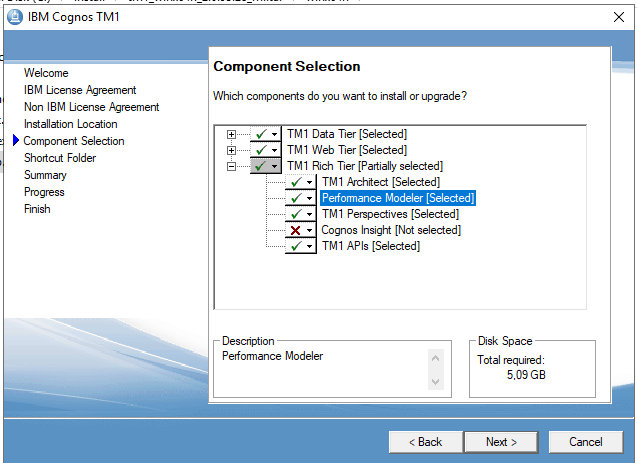
(Tm1 Perspectives only work on workstation with Excel and NET Framework 4.6.1)
Click Next
Mark “Make the shortcuts visible to all users” and click Next
Click Next
Wait during install (takes 28 min depending on your hardware)
Click Finish.
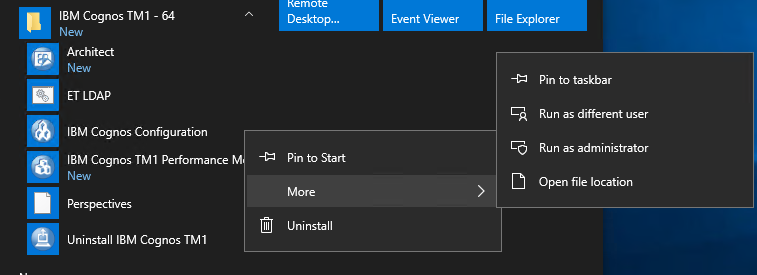
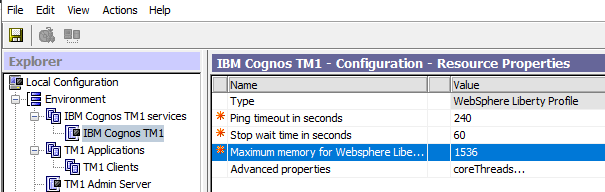
Start IBM Cognos Configuration as “Run as administrator”.
If you will use TM1 Application web then you can increase memory for WLP
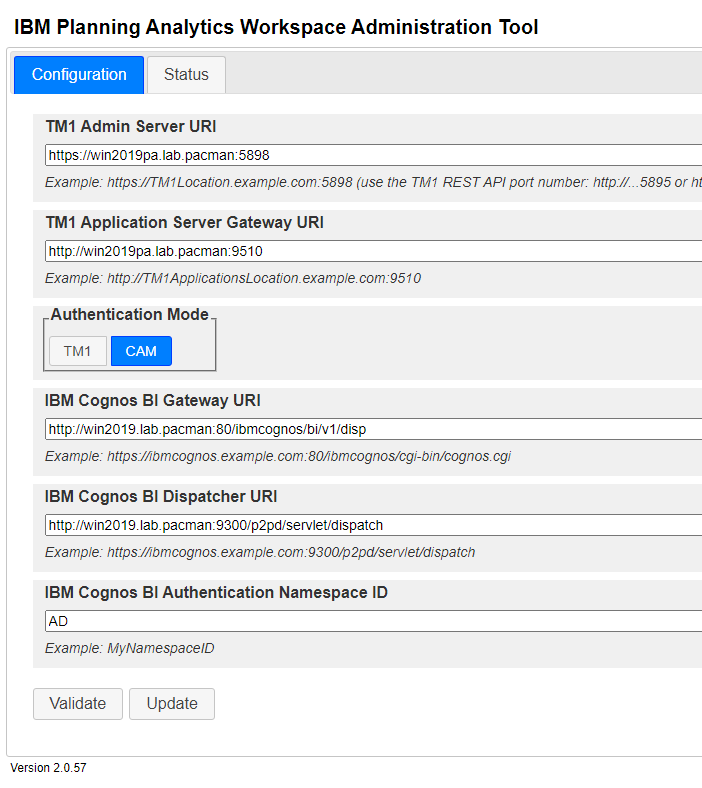
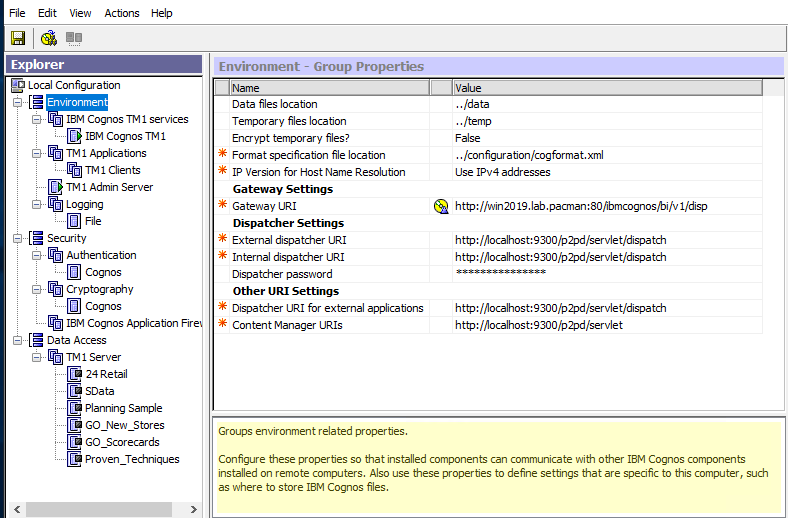
If used with CAM, setup the Gateway URI to be same as the Cognos Analytics URL.
Set the servername for PMPSVC to be the FQDN of the TM1 Windows Server.
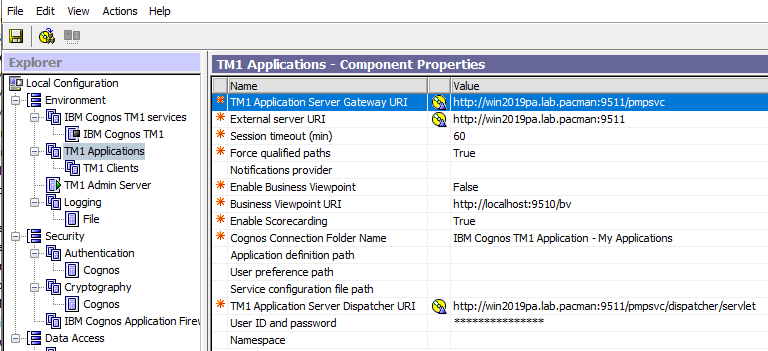
Change the port from 9510 to 9511 for TM1 Application Server (pmpsvc).
Save the configuration.
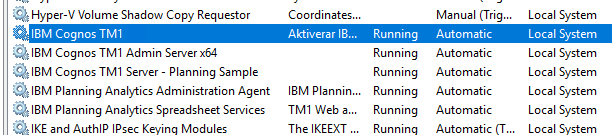
Right click IBM Cognos TM1 and TM1 Admin Server and select Start.
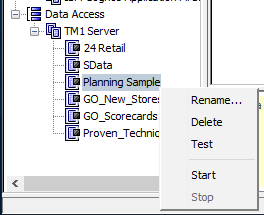
To test the installation right click Planning Sample and click start.
Inside C:\Program Files\ibm\cognos\tm1_64\samples\tm1\PlanSamp\tm1s.cfg change to Language=eng to have tm1server log files in English.
Change Region in Control Panel on client computer to have English as Format, to get English menus in TM1 Architect. Or add Language=eng to file C:\ProgramData\Applix\TM1\tm1p.ini when TM1 Architect is not running, then you get English menu inside TM1 Architect with other Regional settings in Windows.
TM1WEB has it own installations package, that need to be downloaded from fix central.
https://exploringtm1.com/how-to-install-planning-analytics-spreadsheet-services/

Run analytics-installer-3.0.20091714-win.exe as administrator.
Select English and click Next.
Click Next.
Mark “I accept…” and click Next.
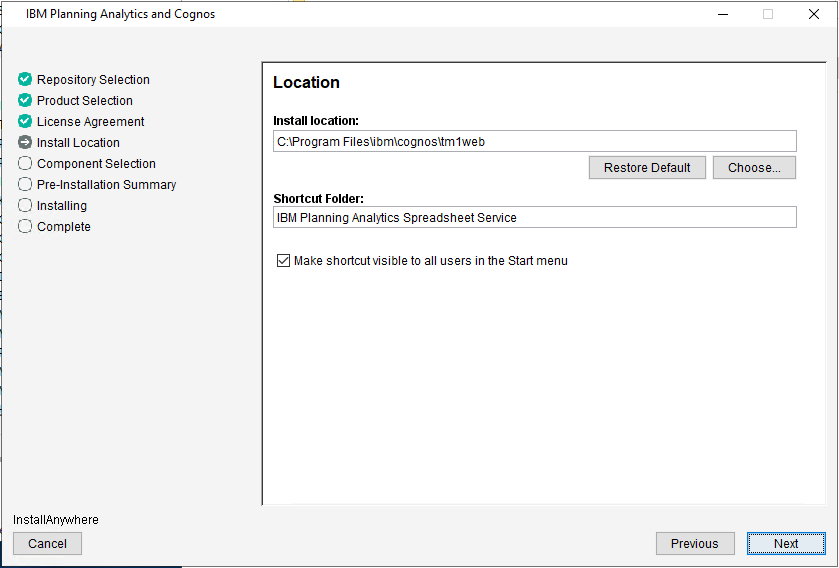
Click Next.
Click Install.
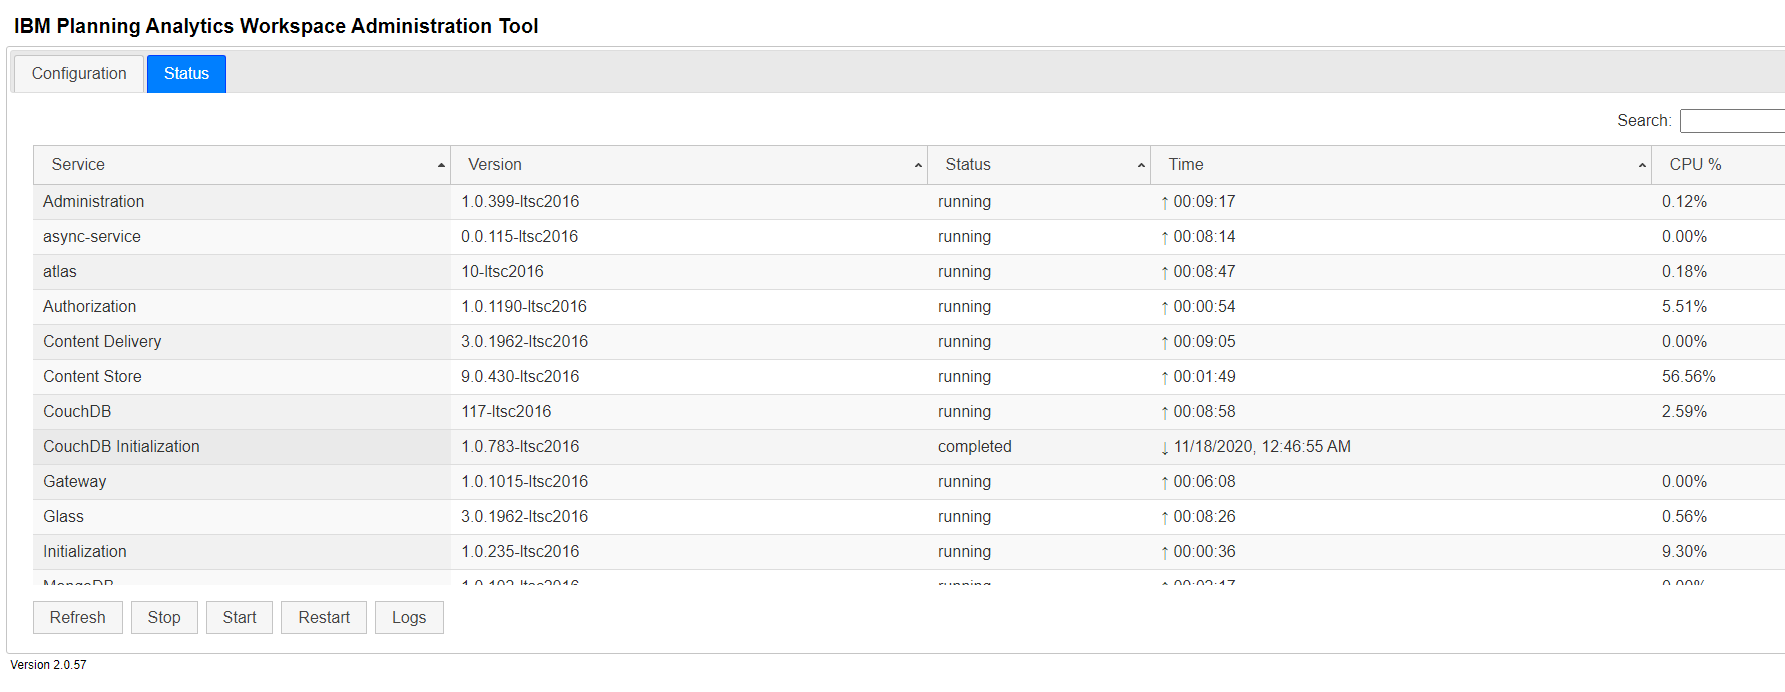
When done – change the IBM Cognos TM1 windows service to Automatic.
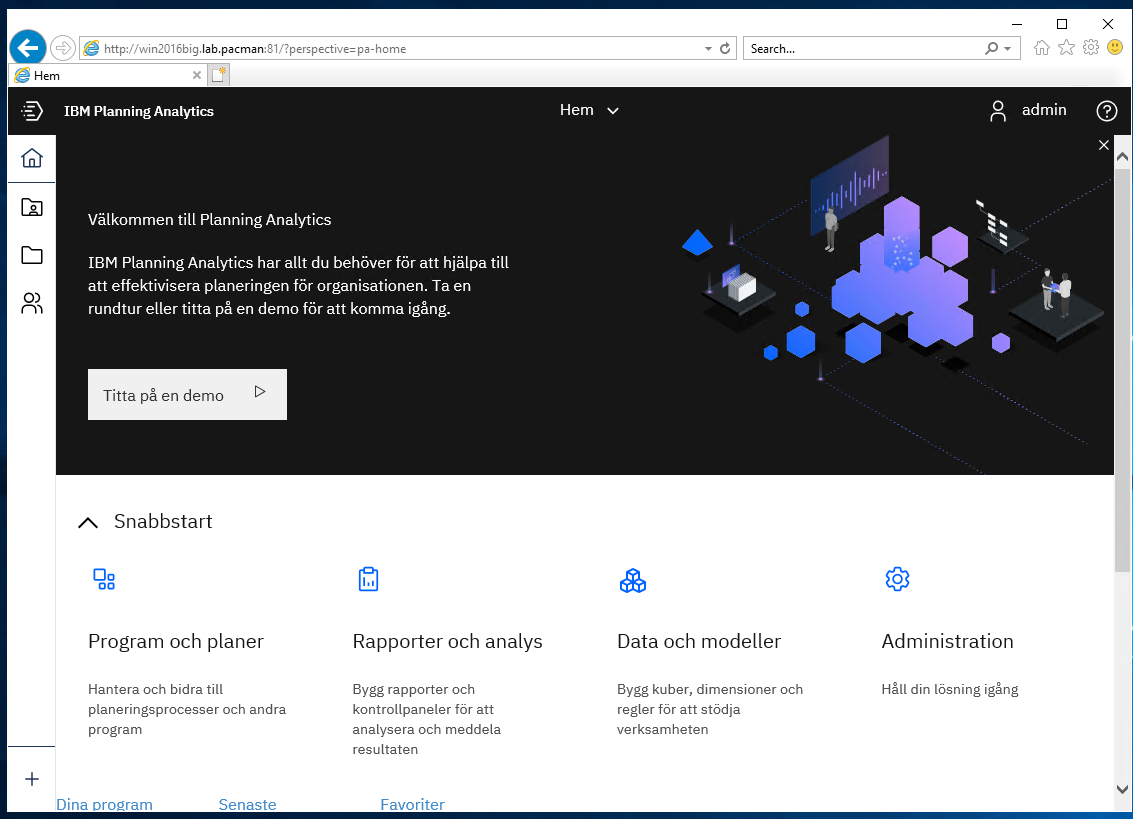
After you have decided if you use CAM authentication or not, browse to http://paservername.domain.com:9511/pmpsvc
First time you start Tm1 Application Web on port 9511, you need to change to correct port for tm1web.
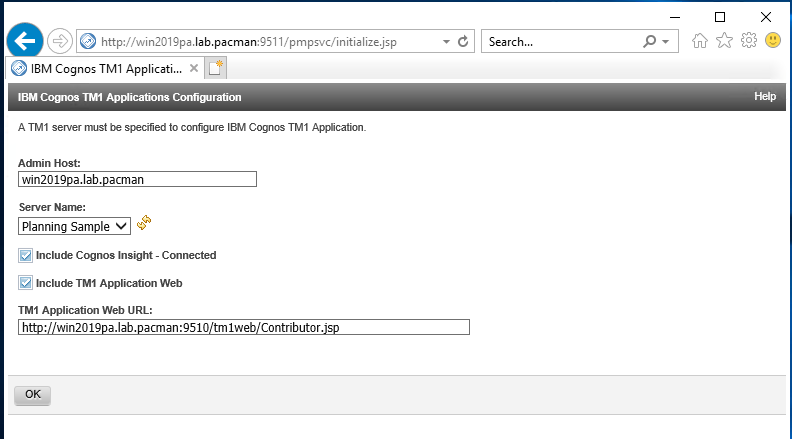
Change to http://paservername.domain.com:9510/tm1web/Contributor.jsp
Click OK. This value is saved in file C:\Program Files\ibm\cognos\tm1_64\webapps\pmpsvc\WEB-INF\configuration\pmpsvc_config.xml, in case you want to change it later.
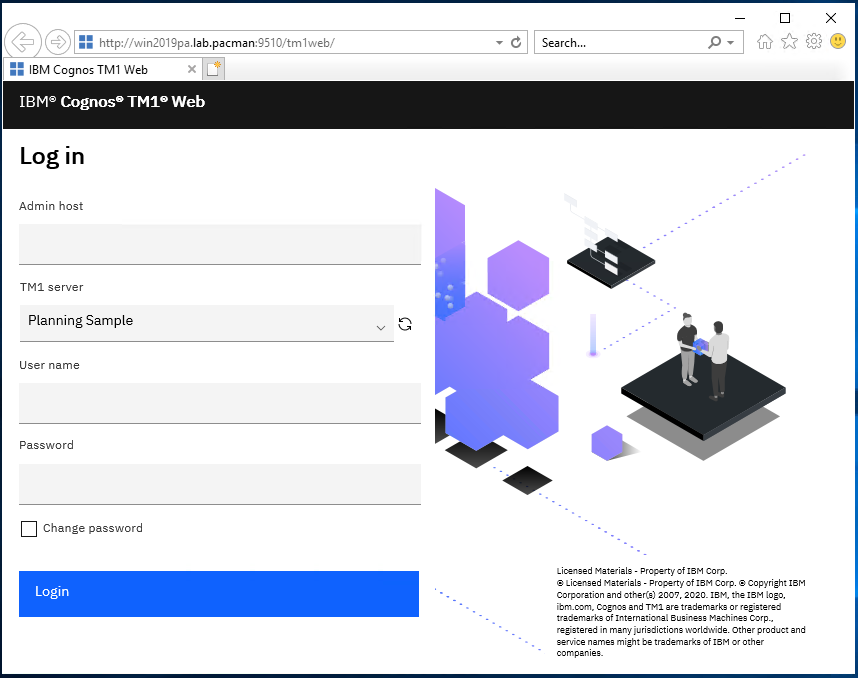
The new TM1WEB is now on the old URL http://paservername.domain.com:9510/tm1web/
# memory
-Xmx4096m
-Xms4096m
# generational concurrent garbage collection policy, useful for applications with many short-lived objects
-Xgcpolicy:gencon
# The size of the heap for the young generation, the objects which have a short life of time
-Xmn2048m
You can change the new TM1WEB memory settings in file C:\Program Files\ibm\cognos\tm1web\wlp\usr\servers\tm1web\jvm.options
<add key=”AdminHostName” value=”” /> value can you set in the C:\Program Files\ibm\cognos\tm1web\webapps\tm1web\WEB-INF\configuration\tm1web_config.xml file, to make users do not need to enter a admin host, and can select the TM1 applications direct from the drop down list.
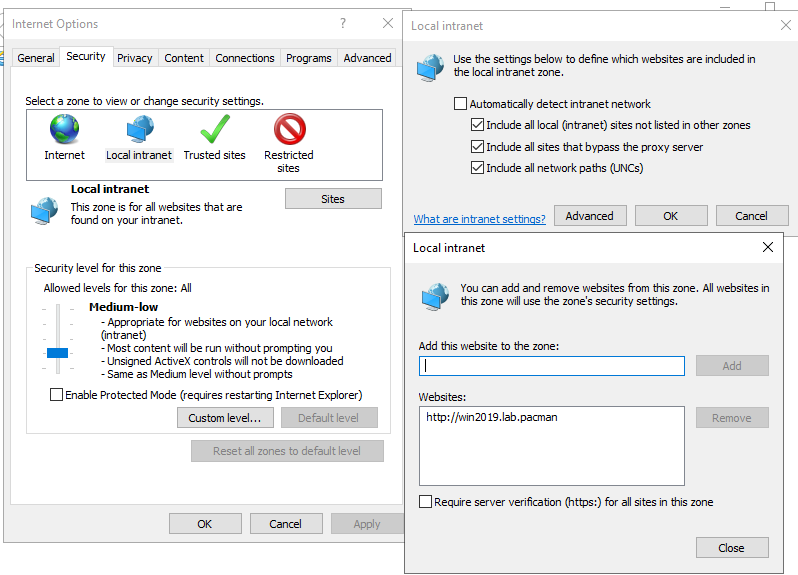
To make SSO work with CAM setup, you need in your Web Browser (IE) set the Cognos server to be trusted or local intranet. Go to Internet Options – Security – Local Intranet – Sites – Advanced – Add – OK.
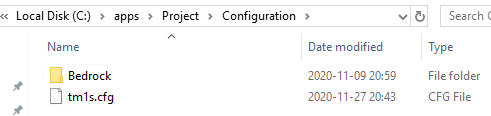
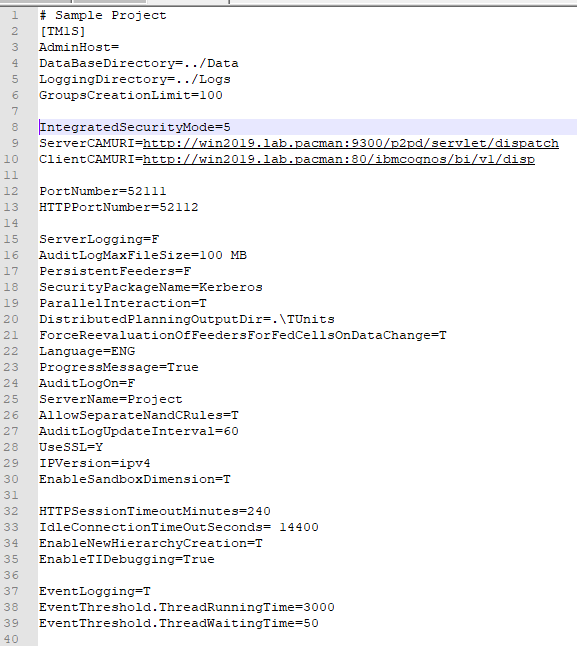
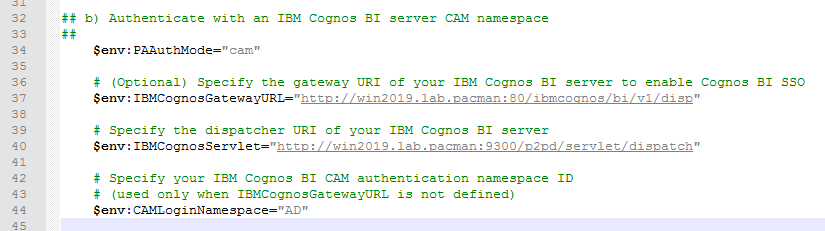
To use Cognos Authenticate Mode, you need to add this values to the tm1s.cfg file for your application.
ServerCAMURI=http://cognos-analytics.domain.com:9300/p2pd/servlet/dispatch
ClientCAMURI=http://cognos-analytics.domain.com:80/ibmcognos/bi/v1/disp
https://www.ibm.com/support/knowledgecenter/SSD29G_2.0.0/com.ibm.swg.ba.cognos.tm1_inst.2.0.0.doc/c_parametersinthetm1s.cfgfile_n1503fe.html
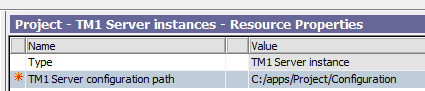
Inside Cognos Configuration setup a new TM1 application by point to the folder that contain the TM1S.CFG file. Save the change and start the TM1 instance by right click and select start.
To be able to add Cognos Users with TM1 architect, when in IntegratedSecurityMode=2 you need to add CognosGatewayURI = http://caserver.domain.com:80/ibmcognos/bi/v1/disp to file C:\ProgramData\Applix\TM1\tm1p.ini and in file C:\Users\%username%\AppData\Roaming\Applix\TM1\tm1p.ini

From PA server copy file C:\Program Files\ibm\cognos\tm1_64\bi_interop\bi_interop.zip to the CA server temp folder, and unzip it with https://www.7-zip.org/

Update the planning.html file (used by old PMPSVC) with
var planningServices = [“http://tm1webserver.domain.com:9510″,”http://tm1appwebserver.domain.com:9511″,”http://pawserver.domain.com”];

Update the pmhub.html file (used by PAW) with
var pmhubURLs = [“http://tm1webserver.domain.com:9510″,”http://tm1appwebserver.domain.com:9511″,”http://pawserver.domain.com”];

Update the tm1web.html file (used by TM1WEB) with
var tm1webServices = [“http://tm1webserver.domain.com:9510″,”http://tm1appwebserver.domain.com:9511″,”http://pawserver.domain.com”];

Copy the planning.html and pmhub.html file to the /webcontent/bi/ and /webcontent/ directory.
Create the folder C:\Program Files\ibm\cognos\analytics\webcontent\bi\tm1\web.
The tm1web.html file is copied in the new /webcontent/bi/tm1/web/ directory.
Rename the variables_TM1.xml.sample file to variables_TM1.xml inside CA Install Dir/templates/ps/portal folder.
Rename the variables_plan.xml.sample to variables_plan.xml inside CA Install Dir\templates\ps\portal folder.
If missing, copy icon_active_application.gif to CA Install Dir\webcontent\ps\portal\images folder.
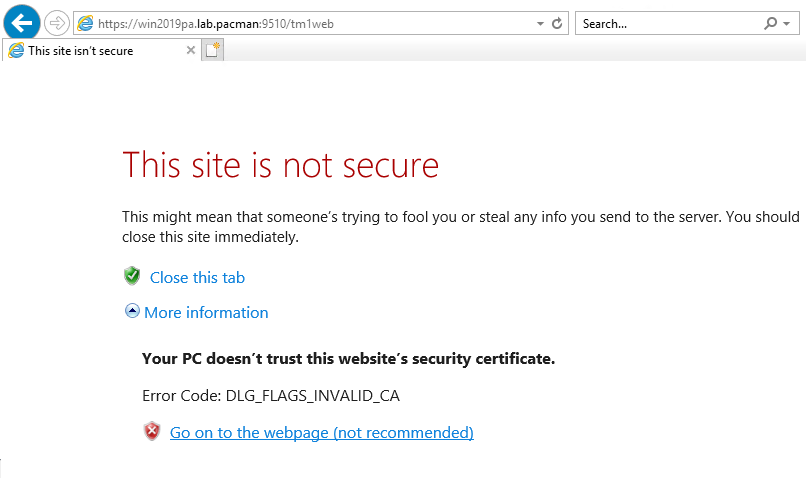
Test by browse to http://tm1webservername.domain.com:9510/tm1web
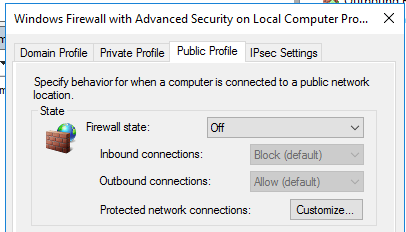
This ports need to be open in the firewall:
To end users: 80, 9510, 9511
To TM1 developers: 80, 443, 9510, 9511, 5495, 5498, 5895, 5898, 8888, 9012, 9300, 12354-44312 (depending on your setup of TM1 instances)
https://www.ibm.com/support/knowledgecenter/SSD29G_2.0.0/com.ibm.swg.ba.cognos.tm1_inst.2.0.0.doc/c_tm1_inst_defaultvaluesfortm1installation.html
To ensure that Cognos TM1 Applications can properly detect a CAM session termination, set the pmpsvc session timeout to a value higher than the CAM session timeout in the fpmsvc_config.xml file.
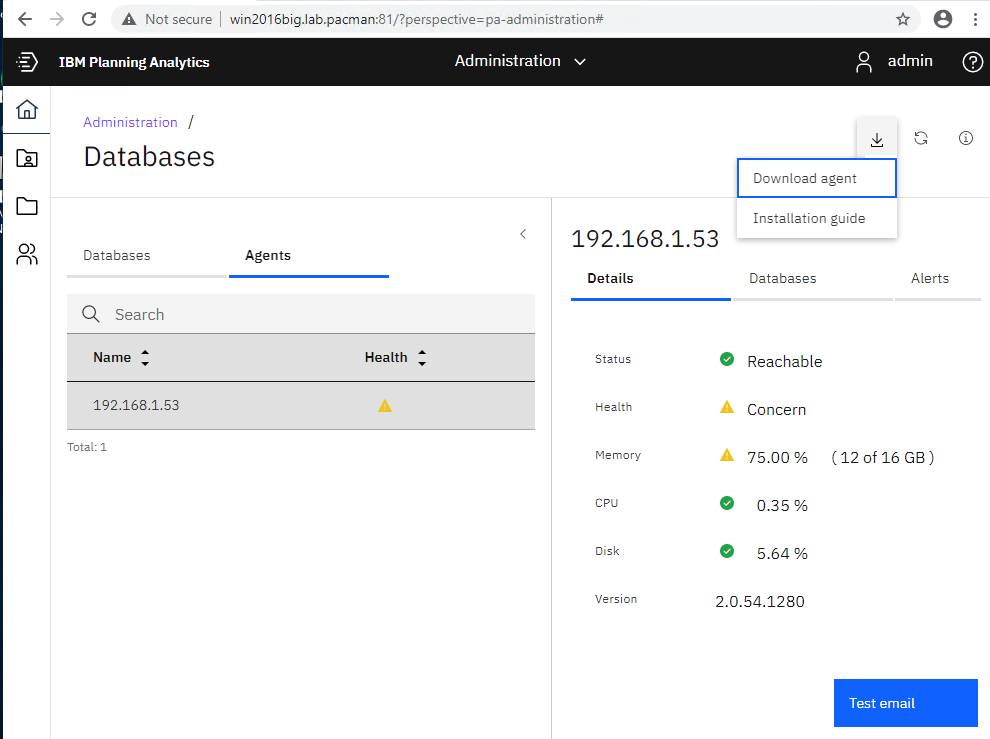
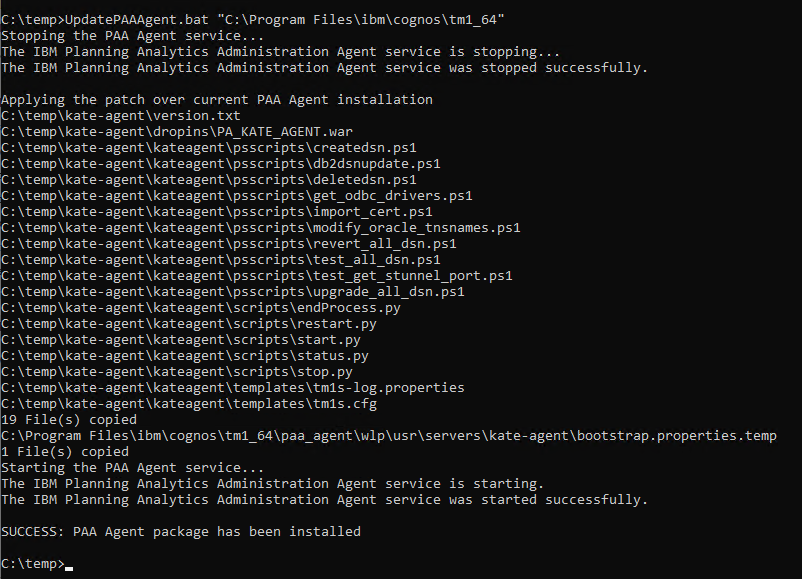
Install of a new PA agent, needs to be done after installation of a new PAW version: https://pmsquare.com/analytics-blog/2019/1/10/when-upgrading-paw-dont-forget-to-upgrade-paa-agent
More information:
https://www.ibm.com/support/pages/node/6324657
https://www.ibm.com/support/pages/unable-start-ibm-planning-analytics-spreadsheet-services-and-ibm-cognos-tm1-service-same-host-server
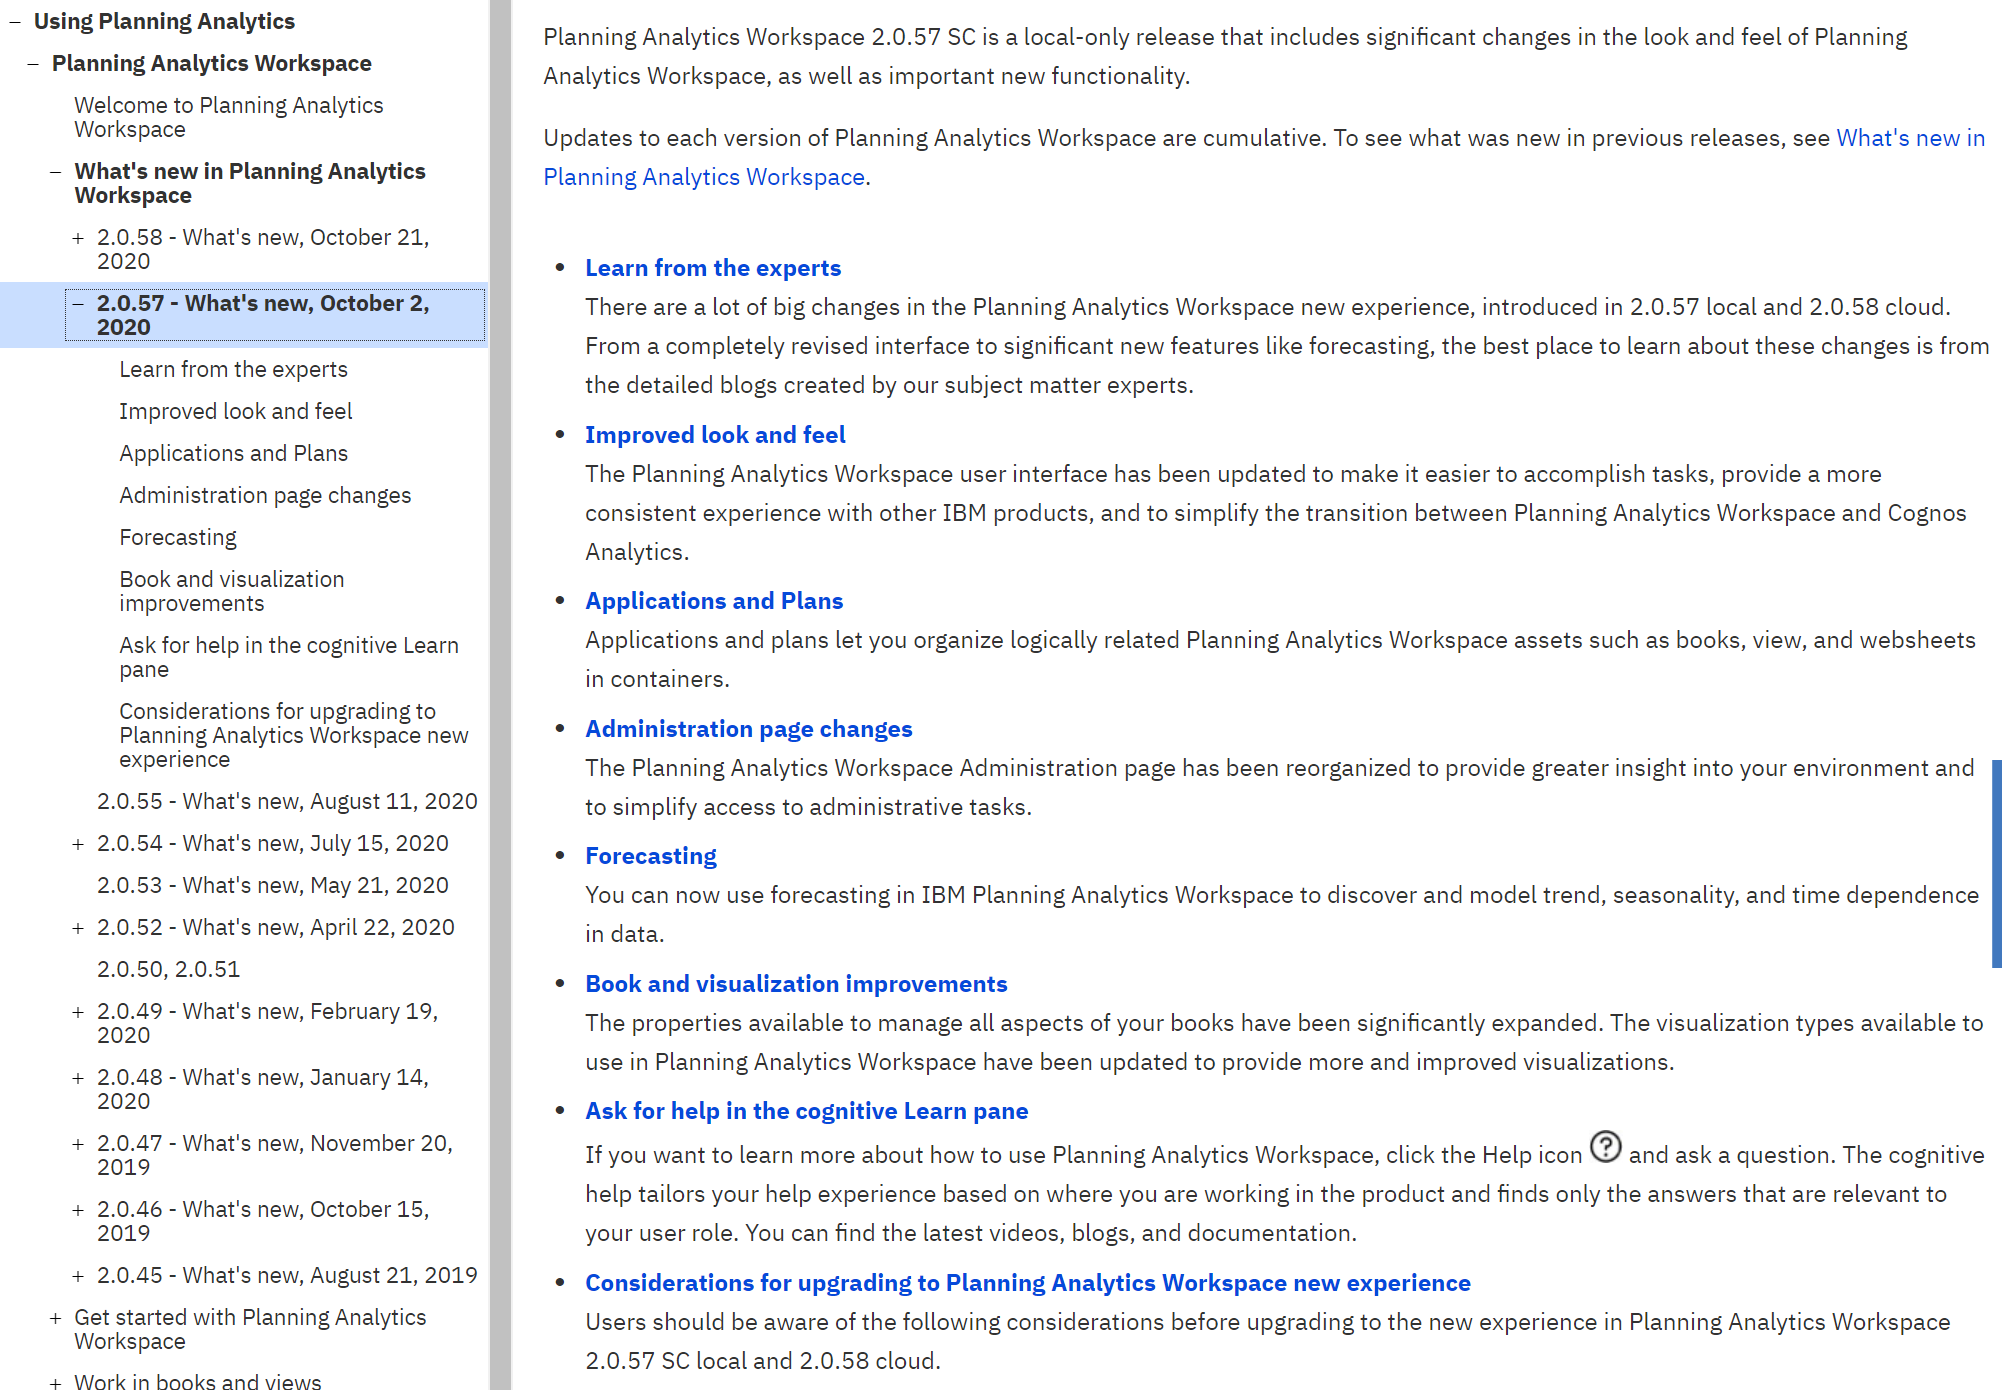
https://www.ibm.com/support/knowledgecenter/SSD29G_2.0.0/com.ibm.swg.ba.cognos.tm1_nfg.2.0.0.doc/c_paw_nf_sc57_local.html
https://community.ibm.com/community/user/businessanalytics/blogs/nadine-mnch/2018/03/07/cognosanalytics-and-planninganalytics-integration-walkthrough-part-3
https://www.ibm.com/support/pages/node/286765
https://www.ibm.com/support/pages/changes-tm1web-deployment-planning-analytics-local-2055-release
TM1WEB version supported:
https://www.ibm.com/support/pages/node/6233252
https://www.ibm.com/support/pages/ibm-planning-analytics-microsoft-excel-conformance-requirements


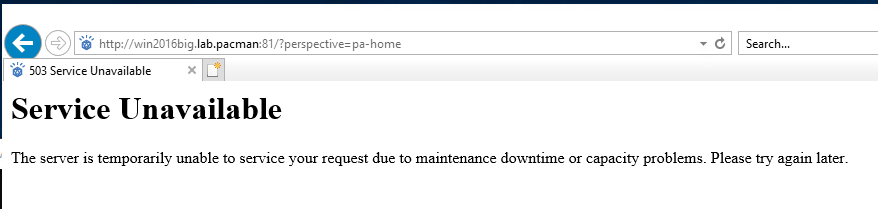
 If you see this, please wait longer.