Product:
Planning Analytics Workspace 74
Microsoft Windows 2019 server
Issue:
After migrate reports from old PAW to new PAW; some workspace does not show, they are blank instead of showing the table or graph.
Possible solution:
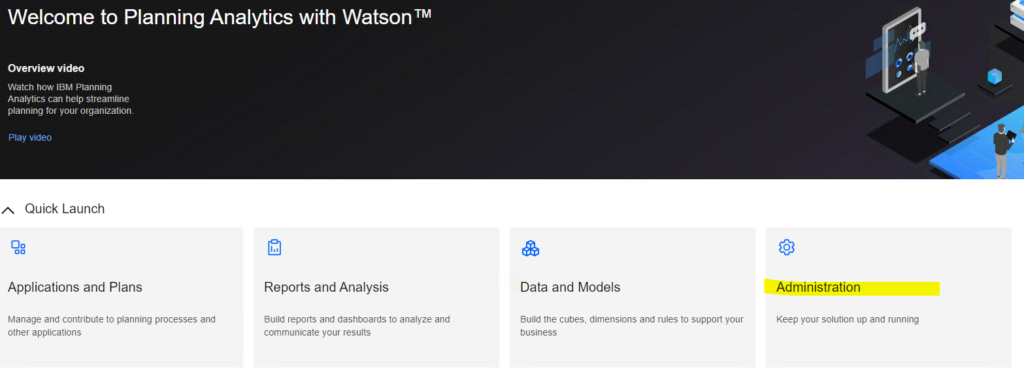
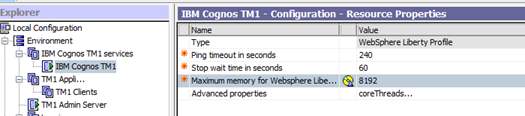
Ensure that inside Planning Analytics Workspace Administration, that the URL for TM1 Application Server Gateway URI point to your TM1WEB server and port.
http://paservername.domain.com:9510
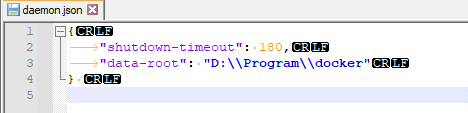
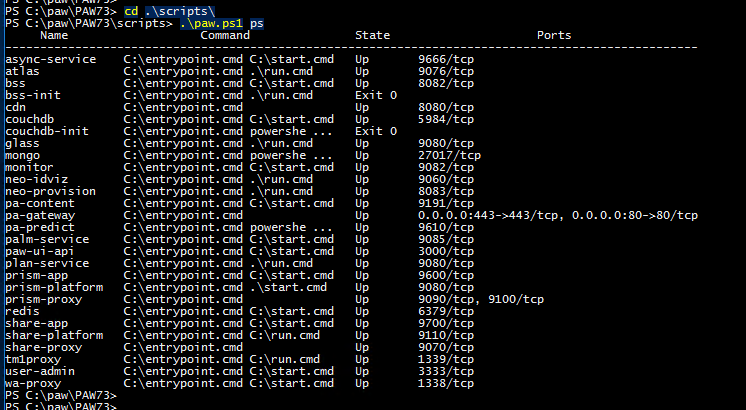
This settings are also found in file d:\IBM\PAW74\config\paw.ps1
PAW uses the TM1WEB to render the websheets, so this must point to correct port.
If it point to the pmpsvc instead, you will get a blank page, where there should be a websheet in the dashboard.
You migrate the books and reports with the PAW lifecycle function from old PAW to new PAW; but the web sheets are migrated with the TM1 data folder.
If there is only the websheet that are blank in the PAW book, then it can be the IBM Cognos BI Gateway URI that point wrong, it should point to the IIS weburl in case when you use SSO in your Tm1 application. It should match the settings in the TM1S.CFG file. Try by change it to:
http://cognosservername.domain.com:80/ibmcognos/bi/v1/disp
from the old value;
http://cognosservername.domain.com:9300/bi/v1/disp
The IBM Cognos BI Dispatcher URI should always be;
http://cognosservername.domain.com:9300/p2pd/servlet/dispatch
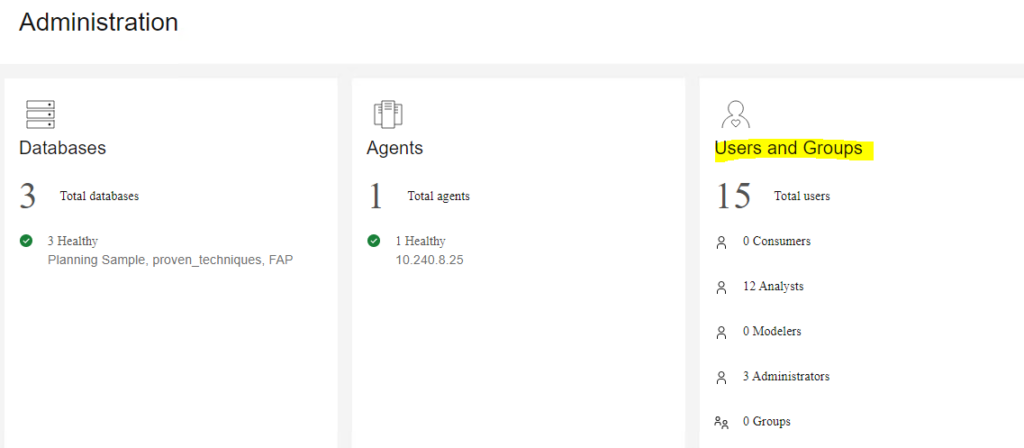
The other valus in the IBM Planning Analytics Workspace Administration Tool ( http://172.31.201.196:8888/ ) should be:
The TM1 Admin Server URI
https://tm1servername.domain.com:5898
TM1 Application Server Gateway URI (port depending on setup as listed above)
http://tm1webservername.domain.com:9511
More information:
https://blog.octanesolutions.com.au/backup-and-restoration-paw
https://www.ibm.com/docs/en/planning-analytics/2.0.0?topic=snapshots-import-snapshot
https://www.ibm.com/docs/en/planning-analytics/2.0.0?topic=classic-limitations
https://www.ibm.com/docs/en/planning-analytics/2.0.0?topic=classic-manage-snapshots
https://www.tm1forum.com/viewtopic.php?t=15452