Product:
Planning Analytics 2.0.9.19
Microsoft Windows 2019 server
Planning Analytics Workspace version 95
Problem:
Where is the files uploaded to?
When you try to create a new folder in PAW version 95, then you get a error like below, then something with the installation went wrong.
The following administration agent error occurred – {“errorMessage”:{},”query”:”/pakate-agent/v0/filemanager/Planning%20Sample/files”,”httpStatusCode”:500}
Suggestion:
The file manager will only access a folder under your applications data folder called model_upload like in C:\Program Files\ibm\cognos\tm1_64\samples\tm1\PlanSamp\model_upload. (i think you can edit this folder name in the paa-agent bootstrap.properties file.) Try change this value:
MODEL_UPLOAD=model_upload
To upload a file go to PAW and WORKBENCH

Right click on the application you want to work with files and select file manager.
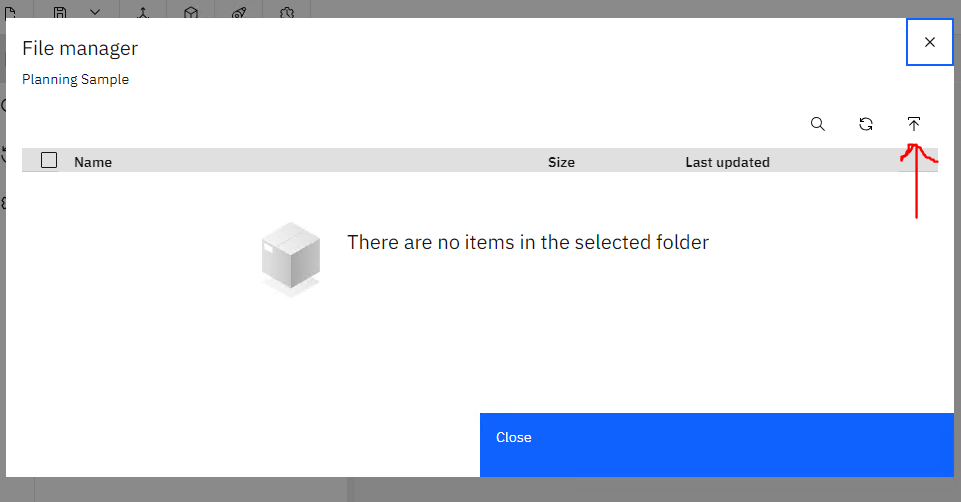
Click on the upload icon, and then drag the file to the area, and press upload button.
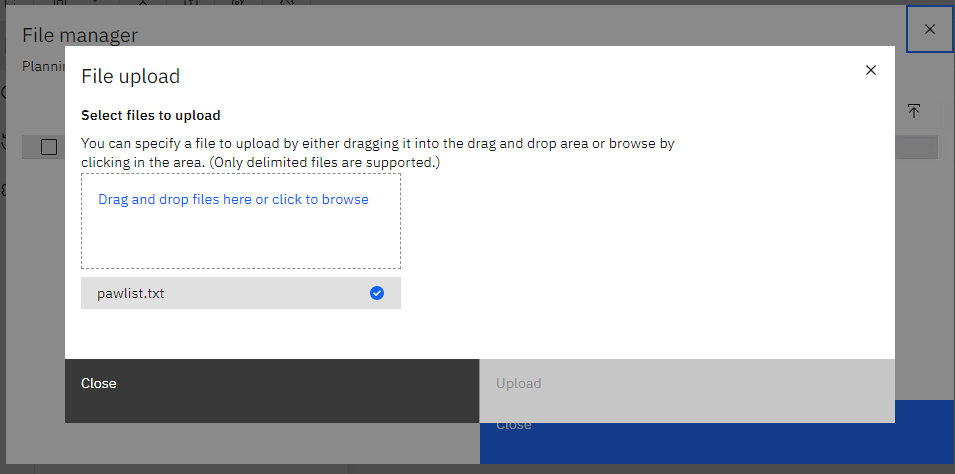
When the file is uploaded, close above dialog.
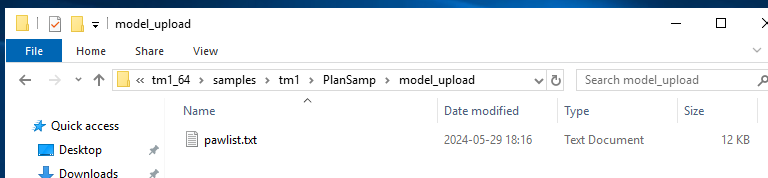
The file is put in a folder below your data folder, for your tm1 instance.
If the paa-agent not work as expected, then the files are created here, for all tm1 instances.
D:\Program Files\ibm\cognos\tm1_64\paa_agent\wlp\usr\servers\kate-agent\model_upload
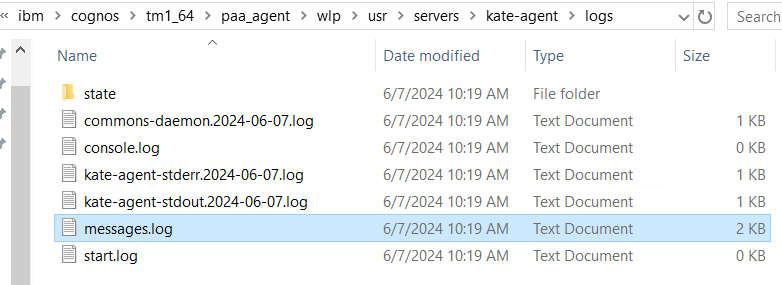
Check the messages.log file above for more information why it does not work.
Reinstall PAA agent, for you to try resolving the issue.
More Information:
https://www.ibm.com/docs/en/planning-analytics/2.0.0?topic=model-using-file-manager
Working with files and folders in File manager
You can use the toolbar to create folders and sub-folders, upload files, refresh files, and search for a folder or file. Use the Actions button  or select a file or folder to access optionssuch as Download, Delete, Cut, Copy, and Compress.
- Deleting a file or folder
- To delete an item, select the file or folder and click Delete. You can also click the Action button for the item and click Delete.
Warning: When you delete a folder or sub-folder, all files within that folder are also deleted.
- Cut, copy, and paste files
- You can move or copy files or folders to a different folder within the File manager. The Cut and Copy options are available from the Actions button or display in the toolbar when you select one or more items.
-

- Compress and expand files
- Select one or more files or folders and click Compress to compress the items into a .zip file. You can compress a file and move it to a new location without using Cut. To do this, select a file and click Compress. Then, go to the destination folder and click Compress again.