Product:
Planning Analytics 2.0.9.10 TM1_version=TM1-AW64-ML-RTM-11.0.910.5-0
Microsoft Windows 2016 server
Issue:
How upgrade Planning Analytics to later version?
Suggested solution:
Always follow IBM instructions first, this is a suggestion on what to check for at a installation of TM1.
In the new versions of PA, you can stop the IBM services, and do the installation on top of the existing Planning Analytics folder. This is the recommended way for a upgrade.
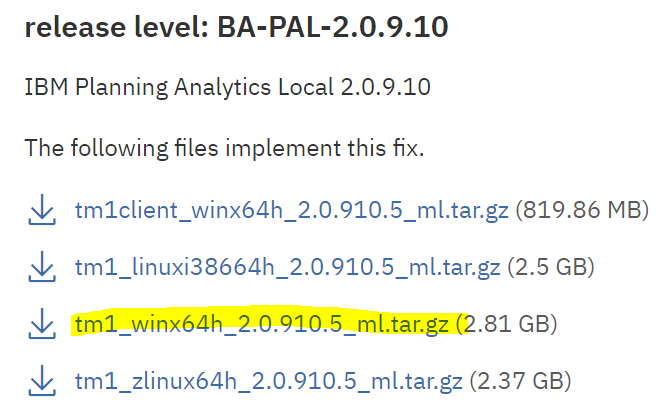
Download the latest version from IBM:
https://www.ibm.com/support/pages/ibm-planning-analytics-local-20910-now-available-download-fix-central
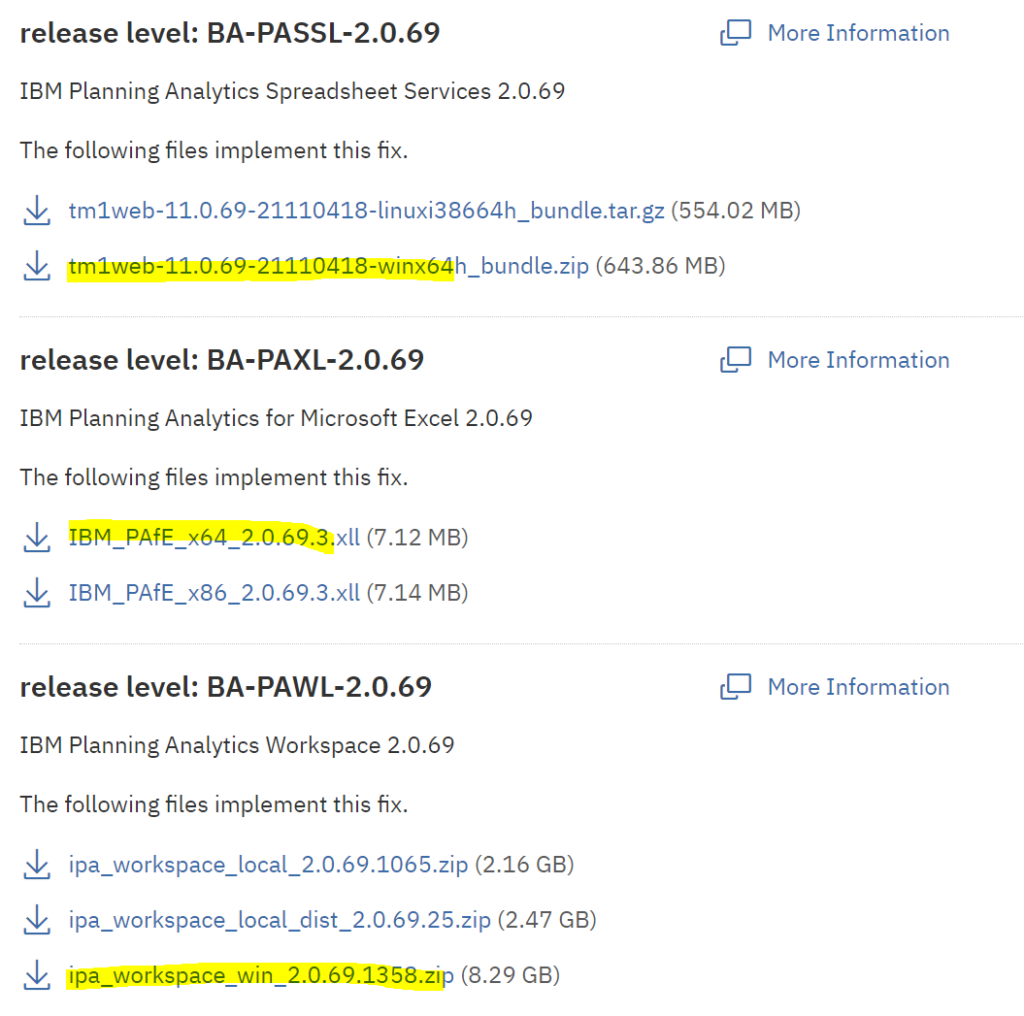
For a installation on a Windows server, you need the files that are for windows;
and the latest PAW and PASS…
Check this before installation on your new windows server:
| Install Microsoft Visual C++ 2010 SP1 Redistributable Package
https://download.microsoft.com/download/1/6/5/165255E7-1014-4D0A-B094-B6A430A6BFFC/vcredist_x64.exe |
|
| Install SQL 2012 native client for ODBC support to SQL databases | |
| Install NET Framework 4.8 | |
| Turn DEP off in Windows control panel | |
| Set Power Options to HIGH Performance in Windows control panel | |
| Turn off IEESC (internet explorer enhanced security configuration) | |
| Start Print spooler service (on the TM1 server) | |
| Exclude cognos and docker folders from anti-virus software scanning | |
| Open firewall ports 80,443,9510,9511 to TM1 end users | |
| Open firewall ports 80,443,9012,9510,9511, 5495,5498,5895,5898, 12300-12400 between servers. | |
| Open firewall ports 9300 for Cognos BI, 1433 for SQL, 25 for Mail, 389 for Active Directory. | |
| Install 7zip and Notepad++ to edit xml files on the server. |
Setup Planning Analytics local:
If more than one network card, then set the order of there use from powershell command;
Get-NetIPInterface Set-NetIPInterface -InterfaceIndex 2 -InterfaceMetric 50 |
|
| Unzip tm1_winx64h_2.0.910.5_ml.tar.gz and Install with issetup.exe | |
| Set maximum memory in MB for WebSphere to 8192 in Cognos Configuration | |
| Check file C:\Program Files\ibm\cognos\analytics\templates\ps\portal\variables_tm1.xml exist on your CA11 server. Rename the variables_tm1.xml.sample file to variables_tm1.xml | |
Update files planning.html, tm1web.html with tm1web servername and port on CA11 server
// Update the following to point to the location of the planning service(s)
var planningServices = ["http://servername.domain.com:9510","http://servername.domain.com:9511"];
Update file pmhub.html with PAW servername and port on CA11 server // Update the following to point to the location of the pmhub service(s) var pmhubURLs = [http://paservername.domain.com:9510","http://paservername.domain.com:9511","http://pawservername.domain.com"]; |
|
| Set your servers ip, in the tm1s.cfg file to IPAddressV4=”192.168.1.13″ (replace with your ip value) | |
| Update a planning application for use of SSO and CAM in tm1s.cfg with below values;
IntegratedSecurityMode=5 ServerCAMURI=http://caservername.domain.com:9300/p2pd/servlet/dispatch ClientCAMURI=https://caservername.domain.com/ibmcognos/bi/v1/disp ClientPingCAMPassport=900 |
|
| Surf to http://paservername.domain.com:9510/pmpsvc to connect it with a CAM application | |
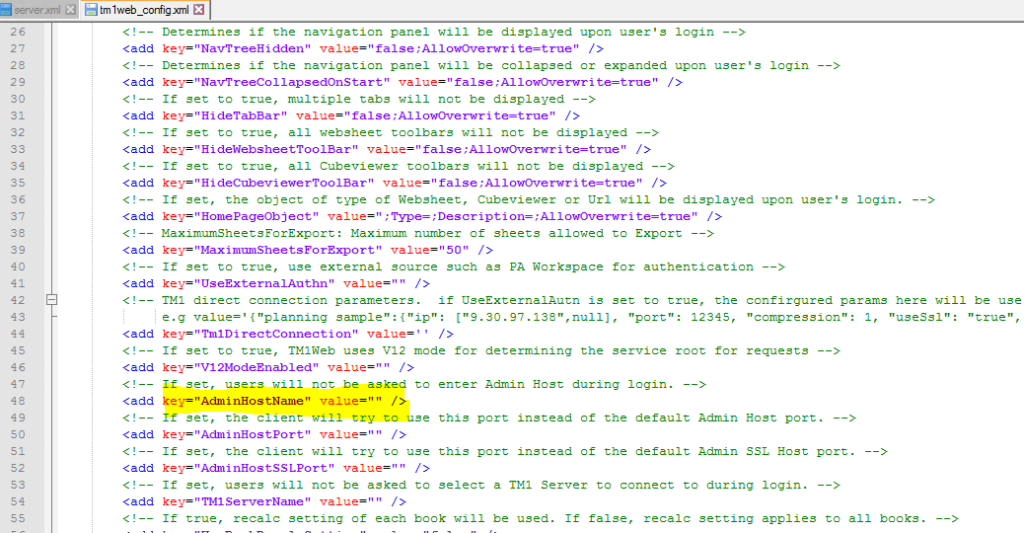
| To preset the admin host in tm1web, Open D:\Program Files\ibm\cognos\tm1web\webapps\tm1web\WEB-INF\configuration\tm1web_config.xml and change <add key=”AdminHostName” value=”paservername” />
|
|
| Open D:\Program Files\ibm\cognos\tm1web\webapps\tm1web\WEB-INF\configuration\tm1web_config.xml and change the timeout for the web <add key=”HttpSessionTimeout” value=”60″ /> |
|
| Open firewall ports 80,443,9510,9511,8888, 5495,5498,5895,5898,9012 and 12345.. for developers. | |
| CertificateVersion=2 in TM1S.CFG gives that you use 2048-bit encryption internal in TM1 | |
| Test to remove any MTQ line in TM1S.CFG for new versions of Planning Analytics | |
| For a new installation create a folder structure for the applications, like d:\tm1\app\datafiles… | |
| Add the PortNumber=12345 (and below numbers) to the tm1s.cfg file for your applications.
HTTPportnumber=12346 (they must be unique for each TM1 application) ClientMessagePortNumber=12347 |
|
Change log time to LOCAL timezone, by in the tm1s-log.properties file edit:
log4j.appender.S1.TimeZone=Local |
| Where TM1 architect is installed, open C:\ProgramData\Applix\TM1\tm1p.ini and add lines
AllowImportCAMClients = T CognosGatewayURI = https://caserver.domain.com/ibmcognos/bi/v1/disp |
|
| Language=ENG in TM1P.INI will give English menu in TM1 Architect https://www.ibm.com/docs/en/planning-analytics/2.0.0?topic=installation-tm1-language-configuration |
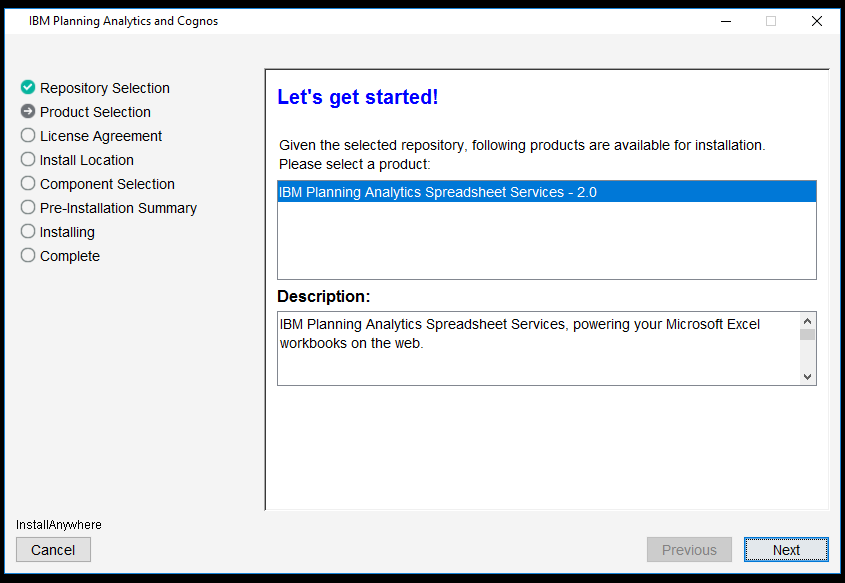
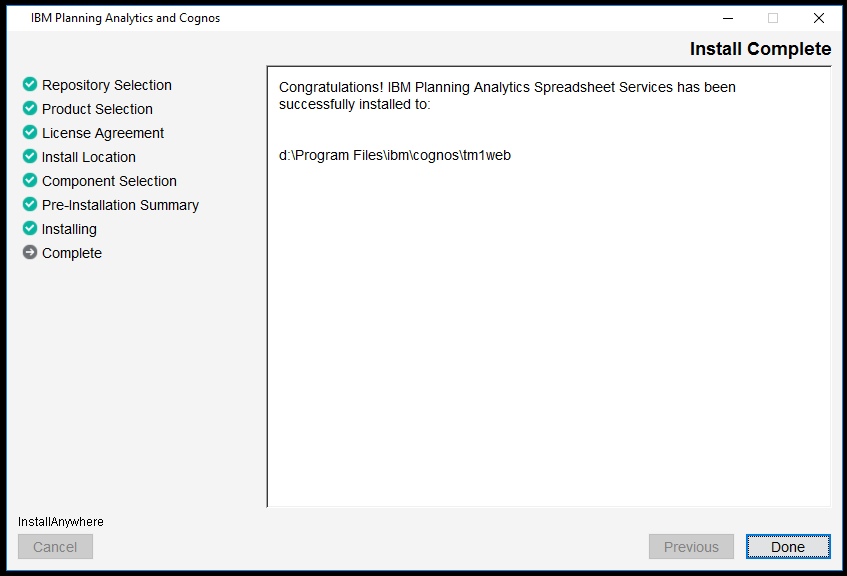
Setup new TM1WEB: IBM Planning Analytics Spreadsheet Services
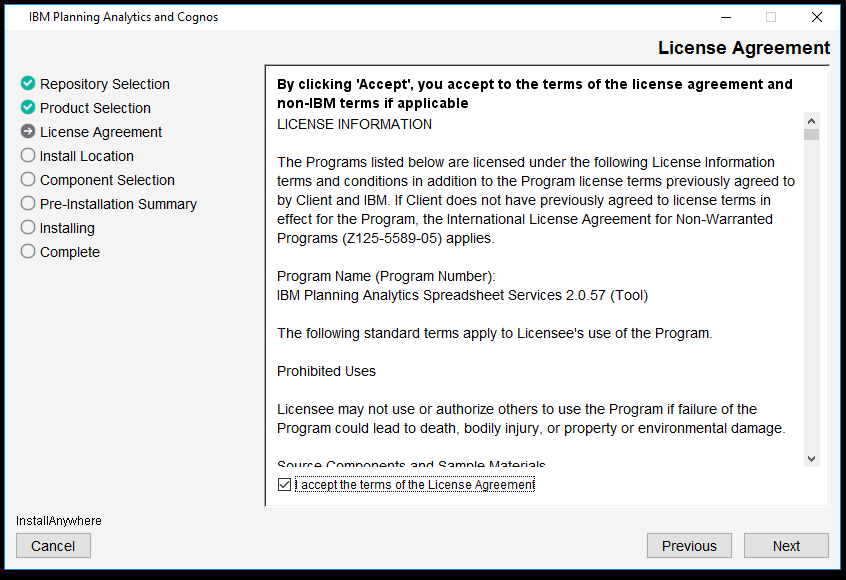
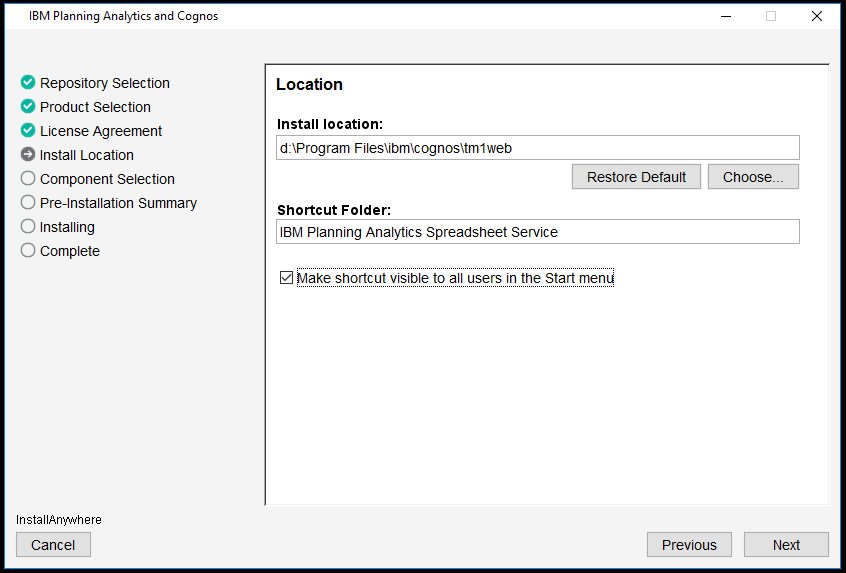
Install tm1web (PASS) from tm1web-11.0.68-21100620-winx64h_bundle folder by click on exe file

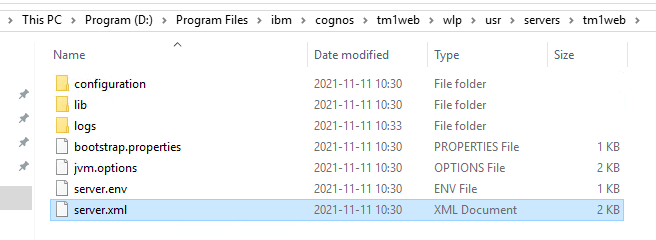
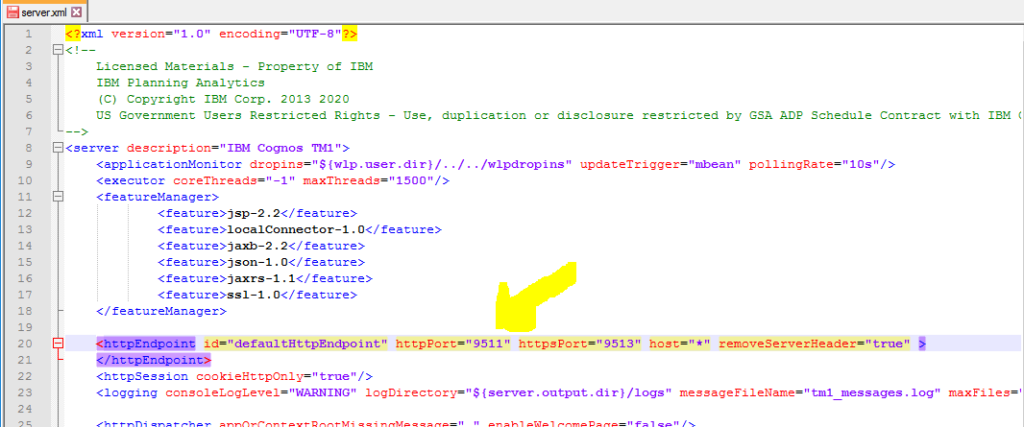
Change to port 9511, in file server.xml, located in the folder C:\Program Files\ibm\cognos\tm1web\wlp\usr\servers\tm1web
Restart the “IBM Planning Analytics Spreadsheet Services”.
To make TM1 APP WEB work, you need to update file pmpsvc_config.xml in folder D:\Program Files\ibm\cognos\tm1_64\webapps\pmpsvc\WEB-INF\configuration with value:
<client id="thinClient" type="html-new" uri="http://paservername.domain.com:9511/tm1web/Contributor.jsp">
Start “IBM Cognos TM1” service, that is for Tm1 App Web (pmpsvc).

Setup Planning Analytics Workspace on Windows 2016
To install to d drive, create c:\programdata\docker\config\daemon.json with this content:
{
"debug": true,
"data-root": "d:\\docker"
}
|
| Run ./Start.ps1
https://www.ibm.com/support/pages/cognos-analytics-and-planning-analytics-integration |
If you have issue, use this powershell commands to get more information:
PS C:\> docker version PS C:\> docker image ls PS C:\> docker ps --all PS C:\> Get-VMSwitch PS C:\> Get-NetNat PS C:\> Get-ContainerNetwork |
| Update PAW administration for CAM IBM cognos BI gateway URI http://caserver.domain.com:80/ibmcognos/bi/v1/disp IBM cognos BI Dispatcher URI http://caserver.domain.com:9300/bi/v1/disp Change $env:CAMLoginNamespace to same as Namespace ID in Cognos Configuration. |
| Set timeout to $env:ProxyTimeoutSeconds=900 in file paw.ps1 https://www.ibm.com/docs/en/planning-analytics/2.0.0?topic=local-what-timeout-settings-can-i-set |
To get the internal gateway IP for use on windows 2016 server enter:
docker inspect pa-gateway -f' {{.NetworkSettings.Networks.nat.IPAddress}}'
|
| Locate the scripts/shutdown.ps1 script in your Planning Analytics Workspace installation folder.
Copy the scripts/shutdown.ps1 script to a permanent location on your system (d:\ibm\). In a command window, open the Group Policy Editor (GPE) by running gpedit.msc. Expand Computer Configuration and select Windows Settings. Double-click Scripts (Startup/Shutdown). Switch to the PowerShell Scripts tab. Click Add and add the shutdown.ps1 script from the folder. |
| If you need to change port for paw set $env:PAGatewayHTTPPort=”8080” in file paw.ps1 |
| Install the PA agent for the new workspace version on your TM1 server |
| Setup mail for the PA agent
https://pmsquare.com/analytics-blog/2020/11/8/ibm-planning-analytics-system-alerts-via-email |
How to upgrade PAW:
Download the new version and unzip the file in a new folder e.g. \ibm\paw69
- Stop the running paw with command ./scripts/paw.ps1 stop
- Copy the /ibm/paw68/config/paw.ps1 file from your current installation to the new installation location (/ibm/paw69/config).
- Copy the /ibm/paw68/config/certs directory from your current installation to the new installation location.
- Optional: If you configured SSL, copy the /ibm/paw68/config/ssl directory from your current installation to the new installation location.
- Install Planning Analytics Workspace Local in the new installation location. See Installing Planning Analytics Workspace Local. Go to the /ibm/paw69/ folder and run ./Start.ps1
Reply “y
” when you are prompted to install the Docker images. Reply “y
” when you are prompted to open the administration tool.
More Information:
https://www.ibm.com/docs/en/planning-analytics/2.0.0?topic=features-whats-new-in-planning-analytics
https://exploringtm1.com/how-to-install-planning-analytics-spreadsheet-services/
https://exploringtm1.com/install-planning-analytics-workspace-to-windows-2016/
https://exploringtm1.com/how-to-upgrade-install-planning-analytics-for-excel-pax/
https://exploringtm1.com/how-to-upgrade-planning-analytics-tm1/
https://code.cubewise.com/blog/dealing-with-daylight-saving-time-and-time-zones-in-tm1
Older versions are listed here:
- Planning Analytics 2.0.9.10 – September 14, 2021
IBM Planning Analytics Local version 2.0.9.10 and the cloud release of IBM Planning Analytics with Watson version 2.0.9.10 includes updates for IBM TM1 Server version 11.8.9. - Planning Analytics 2.0.9.9 – July 14, 2021
IBM Planning Analytics Local version 2.0.9.9 and the cloud release of IBM Planning Analytics with Watson version 2.0.9.9 includes updates for IBM TM1 Server version 11.8.8. - Planning Analytics 2.0.9.8 – May 26, 2021
IBM Planning Analytics Local version 2.0.9.8 and the cloud release of IBM Planning Analytics with Watson version 2.0.9.8 includes updates for IBM TM1 Server version 11.8.7. - Planning Analytics 2.0.9.7 – April 15, 2021
IBM Planning Analytics Local version 2.0.9.7 and the cloud release of IBM Planning Analytics with Watson version 2.0.9.7 includes updates for IBM TM1 Server version 11.8.6. - Planning Analytics 2.0.9.6 – March 16, 2021
IBM Planning Analytics Local version 2.0.9.6 and the cloud release of IBM Planning Analytics with Watson version 2.0.9.6 includes updates for IBM TM1 Server version 11.8.5. - Planning Analytics 2.0.9.5 – February 8, 2021
IBM Planning Analytics Local version 2.0.9.5 and the cloud release of IBM Planning Analytics with Watson version 2.0.9.5 includes updates for IBM TM1 Server version 11.8.4. - Planning Analytics 2.0.9.4 – December 17, 2020
IBM Planning Analytics Local version 2.0.9.4 and the cloud release of IBM Planning Analytics with Watson version 2.0.9.4 includes updates for IBM TM1 Server version 11.8.3. - Planning Analytics 2.0.9.3 – October 9, 2020
IBM Planning Analytics Local version 2.0.9.3 and the cloud release of IBM Planning Analytics with Watson version 2.0.9.3 includes updates for IBM TM1 Server version 11.8.2. - Planning Analytics 2.0.9.2 – July 27, 2020
IBM Planning Analytics Local version 2.0.9.2 and the cloud release of IBM Planning Analytics with Watson version 2.0.9.2 includes updates for IBM TM1 Server version 11.8.1. - Planning Analytics 2.0.9.1 – May 21, 2020
IBM Planning Analytics Local version 2.0.9.1 and the cloud release of IBM Planning Analytics with Watson version 2.0.9.1 includes updates for IBM TM1 Server version 11.8.0. - Planning Analytics 2.0.9 – December 16, 2019
IBM Planning Analytics Local version 2.0.9 and the cloud release of IBM Planning Analytics with Watson version 2.0.9 includes updates and new features for IBM TM1 Server version 11.7.0. - Planning Analytics 2.0.8 – July 17, 2019
IBM Planning Analytics Local version 2.0.8 and the cloud release of IBM Planning Analytics with Watson version 2.0.8 includes updates and new features for IBM TM1 Server version 11.6.0. - Planning Analytics 2.0.7 – April 29, 2019
IBM Planning Analytics Local version 2.0.7 and the cloud release of IBM Planning Analytics with Watson version 2.0.7 includes updates and new features for IBM TM1 Server version 11.5.0. - Planning Analytics 2.0.6 – October 11, 2018
IBM Planning Analytics Local version 2.0.6 and the cloud release of IBM Planning Analytics with Watson version 2.0.6 includes updates and new features for IBM TM1 Server version 11.4.0. - Planning Analytics 2.0.5 – June 25, 2018
IBM Planning Analytics Local version 2.0.5 and the cloud release of IBM Planning Analytics with Watson version 2.0.5 includes updates and new features for IBM TM1 Server version 11.3.0. - Planning Analytics 2.0.4 – February 16, 2018
IBM Planning Analytics Local version 2.0.4 and the cloud release of IBM Planning Analytics with Watson version 2.0.4 includes updates and new features for IBM TM1 Server version 11.2.0.
- Planning Analytics 2.0.3 – September 19, 2017
IBM Planning Analytics Local version 2.0.3 and the cloud release of IBM Planning Analytics version 2.0.3 includes updates and new features for IBM TM1 Server version 11.1.0. - Planning Analytics 2.0.2 – June 1, 2017
IBM Planning Analytics Local version 2.0.2 and the cloud release of IBM Planning Analytics version 2.0.2 includes updates and new features for IBM TM1 Server version 11.0.2. - Planning Analytics 2.0.1 – February 7, 2017
IBM Planning Analytics Local version 2.0.1 and the cloud release of IBM Planning Analytics version 2.0.1 includes fixes for IBM TM1 Server version 11.0.1. - Planning Analytics 2.0.0 – December 16, 2016
IBM Planning Analytics Local version 2.0.0 and the cloud release of IBM Planning Analytics version 2.0.0 includes updates and new features for IBM TM1 Server version 11.0.0.