Product:
Planning Analytics Workspace 39
Linux Centos (similar to Red Hat)
Problem:
How upgrade PAW to version 39?
Solution:
https://cubewise.com/blog/planning-analytics-workspace-installation-guide/
Download the latest version of PAW from here
https://www-01.ibm.com/support/docview.wss?uid=swg27049597
Backup
Backup will restart the services.
Login to the Linux server with PUTTY
Change to the docker user with command sudo su – dockeruser
go to the paw folder, in our example that is /ibm/paw
cd /ibm/paw

go to the scripts folder, and run the backup script
cd scripts
./backup.sh
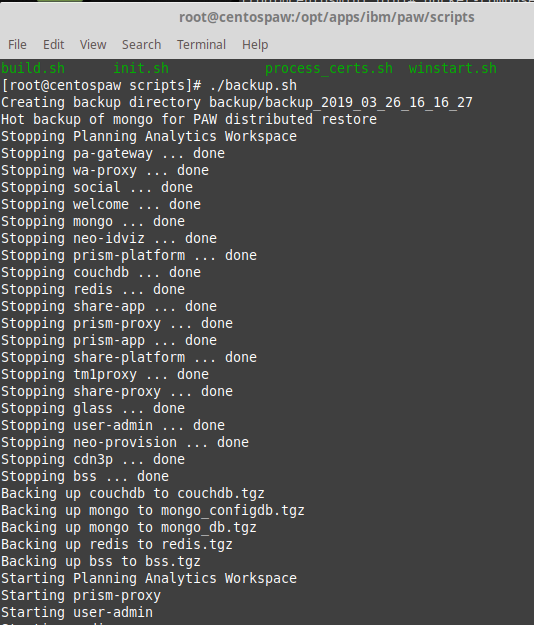
After the backup is done, the PAW should work as before.

The backup is stored in folders under /backup as shown above.
Create folders
To be able to change owner of file you need to be root, change to root user with command:
su –
Create the new folder for paw39 with command mkdir /ibm/paw39
Start WINSCP to copy the file to your linux server from windows.
https://winscp.net/eng/download.php
Move to the folder where the ipa file is stored, and to the folder where you want it. Drag the file over in the WINSCP program.
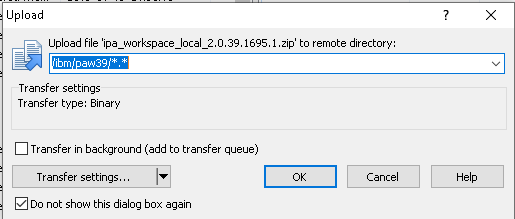
Set the rights for the file in the WINSCP program, so the others have access to the file.
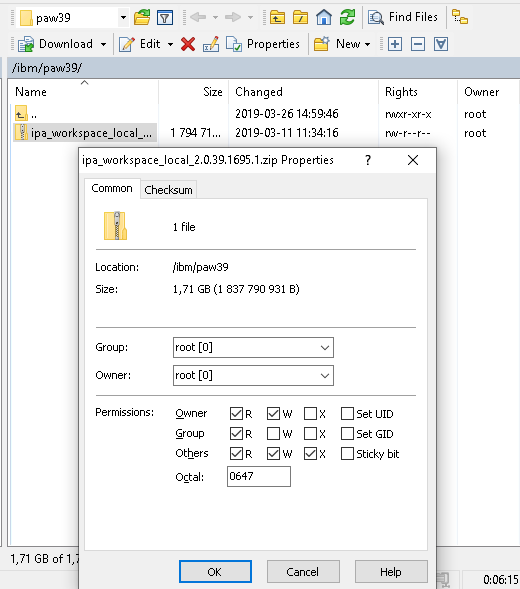
Go back into PUTTY.
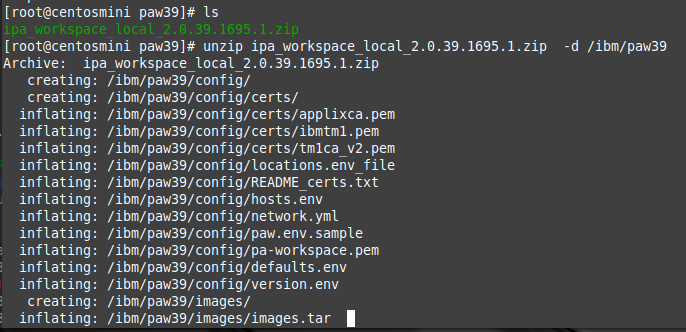
Go to the folder and unzip the file with command:
unzip ipa_workspace_local_2.0.39.1695.1.zip -d /ibm/paw39
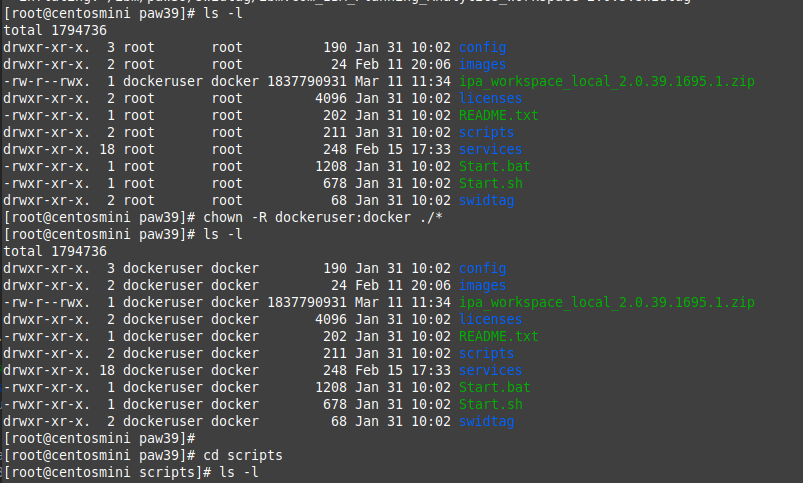
Go into the folder /ibm/paw39 and set the owner of all the files in the folder and sub-folders with this command
chown -R dockeruser:docker ./*
Copy config files from old installation
Copy the <paw_install_location>/config/paw.env file from your current installation to the new
installation folder.
cd /ibm/paw/config
cp /ibm/paw/config/paw.env /ibm/paw39/config/paw.env
Copy the certs folders files
cp /ibm/paw/config/certs/*.* /ibm/paw39/config/certs/
Copy the pa-workspace.pem file to the new folder
cd /ibm/paw39/config
mv pa-workspace.pem pa-org-workspace.pem
cp /ibm/paw/config/pa-workspace.pem /ibm/paw39/config/pa-workspace.pem
Copy the privatekey.pem to the new folder
cd /ibm/paw/
cp privatekey.pem /ibm/paw39/privatekey.pem
The files you copy depend on your installation.
Stop PAW services
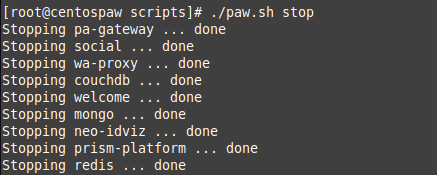
Go to the scripts folder and enter command:
./paw.sh stop
Check that all is stopped with command:
docker ps

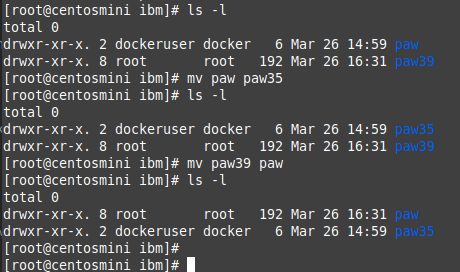
Rename folders
mv paw paw35
mv paw39 paw
Start paw
Change to dockeruser with command
sudo su – dockeruser
Update the paw.env file with the ip address that should be used
nano -w paw.env
export ADMINTOOL_IP = 192.168.1.29
Update the Start.sh file with the path to the docker-compose folder if it is not accessible as default
nano -w Start.sh
export PATH=$PATH:/ibm/comp/
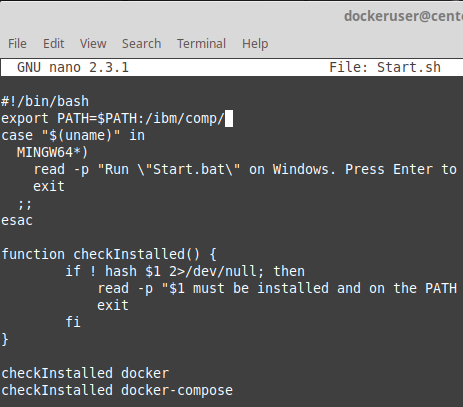
Enter ctrl+o to save the file, press enter.
Enter ctrl+x to exit nano text editor.

Enter command below in PAW folder to start paw upgrade.
./Start.sh
Press Y to upgrade
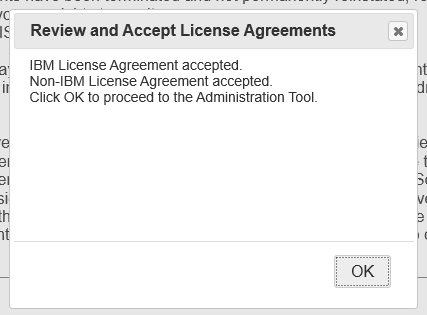
Press Y to start IBM Planning Analytics Workspace Administration Tool.
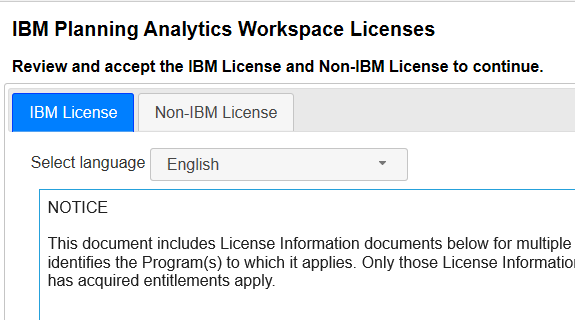
Scroll down and and accept the IBM License and Non-IBM License to continue.
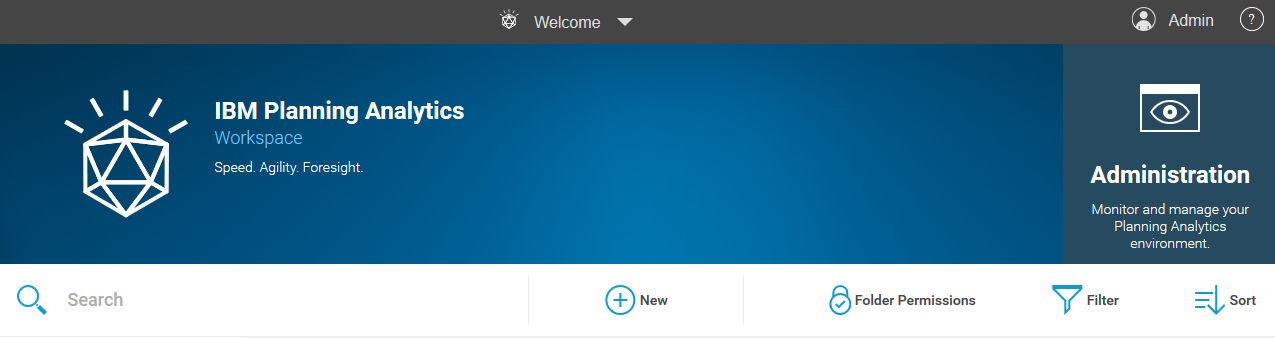
Check that the TM1 Application Server Gateway URI and the other values is correct, and press Validate.
Click on Status tab and click on Restart button. Wait until all is started and test that it is working.
Stop the Administration Tool from PUTTY before you leave the Linux server.
To go into the linux container to run ping from inside the docker, enter this command:
docker exec -ti admintool bash
Install the new Agent
https://www.youtube.com/watch?v=Nel5Ovh0-7Q&list=PLfq0ST5X3p-QfZoNXSkDCP-zyblxXmzMZ&index=36
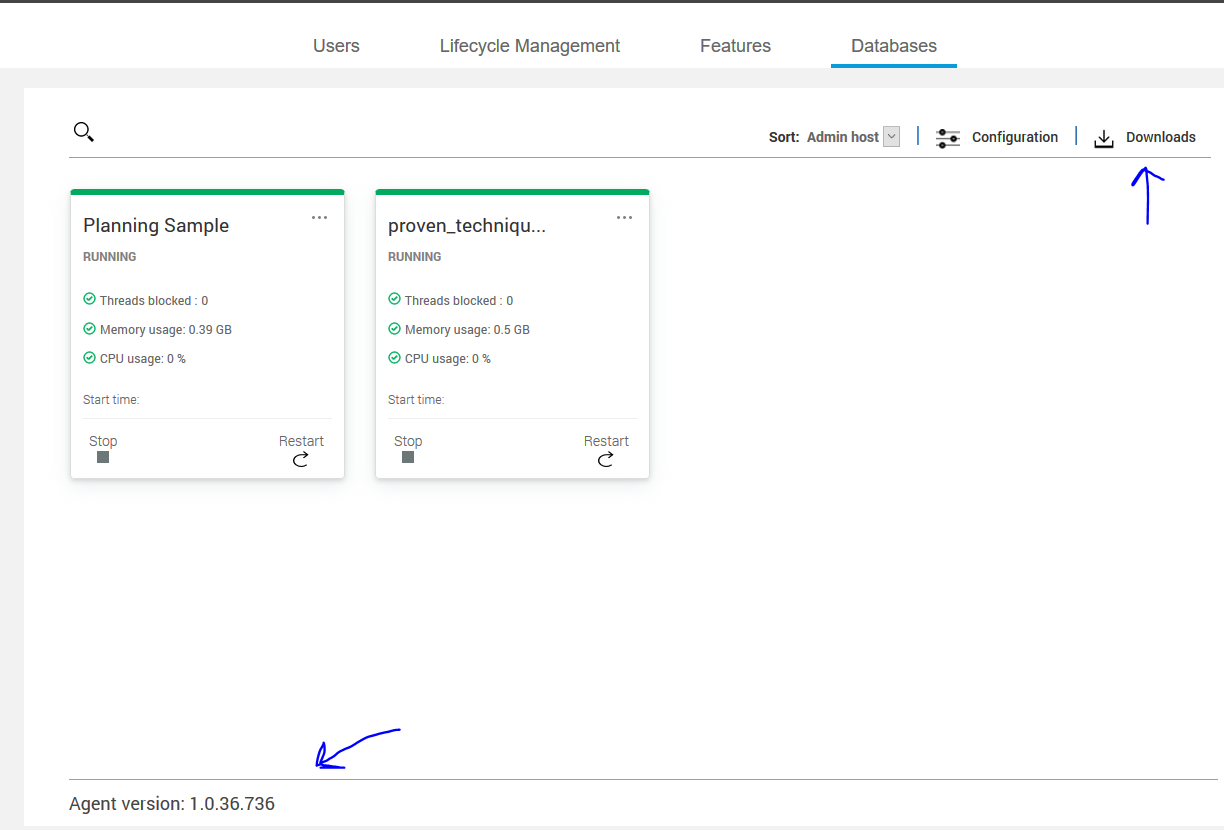
Surf to you new Planning Analytics Workspace and login. If you are administrator there is a new icon to administrate the TM1 instances. Click on the icon.
On the left lower corner you can see the version of PA Agent at your server. If you run TM1_version=TM1-AW64-ML-RTM-11.0.6.71-0 TM1_name=IBM Cognos TM1, you have agent 10.0.36.736.
Click on the download link to download the PA Agent that ships with PAW 39 to your computer.
https://www.ibm.com/support/knowledgecenter/SSD29G_2.0.0/com.ibm.swg.ba.cognos.tm1_prism_gs.2.0.0.doc/t_paw_download_paa_agent.html
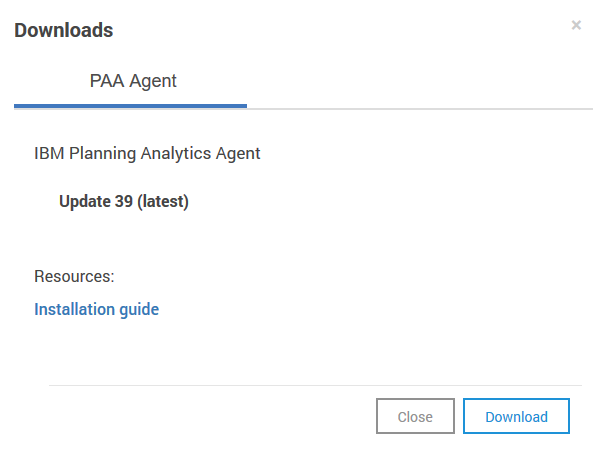
Click on Download and save the file to a new folder on your computer.
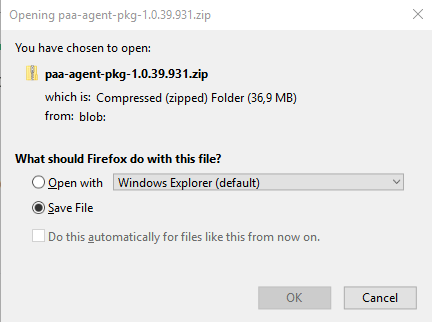
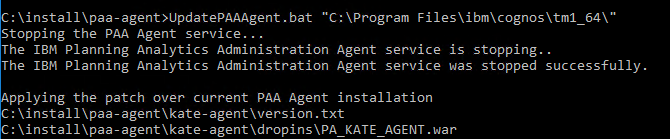
Copy the file to a folder on the PAL server and unzip it. Open a CMD window as administrator, and go to the folder where you have the new PAA Agent files. Enter this command to install the new agent:
UpdatePAAAgent.bat “c:\program files\ibm\cognos\tm1_64\”

You need to add the path to your TM1 instances folders in the bootstrap.properties file, the TM1 samples work as they are already added at default.
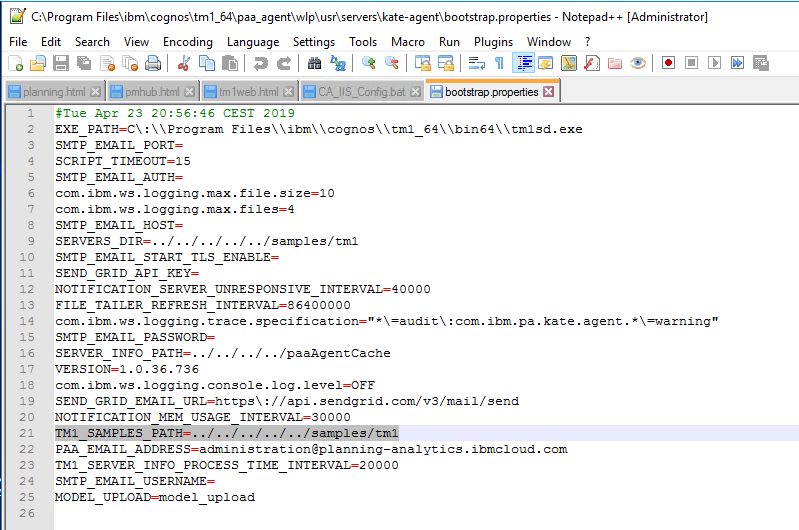
To make mail notifications to work, you need to update this lines in above file;
SMTP_EMAIL_PORT=587
SMTP_EMAIL_AUTH=true
SMTP_EMAIL_HOST=example.com
SMTP_EMAIL_USERNAME=user@example.com
SMTP_EMAIL_PASSWORD=Analytics123
PAA_EMAIL_ADDRESS=noreply@example.com
Enter values for your SMTP server, also update the PAA_EMAIL_ADDRESS ( ) field.
Restart the “IBM Planning Analytics Administration Agent” to make the changes take affect.
More information:
How set a static ip address on Linux
http://www.mustbegeek.com/configure-static-ip-address-in-centos/
https://www.cyberciti.biz/faq/howto-setting-rhel7-centos-7-static-ip-configuration/
https://www.techrepublic.com/article/how-to-configure-a-static-ip-address-in-centos-7/
https://www.ibm.com/support/knowledgecenter/SSD29G_2.0.0/com.ibm.swg.ba.cognos.tm1_prism_gs.2.0.0.doc/c_install_paa_local_configure_event_notifications.html
How install docker on Linux
https://docs.docker.com/install/linux/docker-ce/centos/
To Install required packages before docker, enter this:
sudo yum install -y yum-utils device-mapper-persistent-data lvm2
sudo yum-config-manager –add-repo https://download.docker.com/linux/centos/docker-ce.repo
To download the latest version of docker download this:
sudo yum install docker-ce docker-ce-cli containerd.io
To start and make docker stay started after reboot enter this:
systemctl start docker
systemctl enable docker
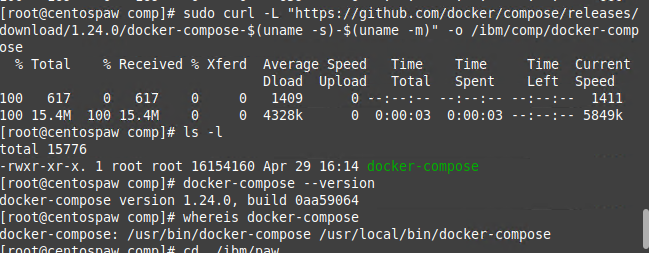
To download docker-compose enter this exact command:
sudo curl -L “https://github.com/docker/compose/releases/download/1.23.2/docker-compose-$(uname -s)-$(uname -m)” -o /usr/local/bin/docker-compose
To change to execute, for this file:
sudo chmod +x /usr/local/bin/docker-compose
Check the version, with this command, to see that it works:
docker-compose version