Product:
Cognos Analytics 12.0.4
Microsoft Windows 2022 server
kit_version=12.0.4-2501300500
Manifest=casrv-manifest-12.0.4-2501300500-winx64h.json
Installer=analytics-installer-3.7.38-win.exe
Issue:
How setup CA12 only for CAM authenticate to be used with Cognos Controller?
Solution:
(This doc describe partly the steps you need to do – please read the IBM documentation for more information)
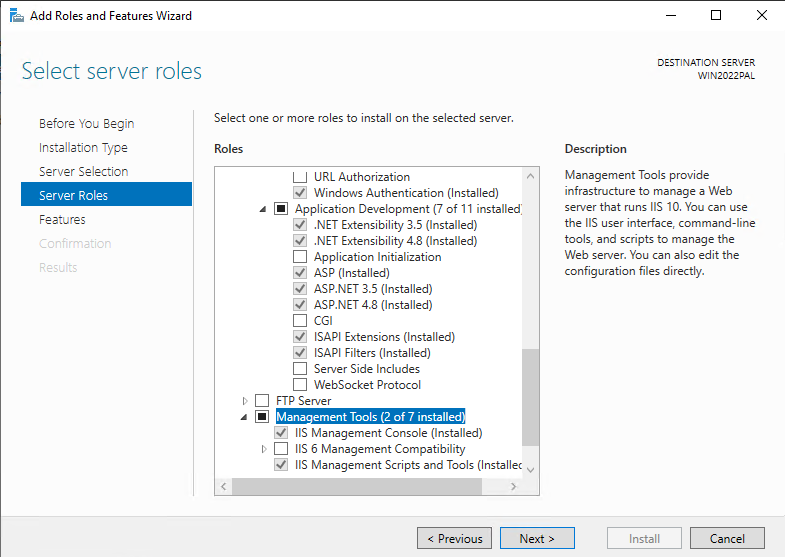
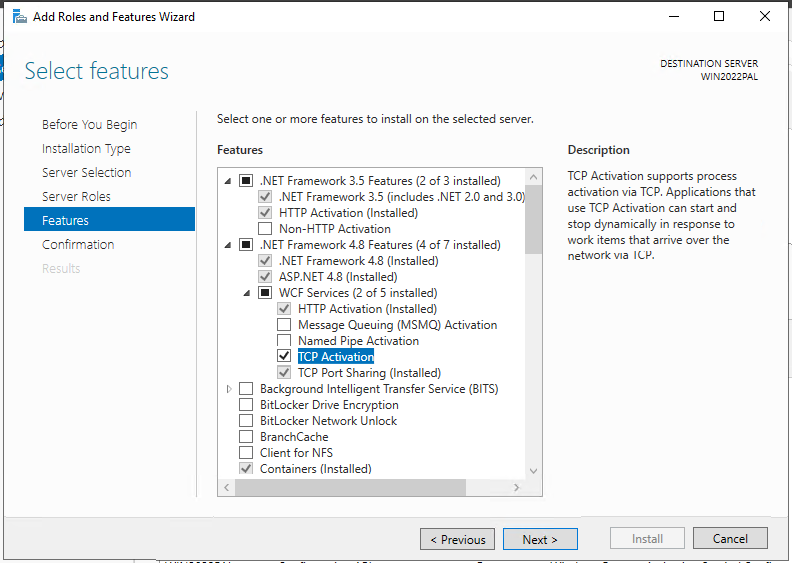
Install IIS with roles like, Web Server, Application Development, NET extensibility, ASP.NET 4.8 etc
Download and install URL Rewrite Module 2.1 https://www.iis.net/downloads/microsoft/url-rewrite
Download and install ARR 3.0 manually https://www.iis.net/downloads/microsoft/application-request-routing
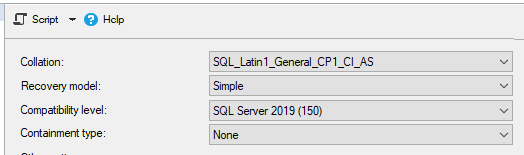
Create a SQL server database for the content store, with a SQL login as DB-owner; if you are not upgrading a old CA database.
Download the CA12 from https://www.ibm.com/support/pages/downloading-ibm-cognos-analytics-1204
Whats new in CA12 is: https://lodestarsolutions.com/tag/ibm-cognos/
Setup CA on a single server: https://www.ibm.com/docs/en/cognos-analytics/12.0.0?topic=analytics-single-server-installation
If you do a upgrade, add this lines to the file preserve.txt in folder install_location/configuration/preserve.
#TM1 files
templates/ps/portal/variables_TM1.xml
templates/ps/portal/variables_plan.xml
templates/ps/portal/icon_active_application.gif
webcontent/planning.html
webcontent/PMHub.html
webcontent/tm1/web/tm1web.html
webcontent/bi/planning.html
webcontent/bi/PMHub.html
webcontent/bi/tm1/web/tm1web.html

#CA files
#templates/ps/system.xml
#templates/ps/portal/system.xml
templates/ps/portal/variables_CCRWeb.xml
Run the analytics-installer-3.7.38-win.exe to install CA 12.0.4

Select language and click next
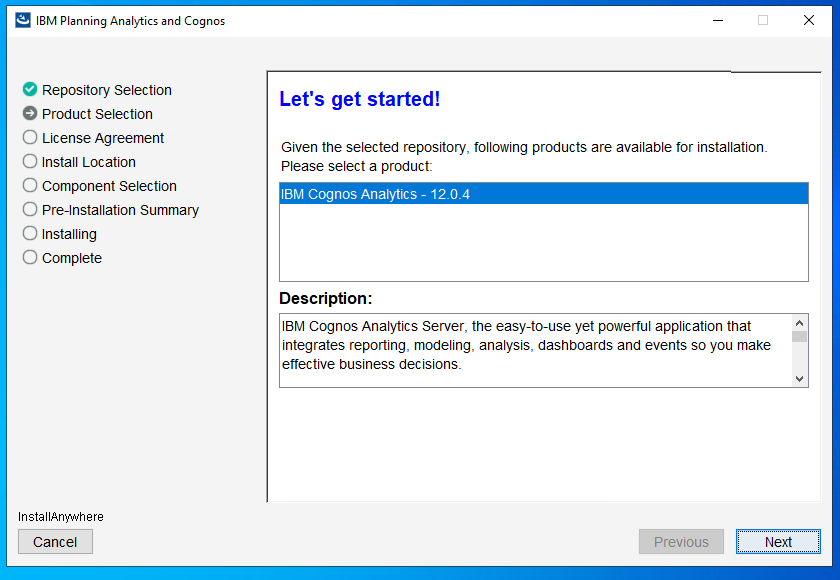
Click next
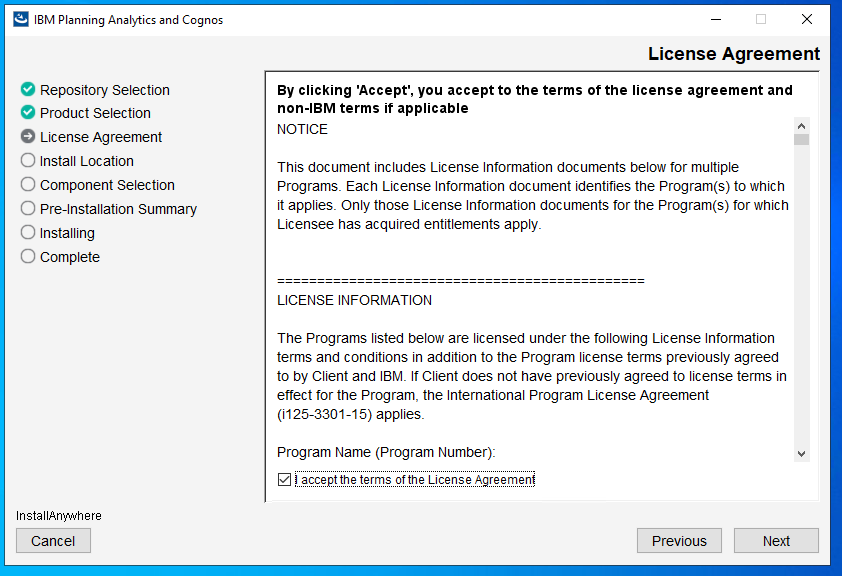
Mark “i accept the terms.. ” and click next
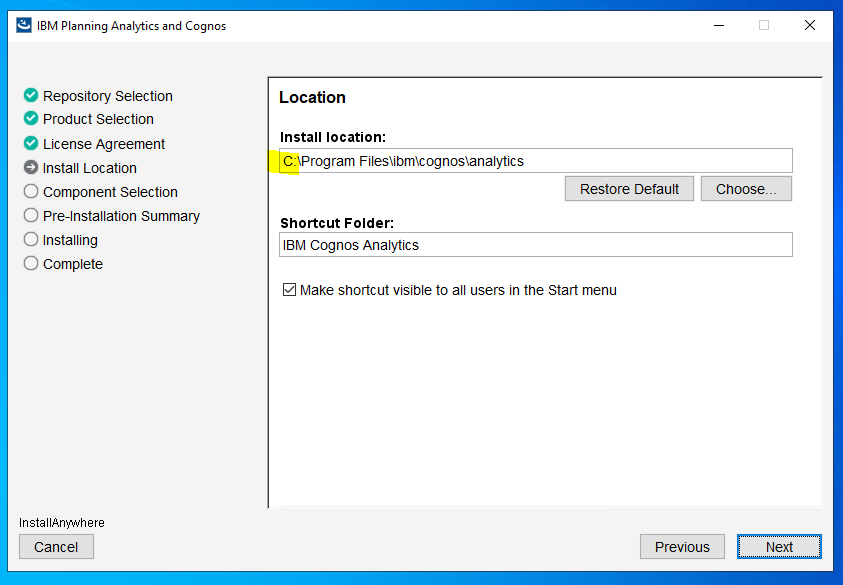
Ensure you install to correct drive and click next

Click Yes
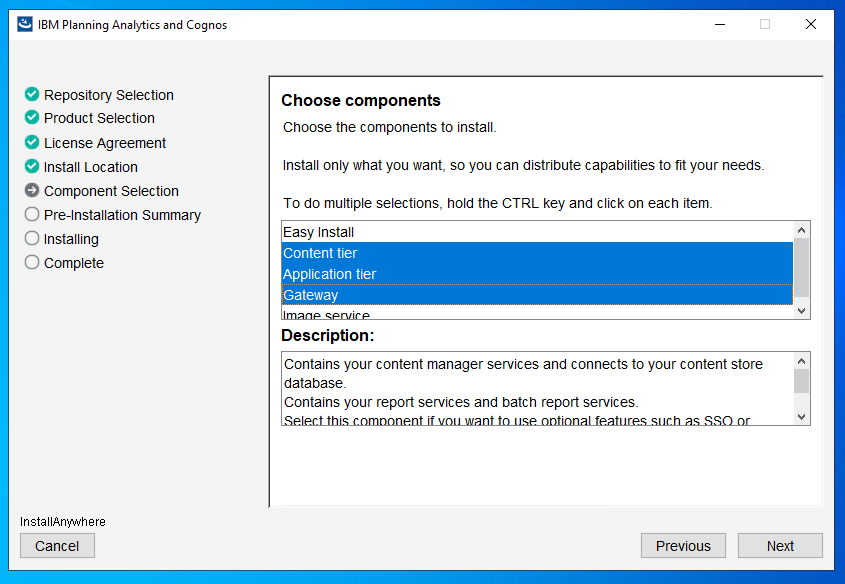
Leave the 3 selected and click next
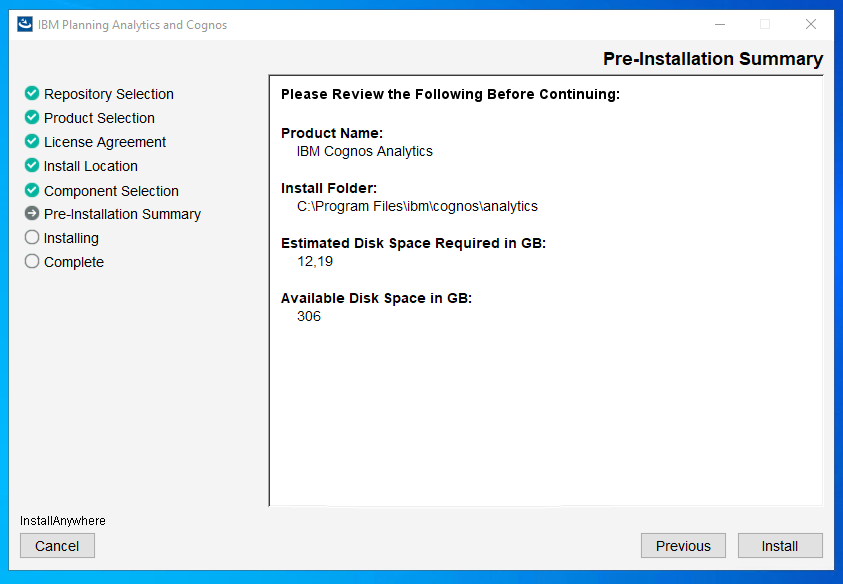
Click install
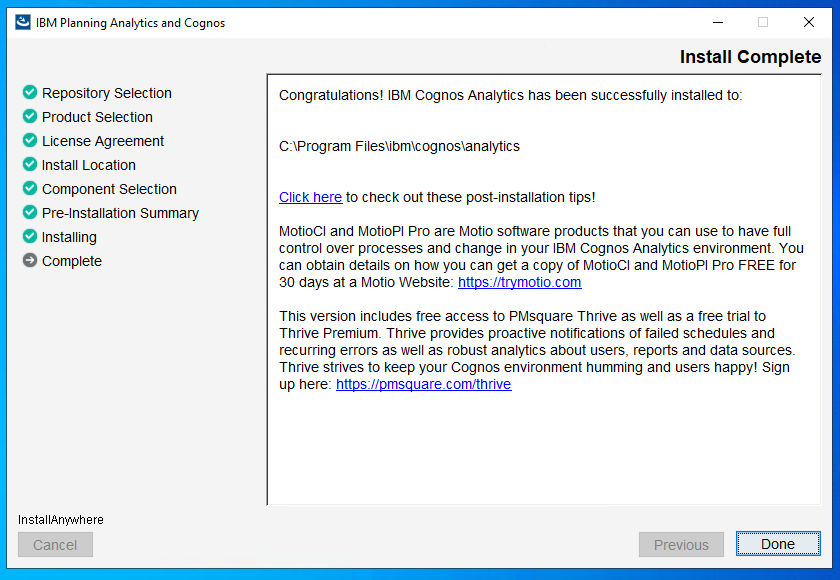
Click done
Copy the SQL driver sqljdbc42.jar to folder C:\Program Files\ibm\cognos\analytics\drivers
Start Cognos Configuration and change to FQDN (full qualified domain names) in this places for the server:
-
- Gateway URI
- External dispatcher URI
- Internal dispatcher URI
- Dispatcher URI for external applications
- Content Manager URIs
-
- Group contact host
- Member coordination host
-
- Server common name
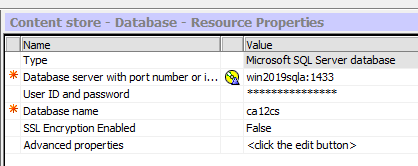
Setup the SQL server database connection for Content Store:
Right Click Content Manager and select Delete. Confirm deletion.
Right Click Content Manager > New Resource > Database.
Set the Name; Content store.
Set the Type (Group); Microsoft SQL server database
Set the Database Server and Port number (1433).
Set the User ID and Password for the database.
Set the Database name.
Save the configuration and start IBM Cognos service from Cognos Configuration.
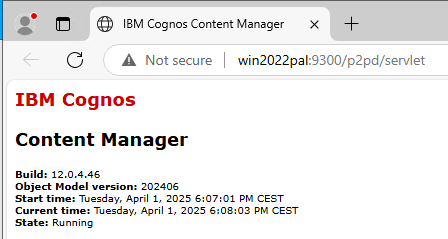
Browse to http://yourservername:9300/p2pd/servlet to see if it is up.
If it is a new installation, use the CA_IIS_Config script to create the needed values in IIS.
Open the C:\Program Files\ibm\cognos\analytics\cgi-bin\templates\IIS\CA_IIS_Config.bat in Notepad++
Edit the servername to FQDN
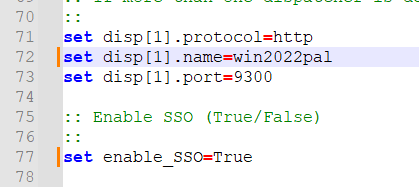
Change SSO to True, and save the file.
Run the CA_IIS_Config.bat script from a DOS prompt as administrator.
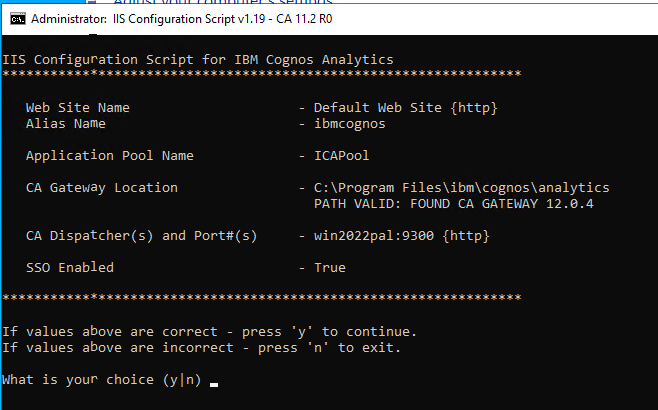
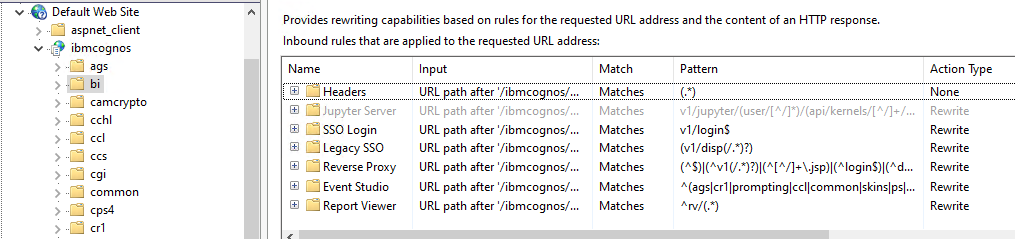
Press Y, then check that the URL rewrite looks like they should.
(*) Always use FQDN (not NetBIOS name or IP address) values when configuring the relevant server name.
(*) Always use lowercase characters for all of your URLs (website addresses), for example Rewrite URLs.
Browse to http://yourservername/ibmcognos/ to check that it works.
Configure the Authentication Provider.
Right click Authentication Source > New Resource > Namespace.
Set the name. Name should be the same as the domain name.
Set the Type (Group), Active Directory is Default.
Set the Type, leave as blank, the default.
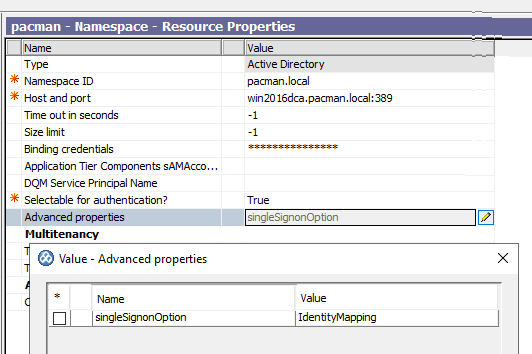
In the Explorer window, under Security > Authentication, and select the Active Directory namespace.
Click in the Value column for Advanced properties and then click the edit icon.
In the Value – Advanced properties dialog box, click Add.
In the Name column, type singleSignonOption
In the Value column, type IdentityMapping.
Click OK.
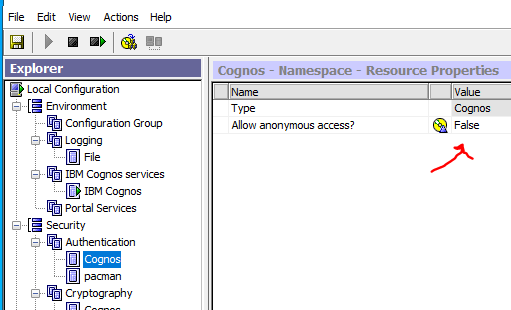
Before you get SSO to work, you need to change “allow anonymous access” to False, inside Cognos Configuration at Security – Authentication – Cognos.
Before you do more adjustments to CA, install the latest Cognos Analytics Fix Pack.
Get the latest fix pack https://www.ibm.com/support/pages/ibm%C2%AE-cognos-analytics-fix-lists
Entitled Bundled Customers use this link Cognos Analytics 12.0.4 IF2 to get access to download Cognos Analytics 12.0.4 Interim Fix 2.
Cognos Analytics Customers use the Fix Central link below.
| IBM Cognos Analytics 64-bit 12.0.4 IF2 Windows | 04 Feb 2025 | Language Independent | 17.31 GB | FC |
Setup of Cognos Fix Pack, should be similar to this steps:
Stop Internet Information Services (IIS) Manager (the Default Website).
Stop all IBM Cognos services through the Services Manager if they are active.
Set all IBM Cognos windows service to manual.
Reboot Windows server.
Back up the content store database.
If your IBM Cognos environment is customized, back up the entire IBM Cognos location.
Go to the location where you downloaded the files.
Run the analytics-installer-3.7.38-win.exe file, to start install of fix pack.
Follow the directions in the installation wizard, installing in the same location as your existing IBM Cognos server components if already present.
Open IBM Cognos Configuration, save the configuration.
Set all IBM Cognos service to automatic. Except below service if they exist on the server:
IBM Cognos Controller Consolidation
IBM Cognos Controller Java Proxy
IBM Cognos Controller User Manager
IBM Cognos FAP Service
Start the Internet Information Services (IIS) Manager (the Default Website).
Reboot the server.
Check that the IBM Cognos service is running, before you try to browse to: http://yourservername/ibmcognos/
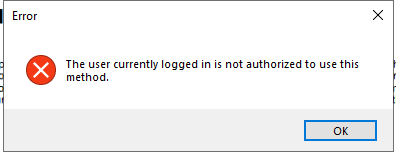
If you start with server hostnames and later change to FQDN in Cognos Configuration you get error like this:
ERROR com.ibm.bi.rest.RESTClient [Default Executor-thread-12] NA Certificate for <WIN2022PAL> doesn’t match any of the subject alternative names: [192.168.1.106, win2022pal.pacman.local]
javax.net.ssl.SSLPeerUnverifiedException:
You must use FQDN names from the beginning in the Cognos Configuration.
You must in CA create the two user roles, and add the users that should run Cognos Controller to them.
Go to Manage – People – Accounts, select Cognos namespace, and click on new role.
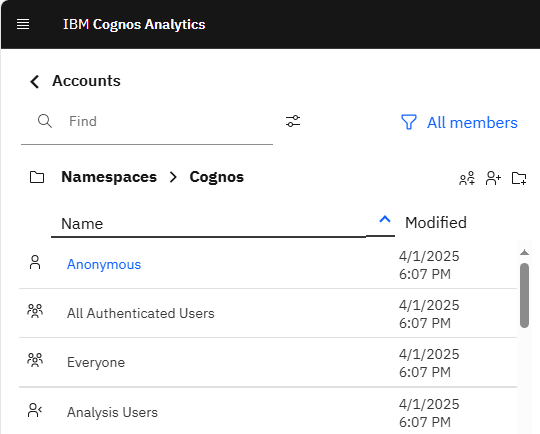
Enter the name Controller Administrators, and create one more role called Controller Users.
For Controller Users click on dots and select properties. Under Members add the users that should be running the Cognos Controller program.
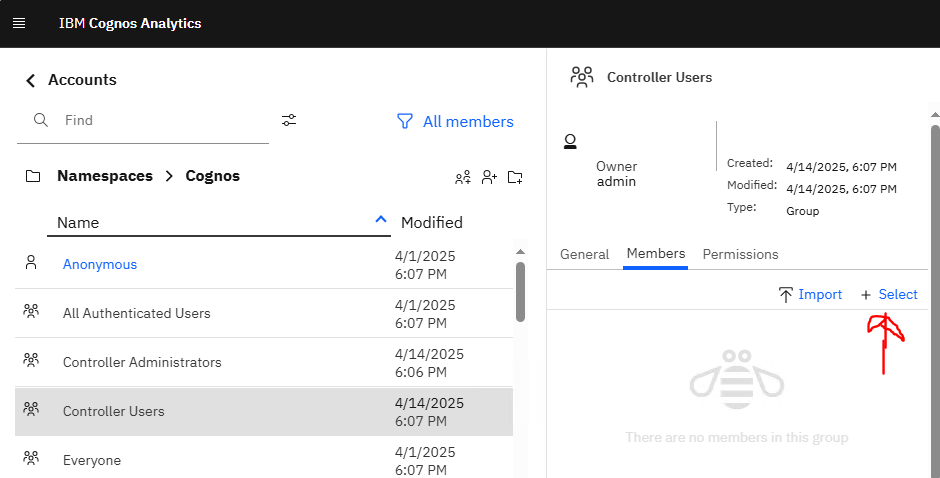
Cognos Controller need two roles called ‘Controller Users’ and ‘Controller Administrators’ in CA. It is considered best practice to ensure that all users in Controller are attached to the ‘Controller Users’ role and those defined within Controller as ‘Controller Administrators’ being to the role of the same name. Additionally add the ‘Controller Administrators’ role to the list of members in the ‘Controller Users’ role to ensure that you don’t have to add the administrative users to the ‘Controller Users’ role.
If you still do not get the Roles in CA for Cognos Controller to work (to give you SSO into cognos controller client), try to restore a old Cognos Content store that already contain this roles, so you get the correct role setup.
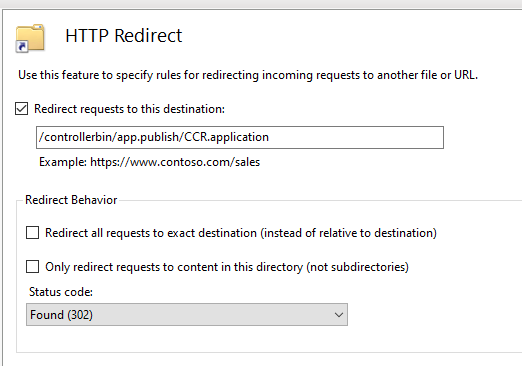
To add the Cognos Controller parts to IIS, after you have installed CA11.
- Set Idle Time-Out to 600 minutes.
- Select Redirect Requests to this destination and enter the following path:
/controllerbin/app.publish/CCR.application
To make cognos controller talk to CA, you need to change in Cognos Controller configuration;
Save and go to Server Authentication and change to CAM Authentication.

Save and go to Client Distribution Server Configuration – this need to be updated, the WSSurl is used by the client program.
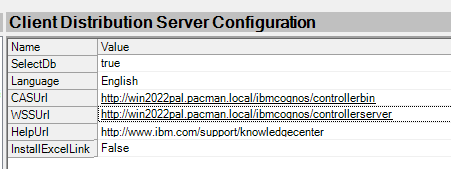
Enter the FQDN to the controller server and save.
Then to get Cognos Controller web to use Active Directory from CA, you need to do:
Save and reboot the server, to ensure that all works as it should.
(You must also do all the other settings that is for Cognos Controller Web, to make it work, above is only to get the SSO to use CA.)
https://www.ibm.com/docs/en/controller/11.1.0?topic=only-configuring-controller-web
More information:
https://www.ibm.com/support/pages/how-can-i-change-collation-controller-database
https://www.ibm.com/support/pages/node/559381
https://www.ibm.com/docs/en/controller/11.1.0?topic=web-cam-authentication
https://www.ibm.com/support/pages/how-configure-sso-single-sign-controller-cognos-analytics
https://www.ibm.com/docs/en/controller/11.1.0?topic=web-cam-authentication
https://www.ibm.com/docs/en/controller/11.1.0?topic=only-configuring-controller-web