Product:
Cognos Analytics 11.1.7
Planning Analytics 2.0.9
Microsoft Windows 2019 Server
Problem:
How setup Windows Kerberos login for Cognos products?
Here describes what Kerberos is:
https://web.mit.edu/kerberos/dialogue.html
https://medium.com/@charithra/kerberos-and-how-to-play-with-hadess-pet-c6a29ceed462
Solution:
Setup Cognos Analytics with a IIS gateway and make it work for Single Sign On (SSO) to login.
https://www.ibm.com/support/pages/configure-tm1-cam-authentication-using-cognos-analytics-110-sso
https://www.ibm.com/support/knowledgecenter/SSEP7J_11.1.0/com.ibm.swg.ba.cognos.inst_cr_winux.doc/t_stp_sso_active_drctry_remote_user.html
https://www.ibm.com/support/pages/enabling-single-sign-cognos-secured-against-active-directory
https://www.ibm.com/support/knowledgecenter/SSEP7J_11.1.0/com.ibm.swg.ba.cognos.inst_cr_winux.doc/t_inst_activedirectoryserver_process.html
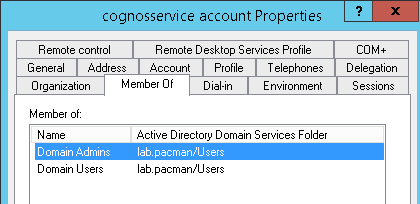
You need to create a windows domain account, that is local administrator on the Cognos server where the Cognos Content Manager function is, and run the IBM Cognos service with this account.

The account must be added with domain\name format, without use of @.
The same service account must run the IIS server application pool used by CA11.
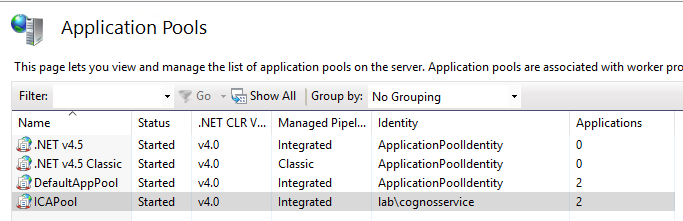
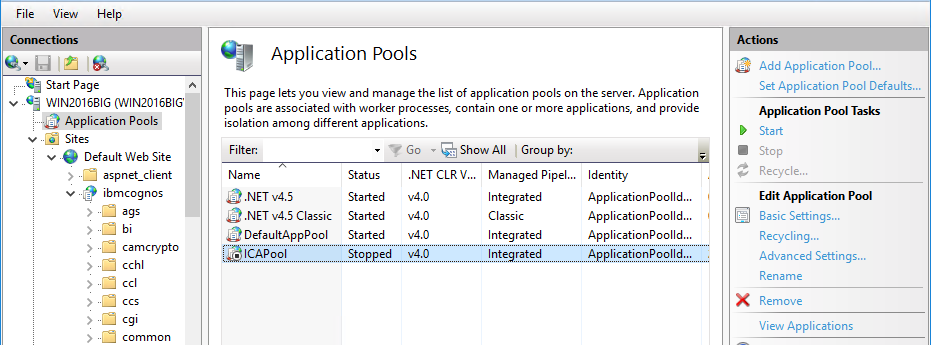
Go to Internet Information Service Manager, and expand Application pools. Mark ICAPool and click on Advanced Settings. Click on Identity and select Custom Account. Click Set and enter the domain\name account and password. Click OK.
Restart IIS.
The service account must have “Trust this user for delegation to any service (Kerberos only)” set in Active Directory. Ask the IT department to set this on the Windows Domain Controller.
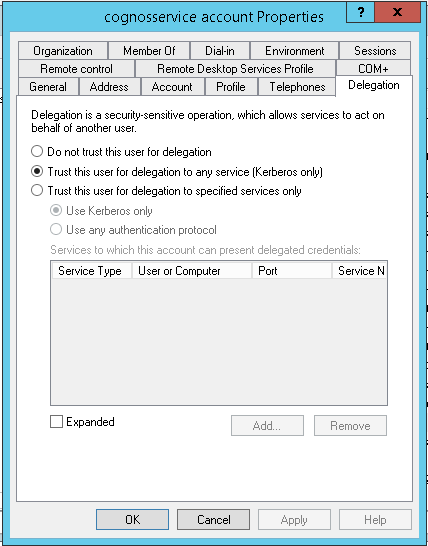
Constrained delegation is not recommended.
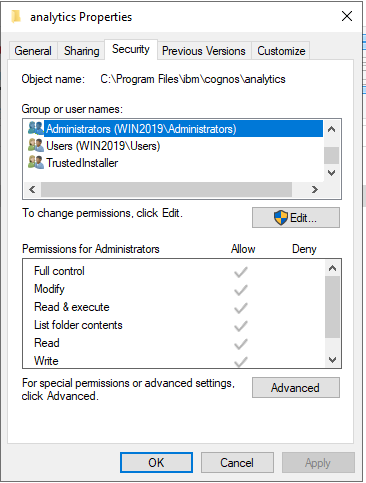
Ensure that the cognos service account have NTFS read/write/execute rights on the cognos folders.
Right click on folder C:\Program Files\ibm\cognos\analytics and select properties.
Check the security tab that the local Administrator group have full rights.
Go to Computer Management in Control panel – Administrative Tools. Expand Local User and Groups – Groups. Check what groups and accounts are in the Administration group on the server.
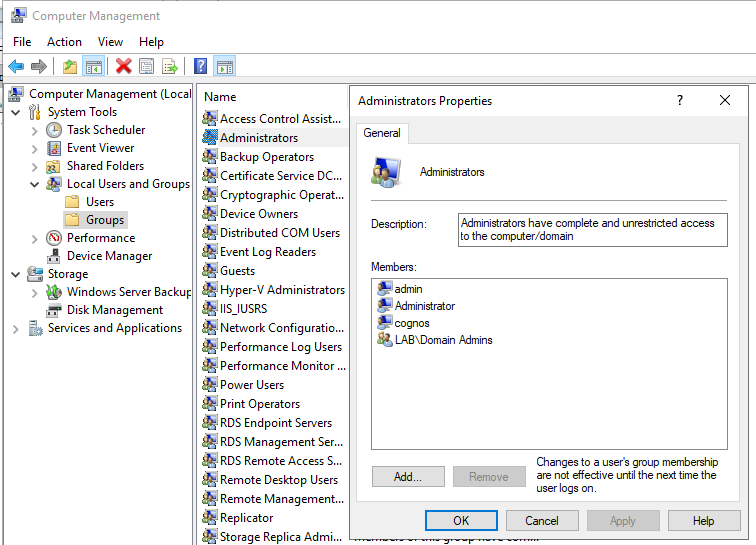
Ensure that the cognos service account is part of a domain group that is included in the local administrator group. Does not need to be domain admins group, but must be the same group.
On the Windows Domain Controller you must run the SETSPN command to create the Service Principal Name.
https://petri.com/how-to-use-setspn-to-set-active-directory-service-principal-names-2
Enter the webserver and the cognos bi server to the service account. In our case it is the same server.
You need to add all the ways the system connect to the server e.g. HOSTNAME and FQDN.
In our example we use setspn -s HTTP/win2019.lab.pacman LAB\cognosservice

setspn -s HTTP/websrv_aliasname domain\cognosserviceaccount
setspn -s HTTP/appsrv_FQDN domain\cognosserviceaccount
setspn -s HTTP/appsrv_HOSTNAME domain\cognosserviceaccount
Use the servername in cognos configuration for the setspn command above.
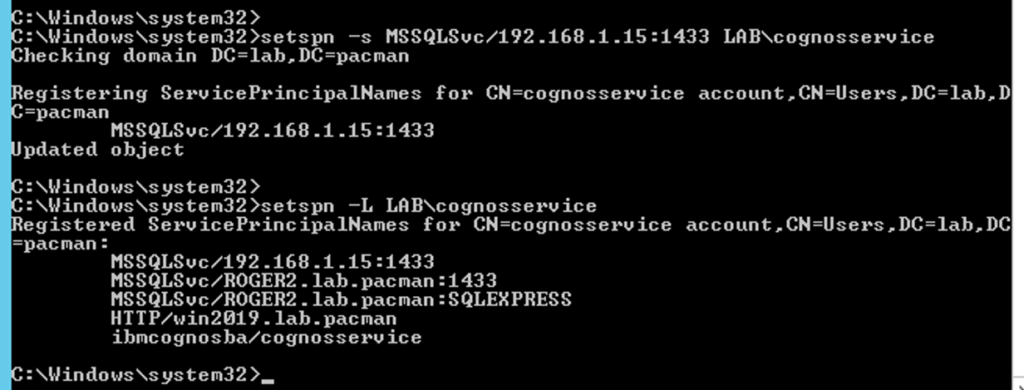
Use setspn -L domain\cognosserviceaccount to see the current values in use.
Some common switches used with SetSPN:
-a Add an entry to an account (explicitly)
-s Add an entry to an account (only after checking for duplicates first)
-d Delete an entry from an account
-x Search the domain for duplicate SPNs
-q Query the domain for a specific SPN
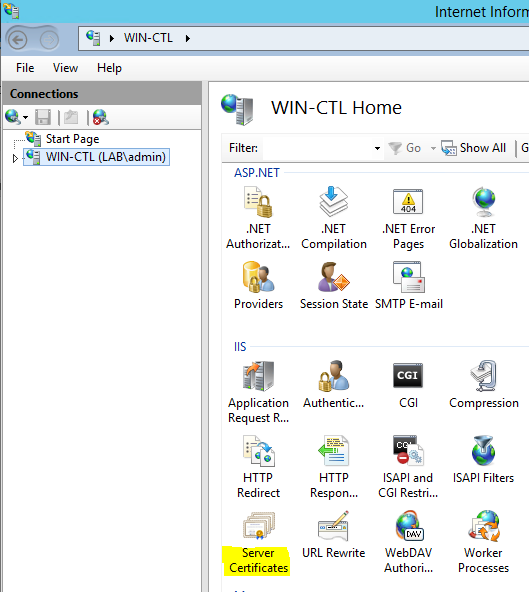
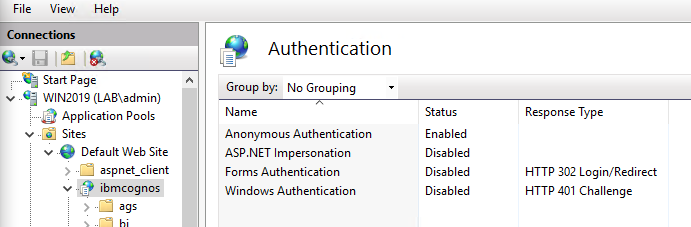
In IIS manager on the Cognos Gateway server; ensure that Anonymous Authentication is on IBMCOGNOS folder.
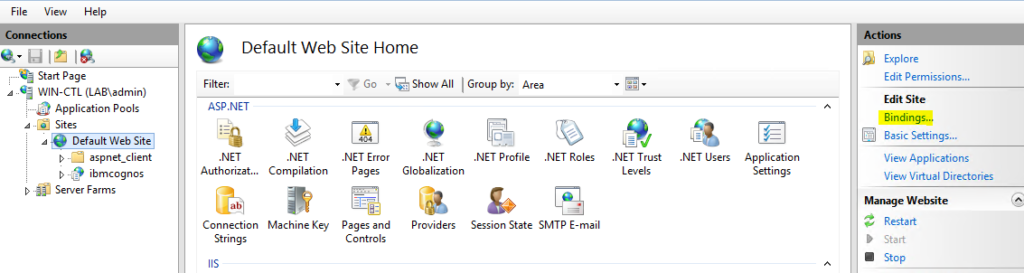
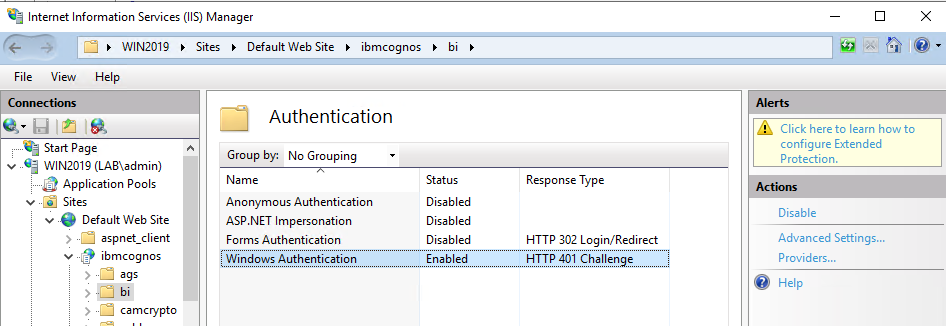
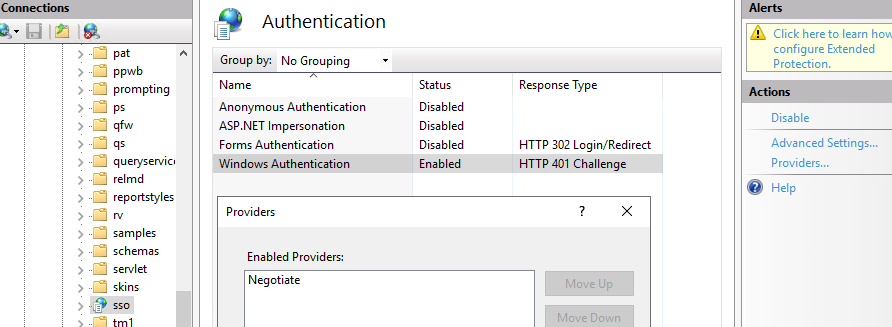
Go to \bi folder, and click on Authentication. Select Windows Authentication and click enable.
Disable Anonymous Authentication on the \bi folder.
Click on Providers for the \bi folder, and remove NTLM so you only have Negotiate.
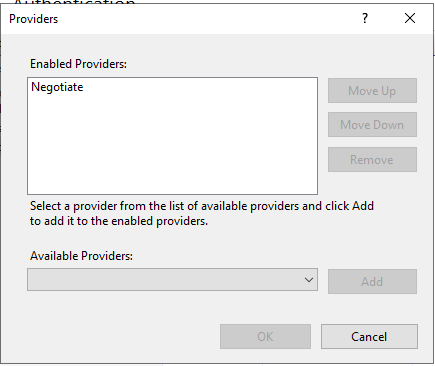
Repeat on \sso folder, so it also only have Negotiate as Windows enabled Providers.
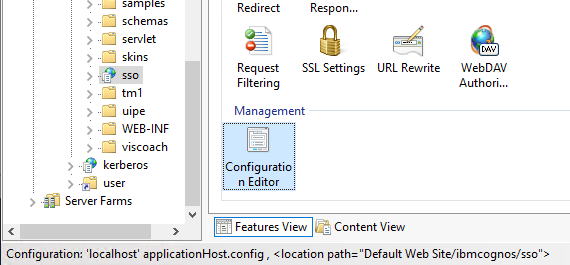
For \sso folder click on Configuration Editor.
Select in the drop down menu for section – system.webServer – security – authentication – windowsAuthentication.
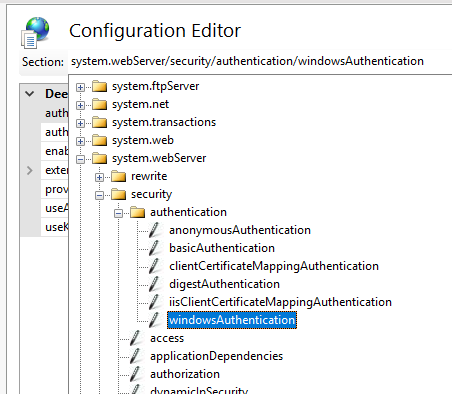
To get this dialog up for the sso folder.
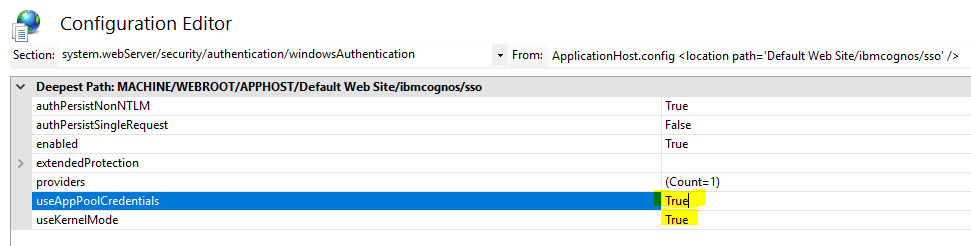
Set true to “useAppPoolCredentials” and “useKernelmode”.
Go to the \bi folder and set the same values.
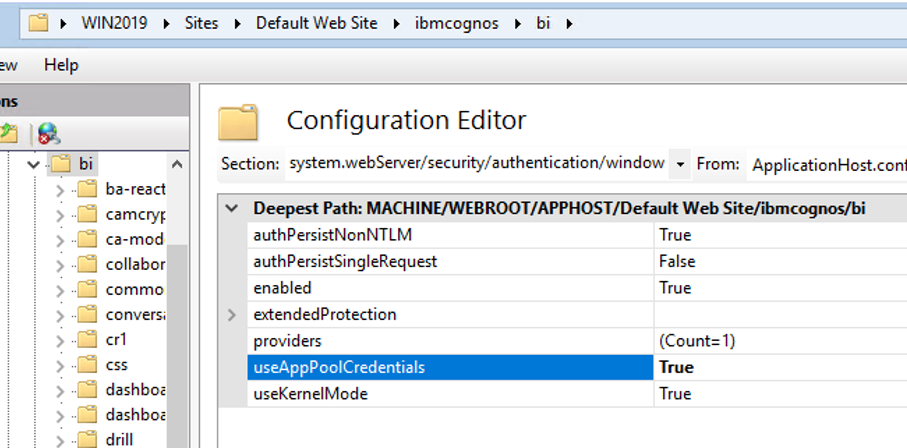
Click on Configuration Editor icon – select system.webServer – security – authentication – windowsAuthentication. Set true to “useAppPoolCredentials” and “useKernelmode”.
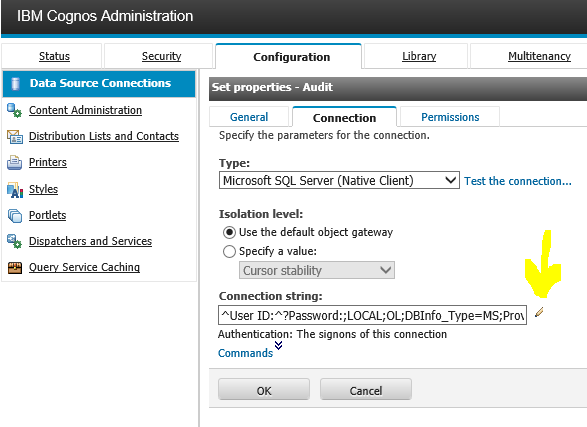
If you use Oracle or DB2 as content store database, you are all set. But if you use Microsoft SQL server you need to add setspn for the service account that run the SQL services.

Ask the SQL DBA to ensure the service account for SQL server is using domain\account notation as above. Kerberos will not work with Local System as the service account for Microsoft SQL database.
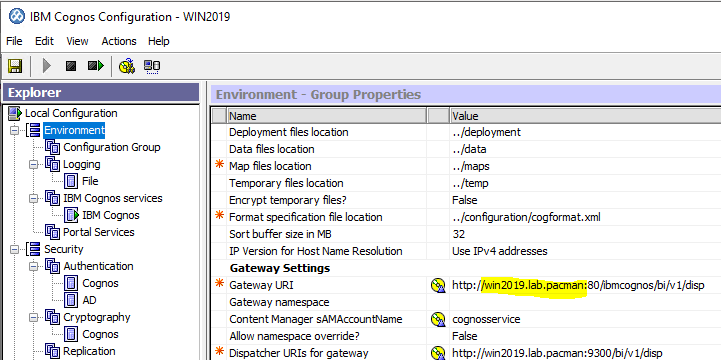
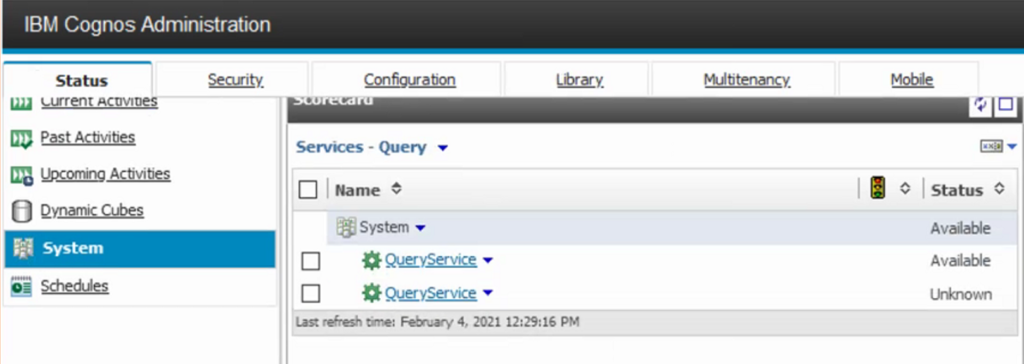
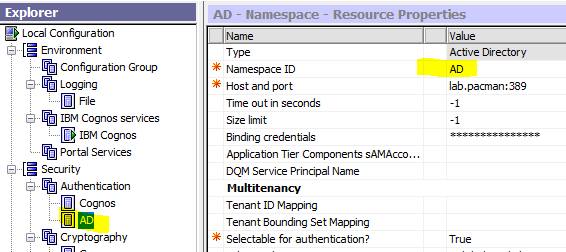
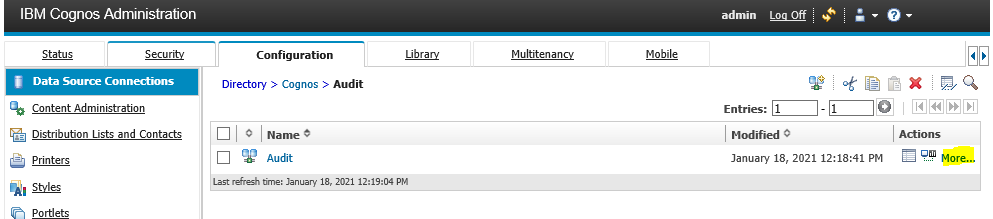
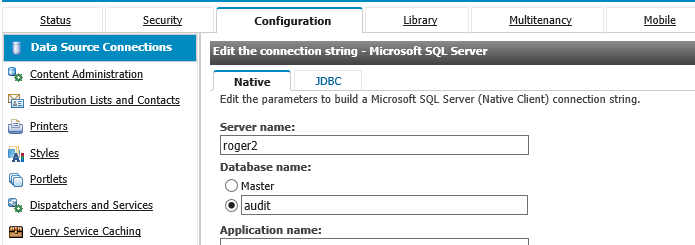
You need to check in cognos configuration how Cognos Analytics connects to the content store database. Open Cognos Configuration on your Cognos Content Manager server.
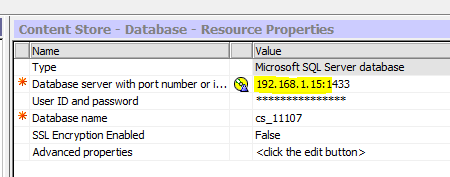
Note down IP or HOSTNAME that is in use to connect to the SQL server. This will be used in the setspn command. Enter in our case setspn -s MSSQLSvc/192.168.1.15:1433 LAB\cognosservice
setspn -s MSSQLSvc/sqlsrv_FQDN domain\SQLServiceAccount
setspn -s MSSQLSvc/sqlsrv_FQDN:instancename domain\SQLServiceAccount
setspn -s MSSQLSvc/sqlsrv_FQDN:1433 domain\SQLServiceAccount
You need to enter all variants of the SQL server name to the setspn command.
Restart the windows server for Cognos Analytics to ensure the domain changes have taken affect.
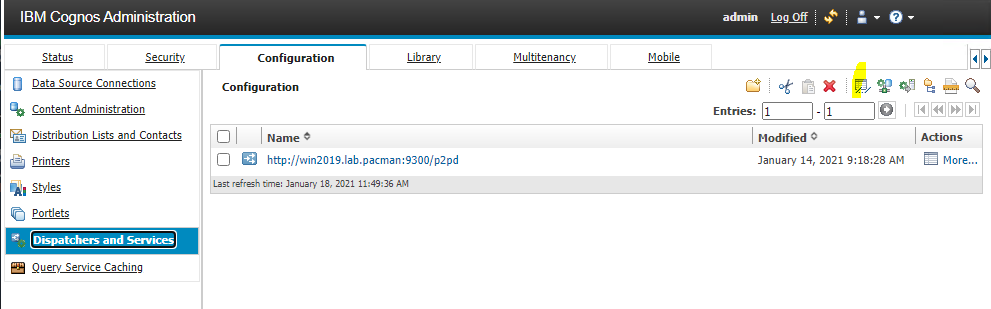
To check that Kerberos is in use, activate AAA tracing for a short period in Cognos Analytics.
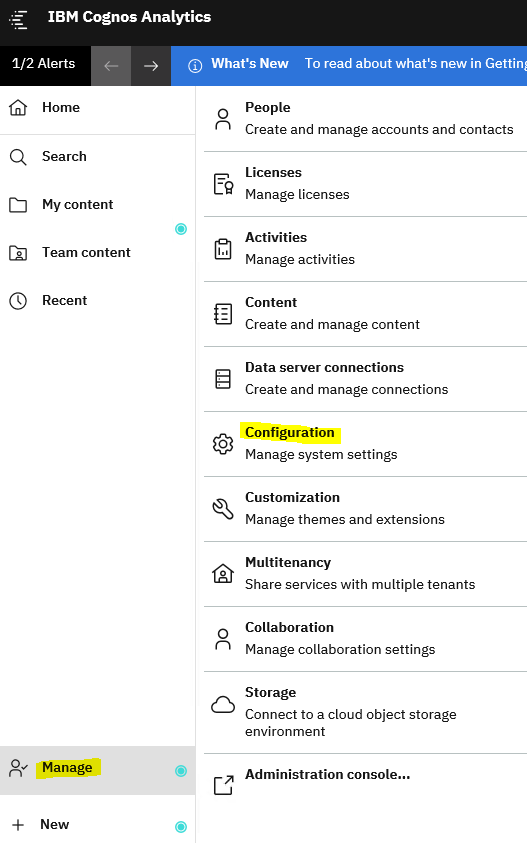
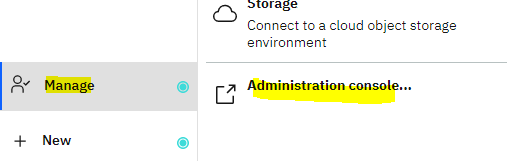
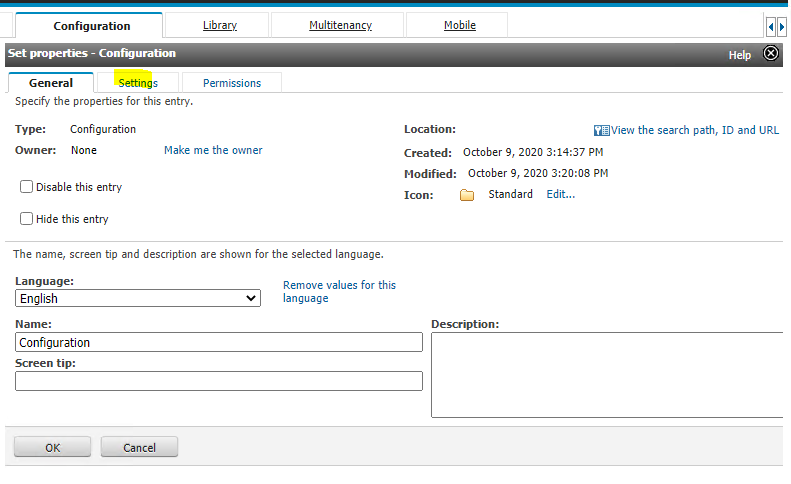
Login to CA11 as administrator and click on Manage – Configuration.
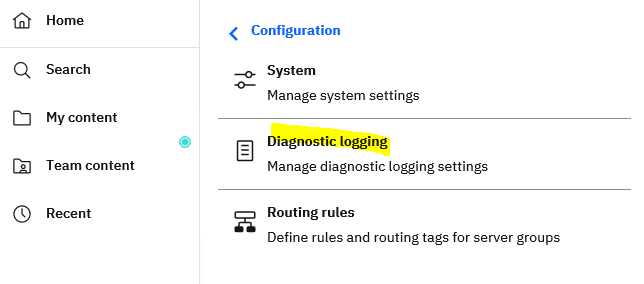
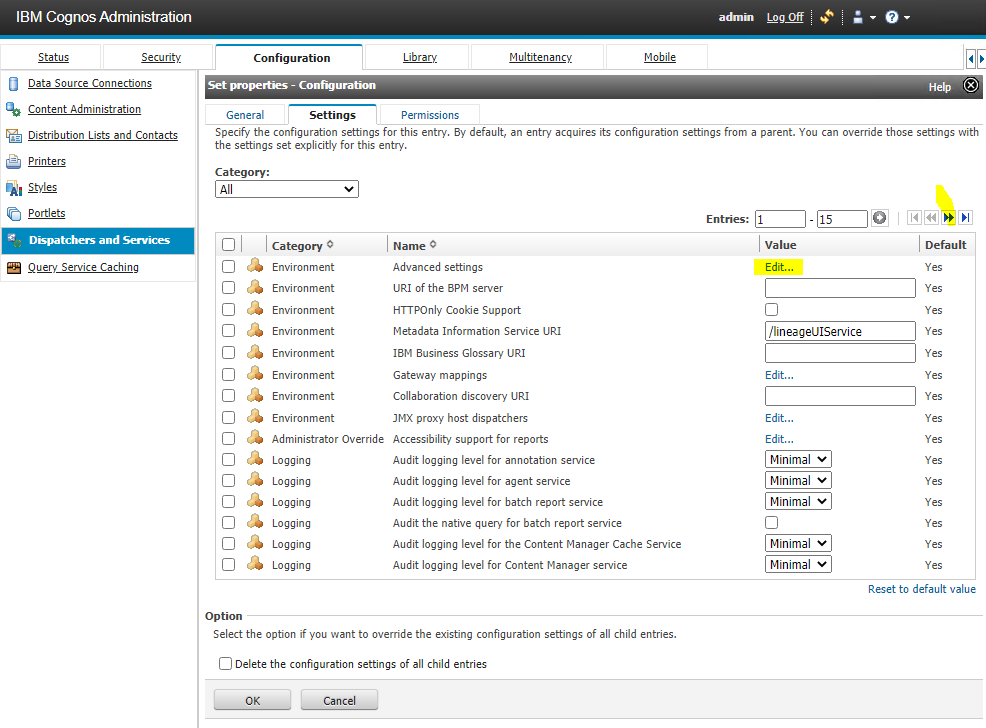
Click on Diagnostic Logging.
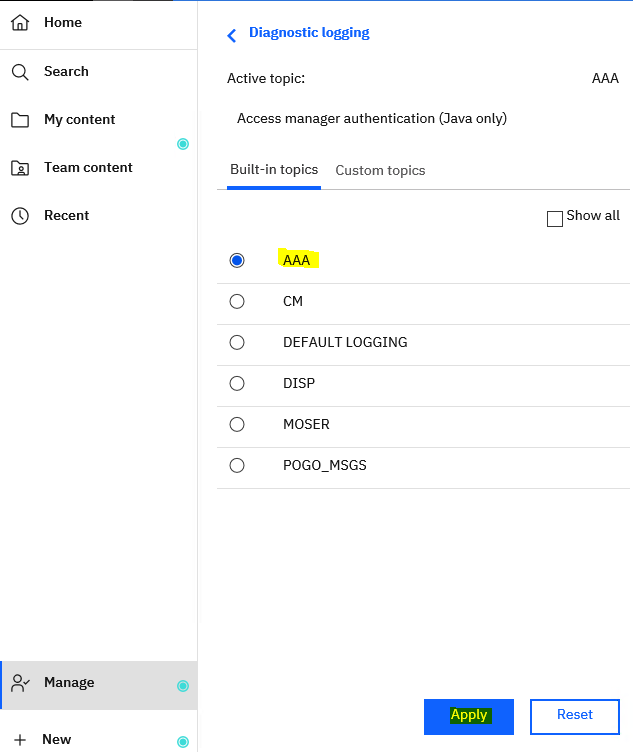
Click on AAA and Apply.
Logout from CA11 and close the browser.
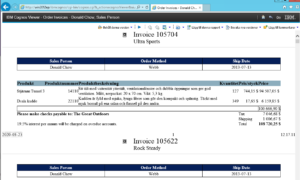
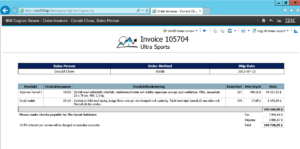
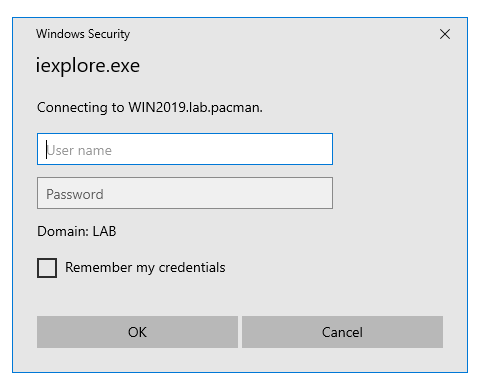
Start the web browser again and go to http://win2019.lab.pacman/ibmcognos/
after the sso have let you in, go to the Cognos Analytics Content Manager server.
Open the C:\Program Files\ibm\cognos\analytics\logs\cognosserver.log file in notepad++
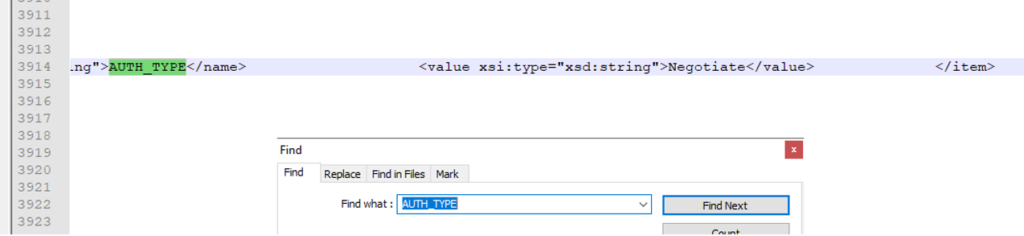
Go to the end of the file and from search menu select find and enter AUTH_TYPE.
Scroll to the right, and if kerberos is used it should say:
<value xsi:type=”xsd:string”>Negotiate</value>
Close the log file.
Go back into CA11 portal.
Go to manage – configuration – diagnostic logging.
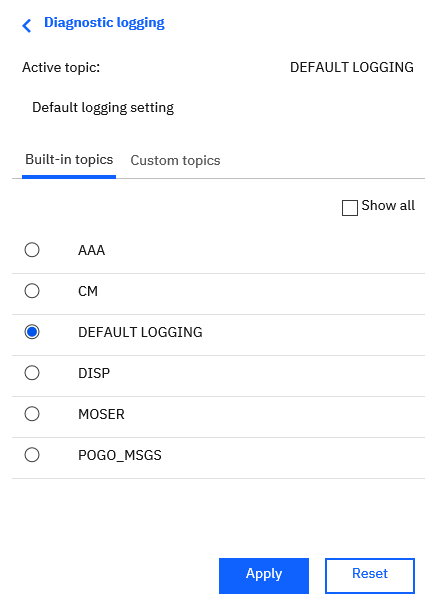
Select Default Logging and click Apply. This is important as the logging can make the cognos system slower.
Planning Analytics (TM1) will use kerberos now too, as long they are setup to use CAM security.
https://www.ibm.com/support/pages/configure-tm1-cam-authentication-using-cognos-analytics-110-sso
More information:
Overview of Service Principal Name and Kerberos authentication in SQL Server
https://www.ibm.com/support/knowledgecenter/SSEP7J_11.1.0/com.ibm.swg.ba.cognos.inst_cr_winux.doc/t_inst_sso_active_drctry_constrained_del.html

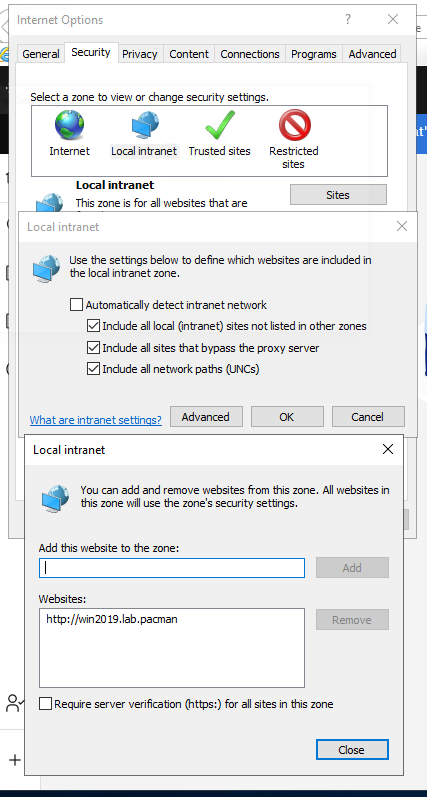
 Then you can have the cognos analytics site in Trusted tab instead.